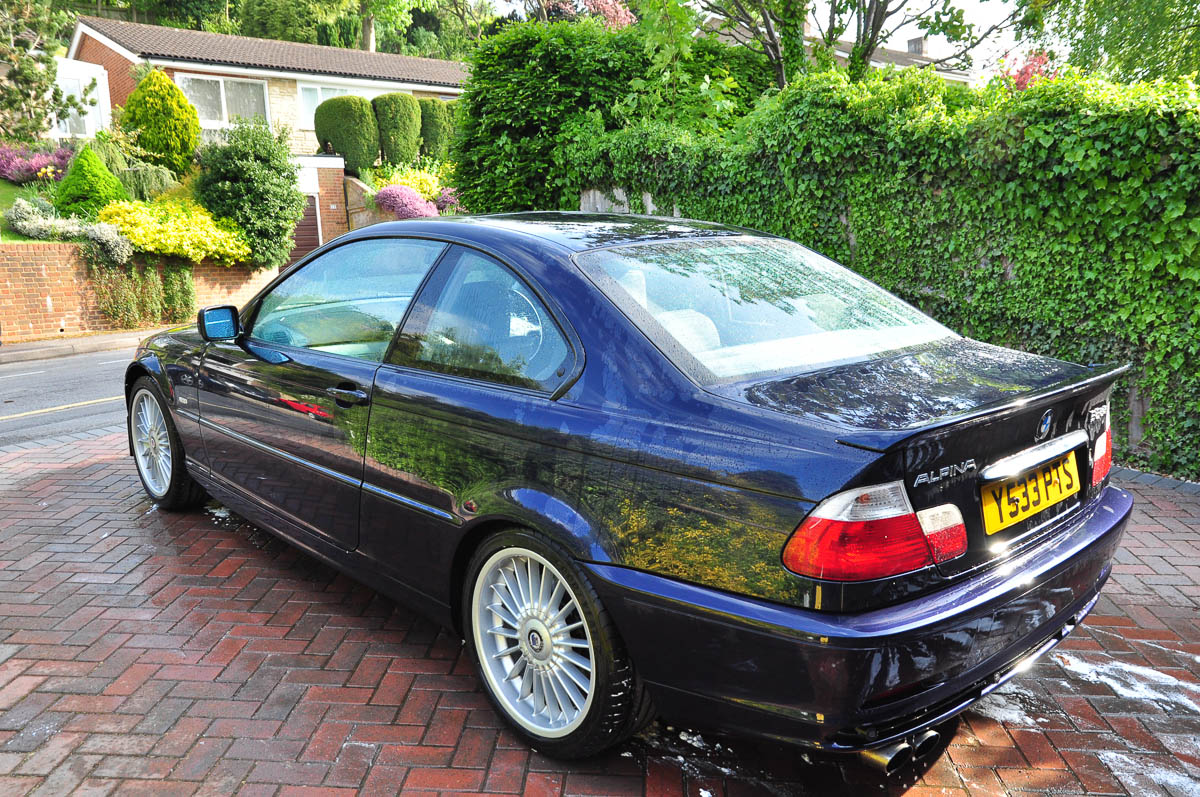
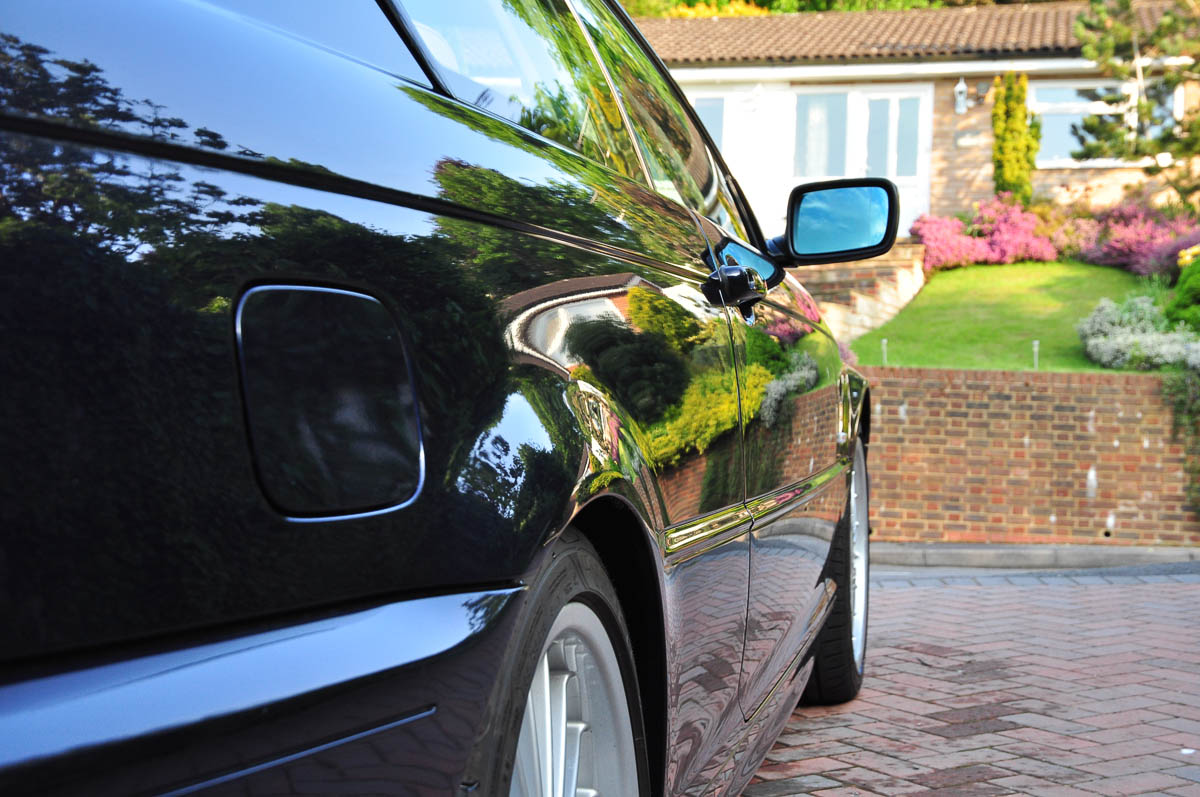
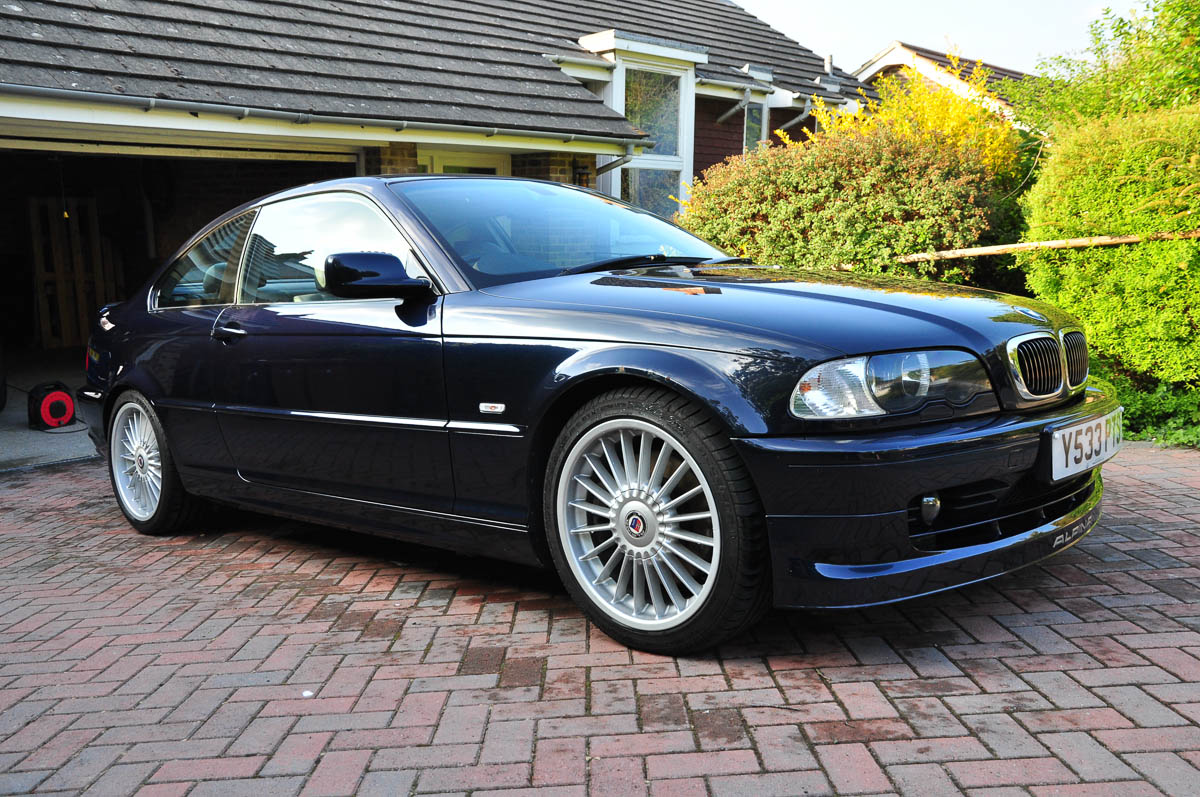
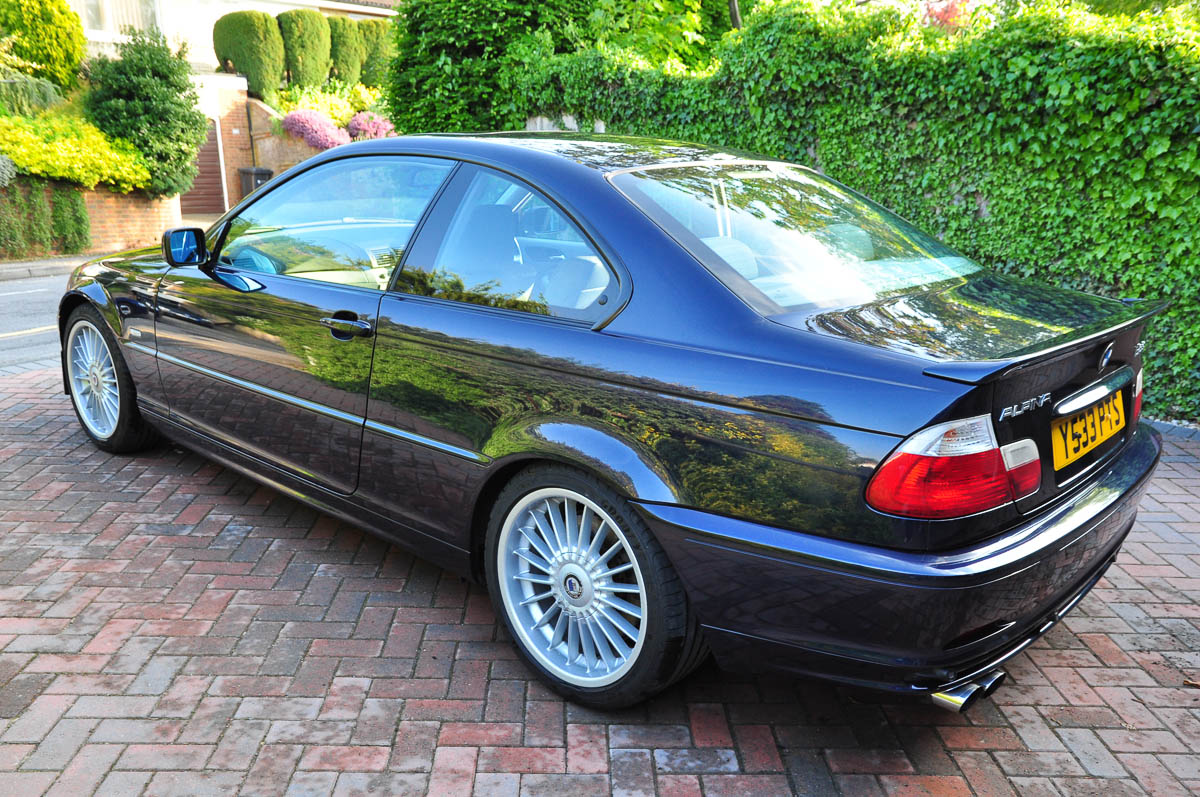
B3 3.3 Coupe - A little TLC

Discuss all aspects of Car Care / Detailling etc.
James_G
ALPI
ALPI
Posts: 335
Joined: Thu May 16, 2013 10:33 pm
Location: Guildford

Post by James_G » Mon May 20, 2013 9:13 pm

IAM Joe wrote:Congratulations on the purchase, looks like you'll soon have it back to showroom (and better) condition. Let me guess, you also visit detailing world?! :lol: Don't tell me you've taken swabs off the seats and sent them for laboratory analysis :roll: (like they did on TG)

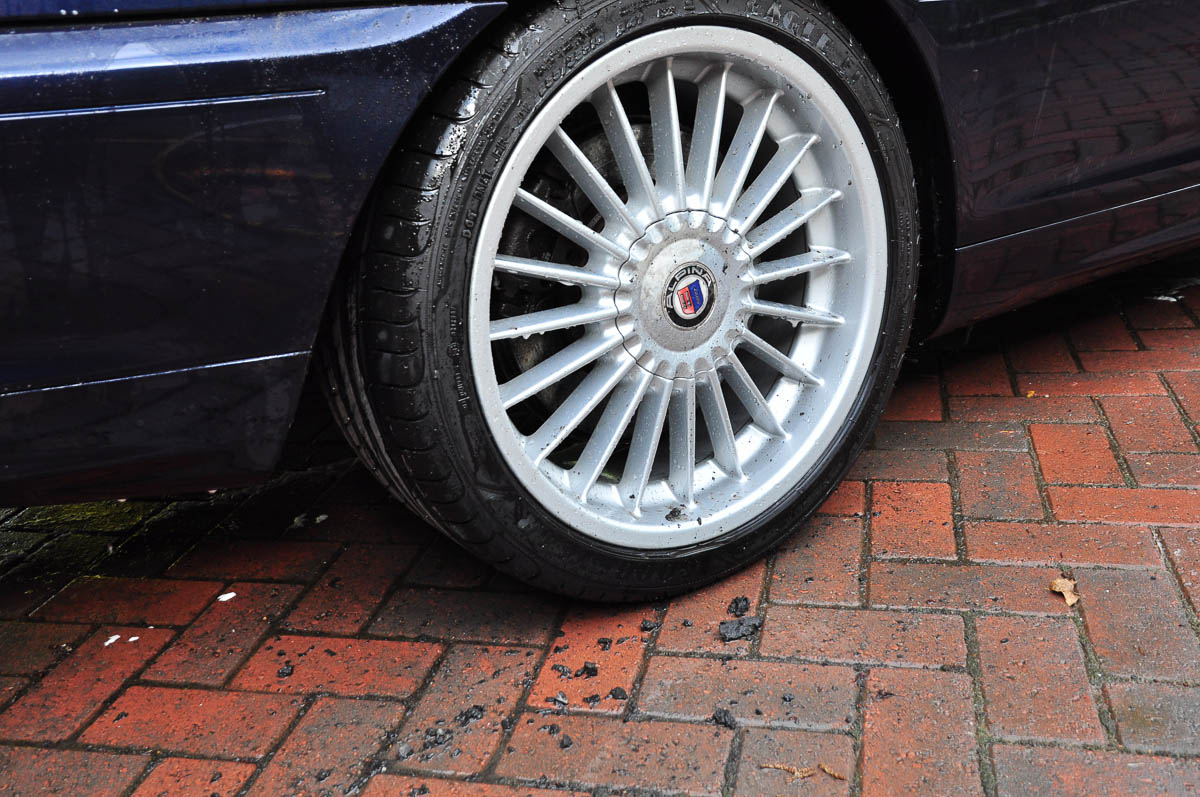
As mentioned, the Acceleras are not a 'ditch finder' tyre. Had one on the front of my D3 for a few weeks whilst my wheel was getting fixed and was suitably impressed with the tyres performance. It does annoy me having different brands on each wheel though. Michelin are always OEM on Alpina.

Sad to see the use of clip on balance wheel weights, but at least the wheels aren't kerbed.

Looking at the wheel centre badges I'd put money on them being 'fakes' replacements as the red always ends up turning orange and fading.

As mentioned previously, the service/manual folder should be Alpina branded. You can sometimes find them on E-bay from time to time.

You get four wheel keys as standard, maybe worth getting a couple spare as they're not unknown to snap.

Great to see it all cleaned up 8)
Thanks. It seems I am too harsh on the Acceleras so I will change them to Goodyear F1s to match the rears when the time is up and not straight away.

New badges definitely on the list, once I've had the centres cleaned up. I imagine there will be interesting times trying to get a colour match to the wheels.

Great idea with the keys, presumably I can go straight to BMW for them?
Currently:
1992 Alpina B2.5 #026, Lagoon Green with Parchment Cloth

Previously:
2013 BMW M135i 3dr, Mineral Grey with Red Leather
2001 Alpina B3 3.3 Coupe #170, Orient Blue with Grey Leather
2006 Z4MC, Silver Grey with Red Leather
2001 E46 330i Sport, Silver with Red Leather
1997 E36 323i SE Touring, Calypso Red with Grey Cloth

User avatar
drewjak
ALPIN
ALPIN
Posts: 692
Joined: Fri Nov 19, 2010 1:25 pm
Location: THE LAKE DISTRICT , CUMBRIA

Post by drewjak » Mon May 20, 2013 10:06 pm

No you can get your keys cut at any locksmiths /key cutters,
If you need new locks you`ll have to go to bmw

Its also not uncommon for a bottom arm and a shocker to fail on just one side so dont worry about that
ESTORIL BLUE B3 3.3 COUPE #60 of 90
& the last 1 registered in 2000


Image

The lack of L.S.D keeps me on the straight and narrow

ALPINA......Because Gentlemen don't drift

ali
ALPINA
ALPINA
Posts: 2401
Joined: Sat Feb 10, 2007 12:40 am
Location: Edinburgh

Post by ali » Mon May 20, 2013 11:35 pm

The ball joints on the E46 are integral to the wishbone so yes common for one to fail. Bit miserly to just replace one side though same wiith the damper.
I recently got 2 x front E46 dampers from Alpina. Took about 2 weeks all in all from ordering to delivery.
B3 3.3 Coupe #090
D3 2.0 Biturbo Touring #098

James_G
ALPI
ALPI
Posts: 335
Joined: Thu May 16, 2013 10:33 pm
Location: Guildford

Post by James_G » Tue May 21, 2013 9:36 pm

Right then, I should be meeting some of you folk at a pub near Basingstoke but the car has just blotted its copybook by seizing up the front OS caliper, so that's something to add to the list of the jobs to do. Shame - I was looking forward to my first decent drive out.

Now that I have some time, here's an update on the car from the rest of the weekend, which was just about getting it a little cleaner.

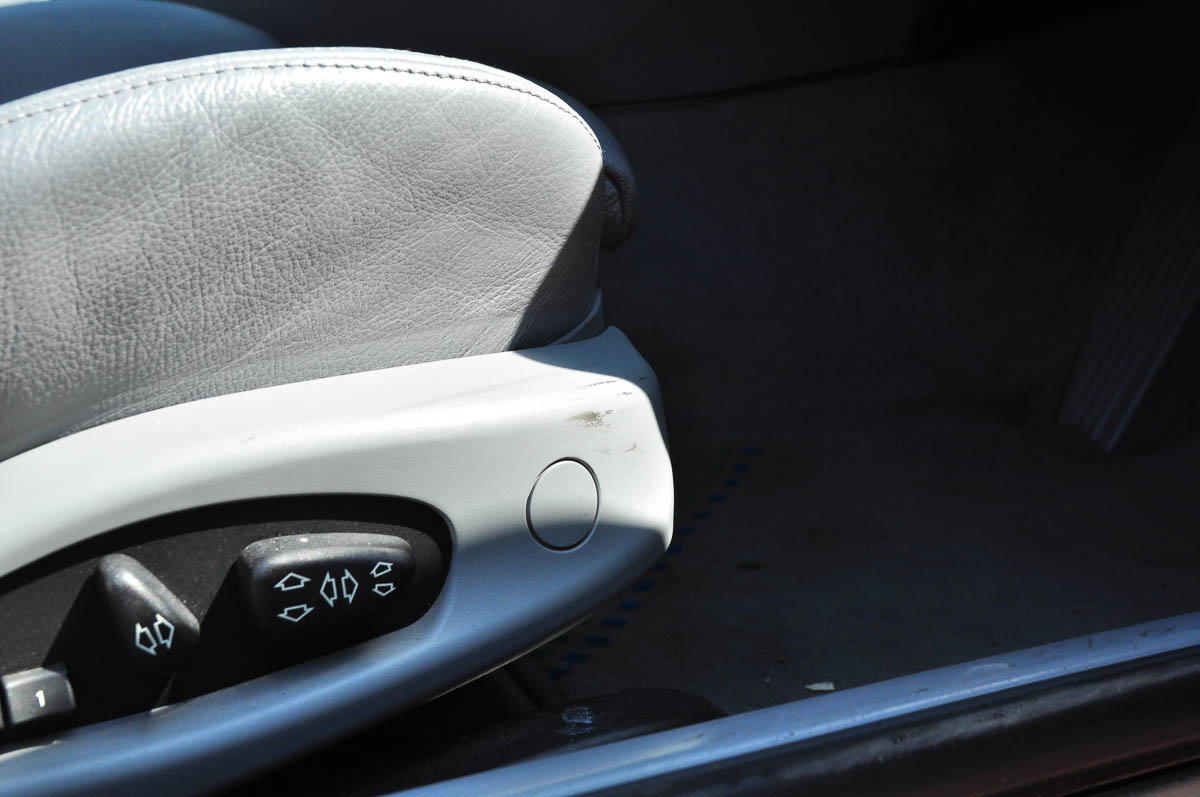
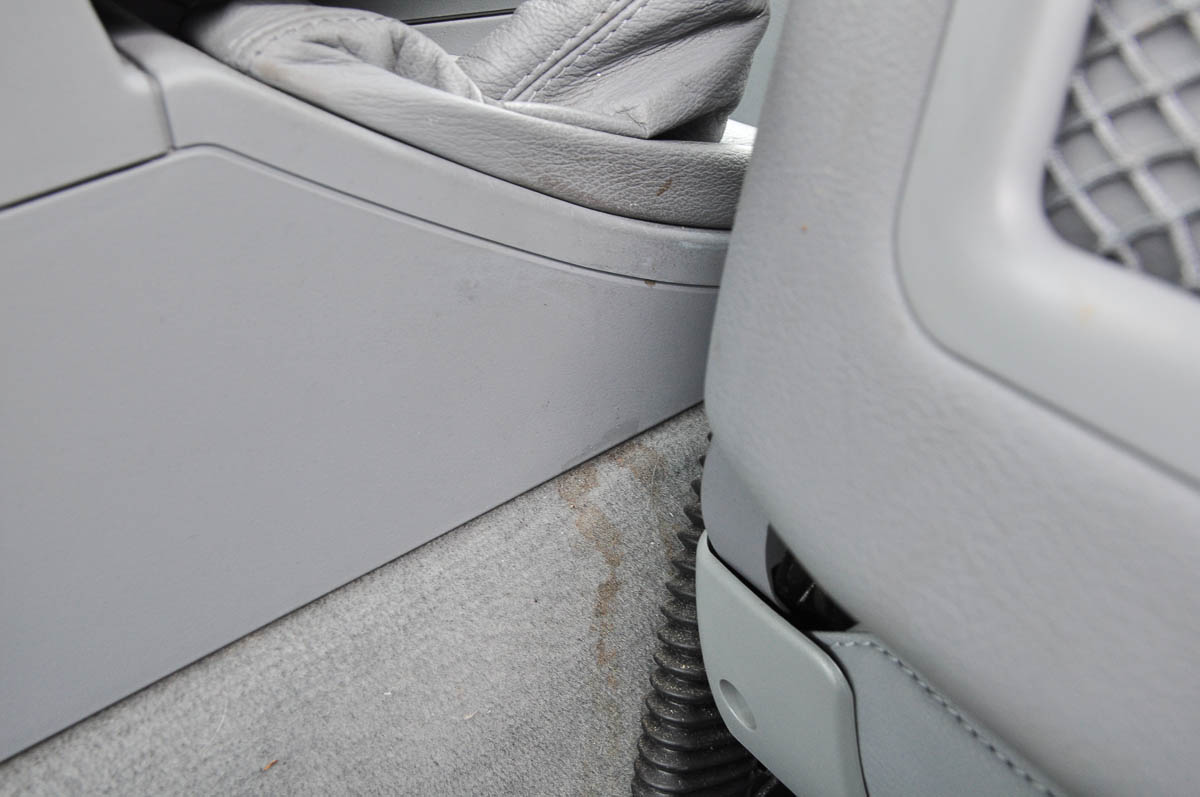
So I started with the interior and here are a few shots of the overall condition, in addition to those earlier in the thread:

Image

Image

Image

Image

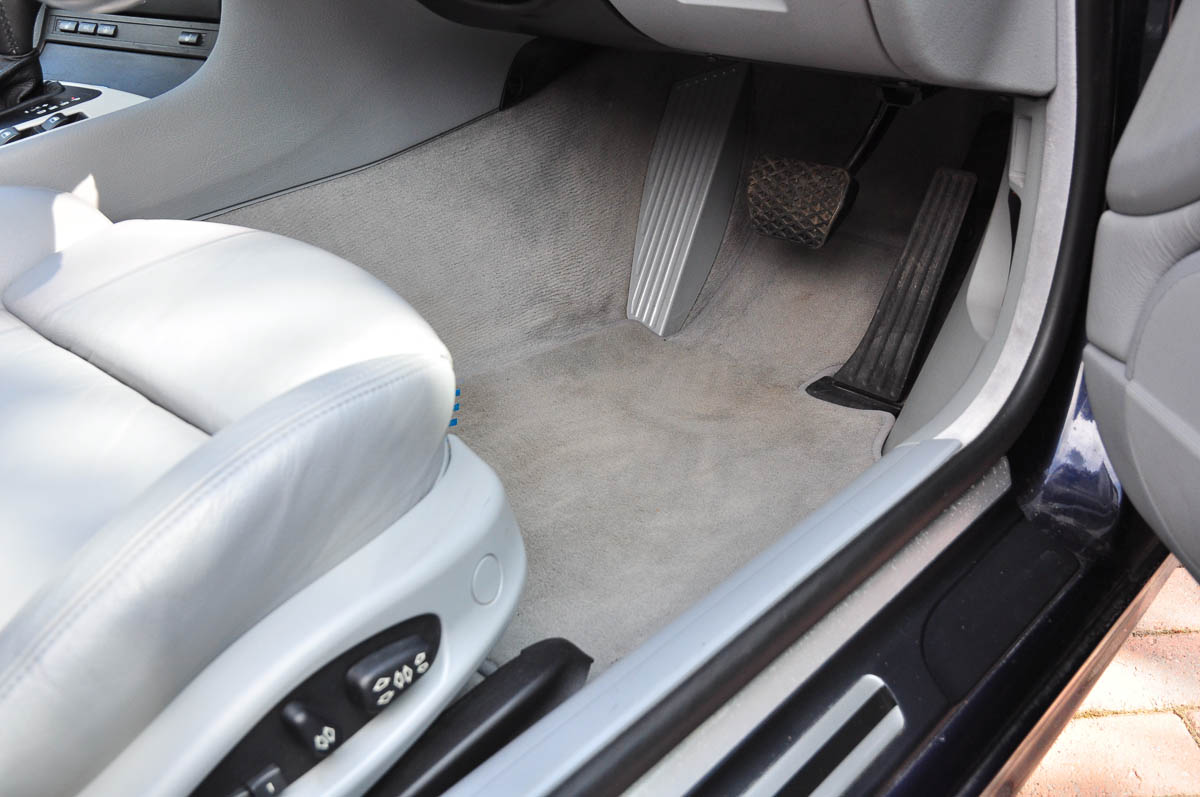
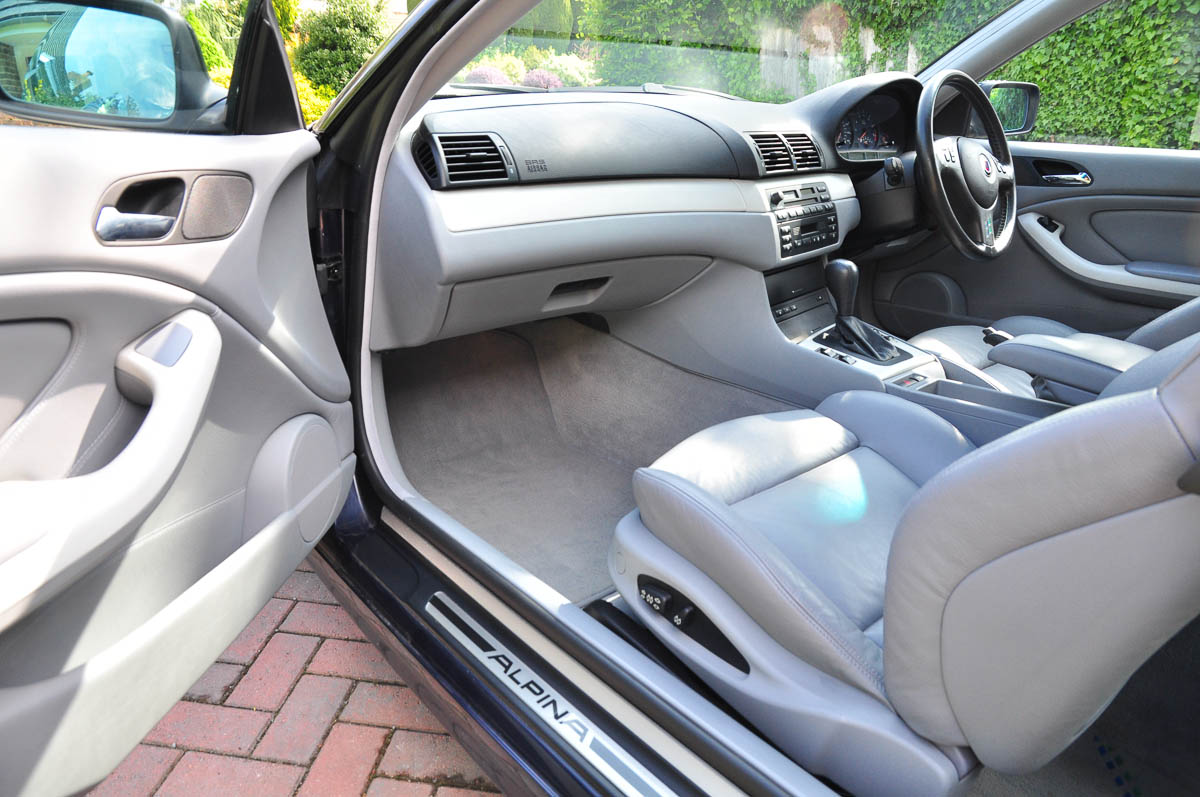
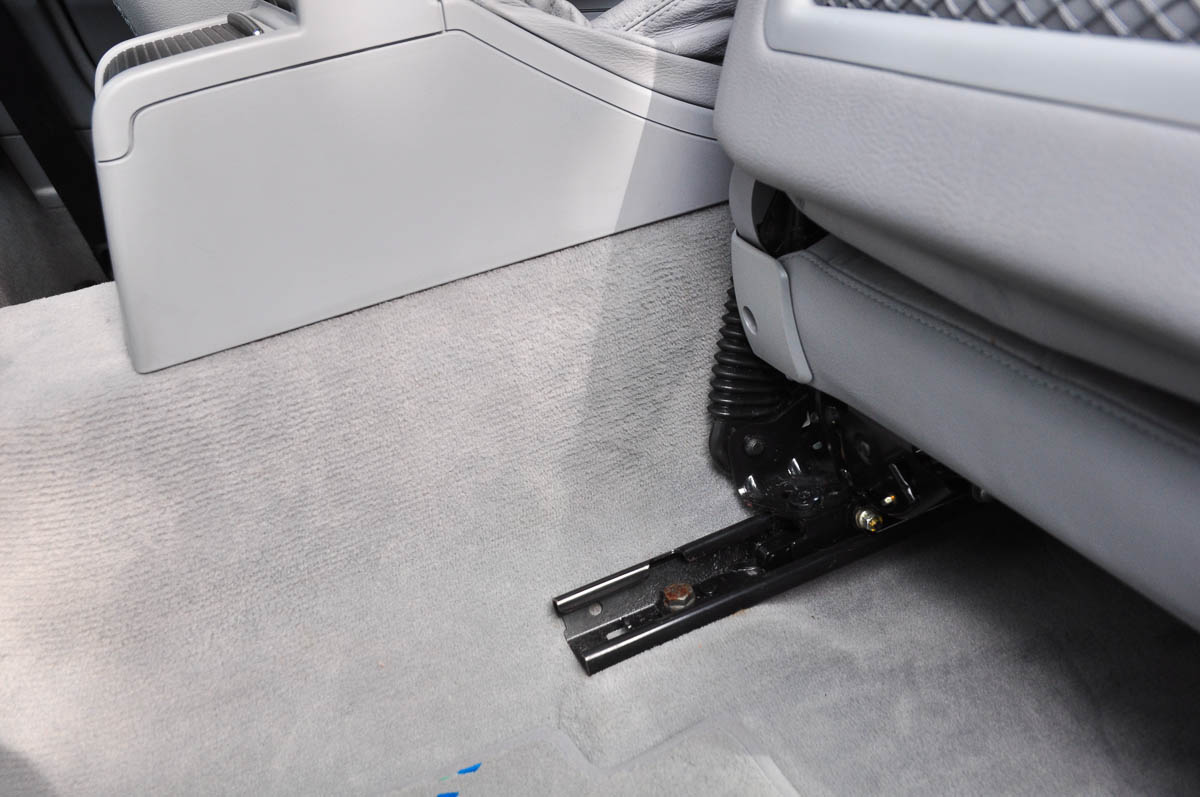
And all cleaned up, following a decent session with the APC.

Image

Image

Image


Remember that coffee stain (or whatever)?

Image

Now gone

Image

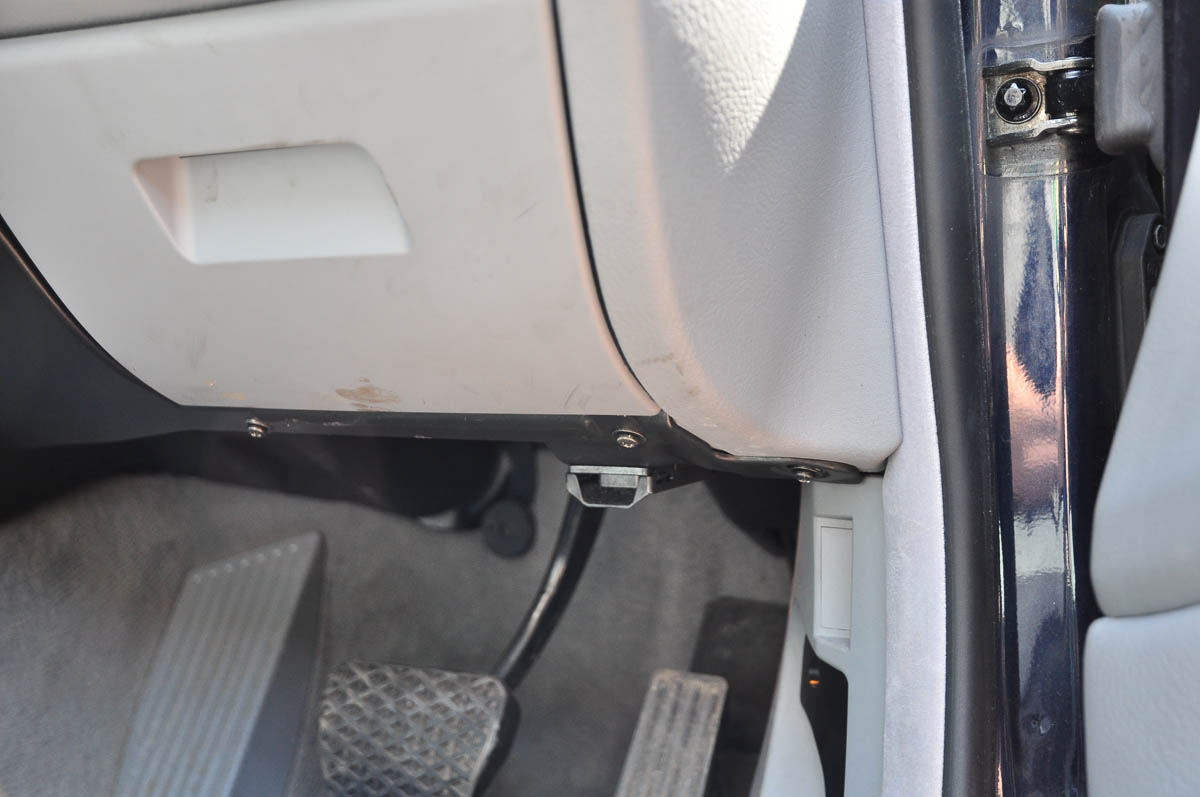
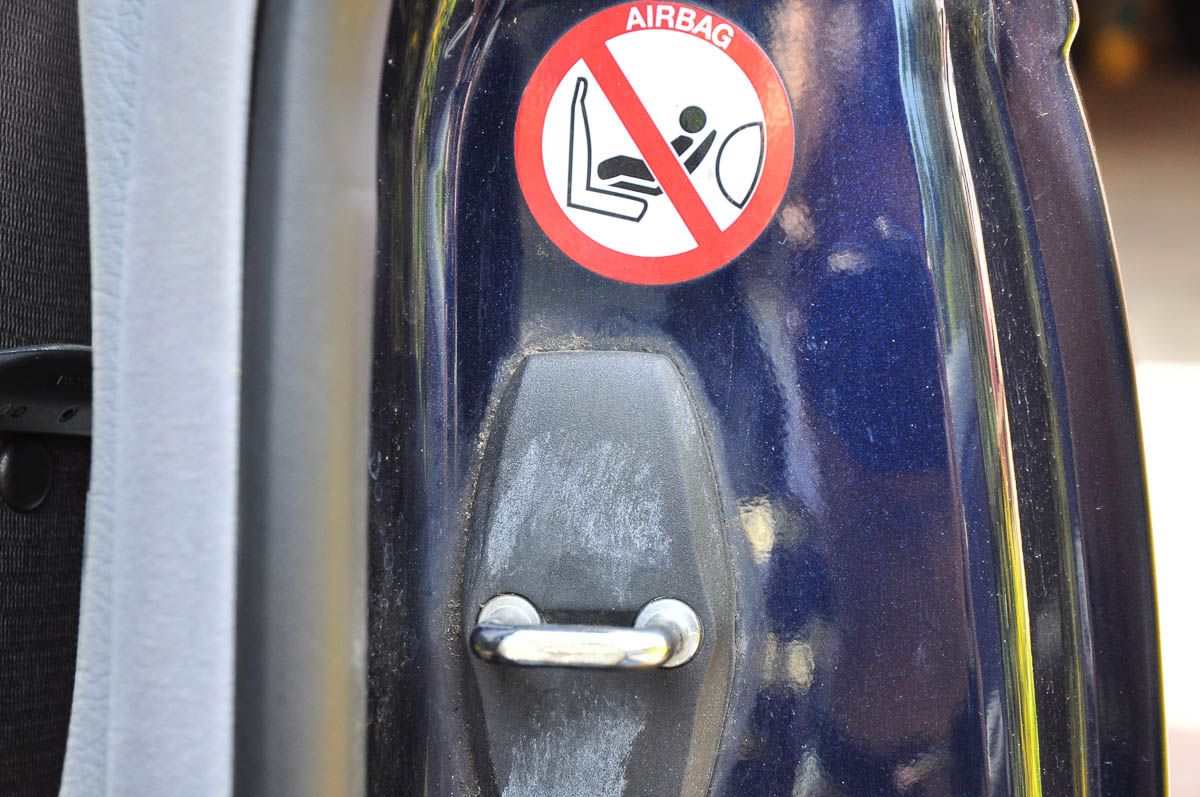
Had a go at the door catch and spotted the cover was trapping some dirt

Image

Image

Image

Then it was time to fit a new tax disc holder and wipers. Bought direct from BMW for the E46 they are an aero style design which I wasn't expecting. Look smart though.

Image

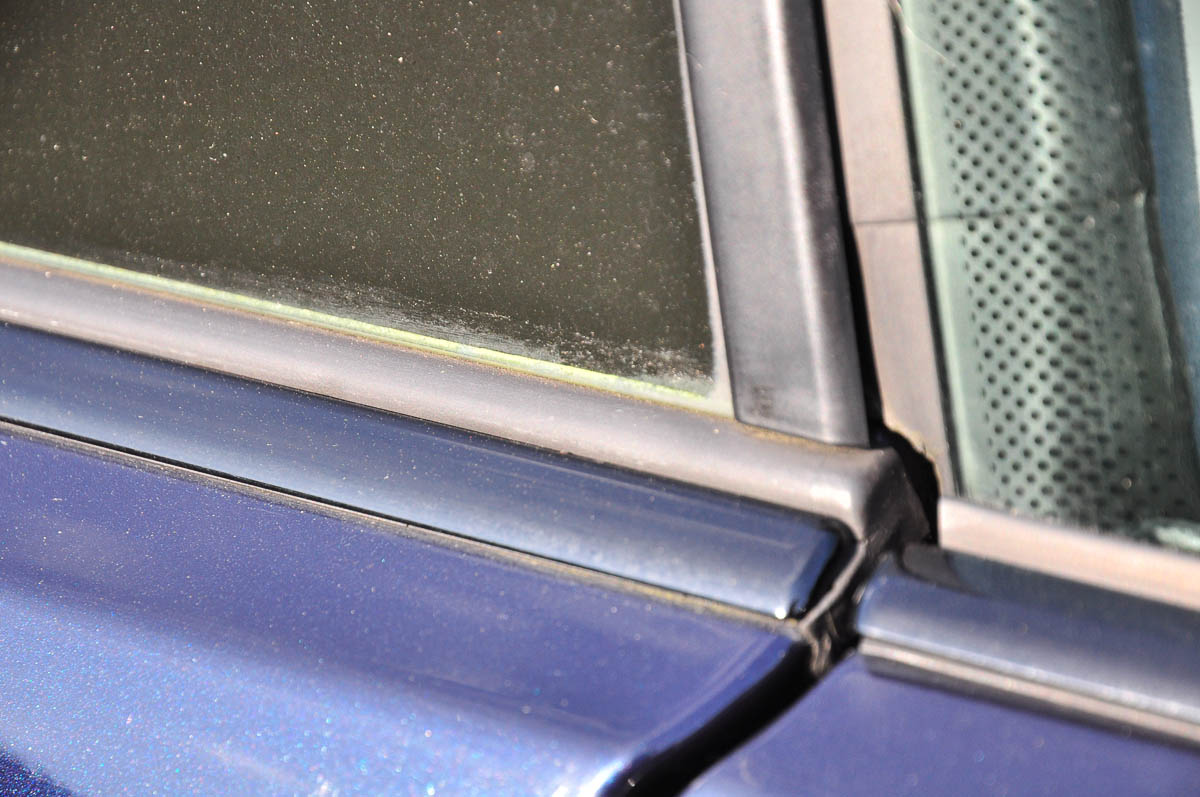
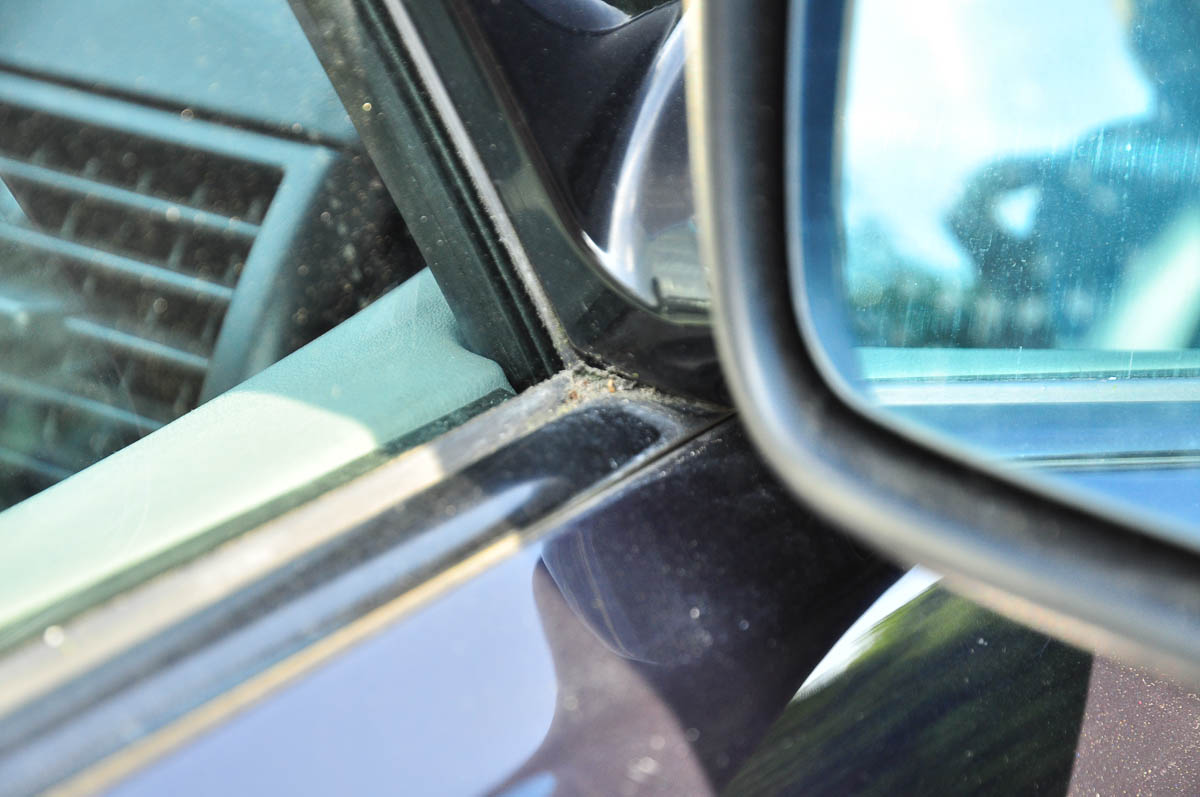
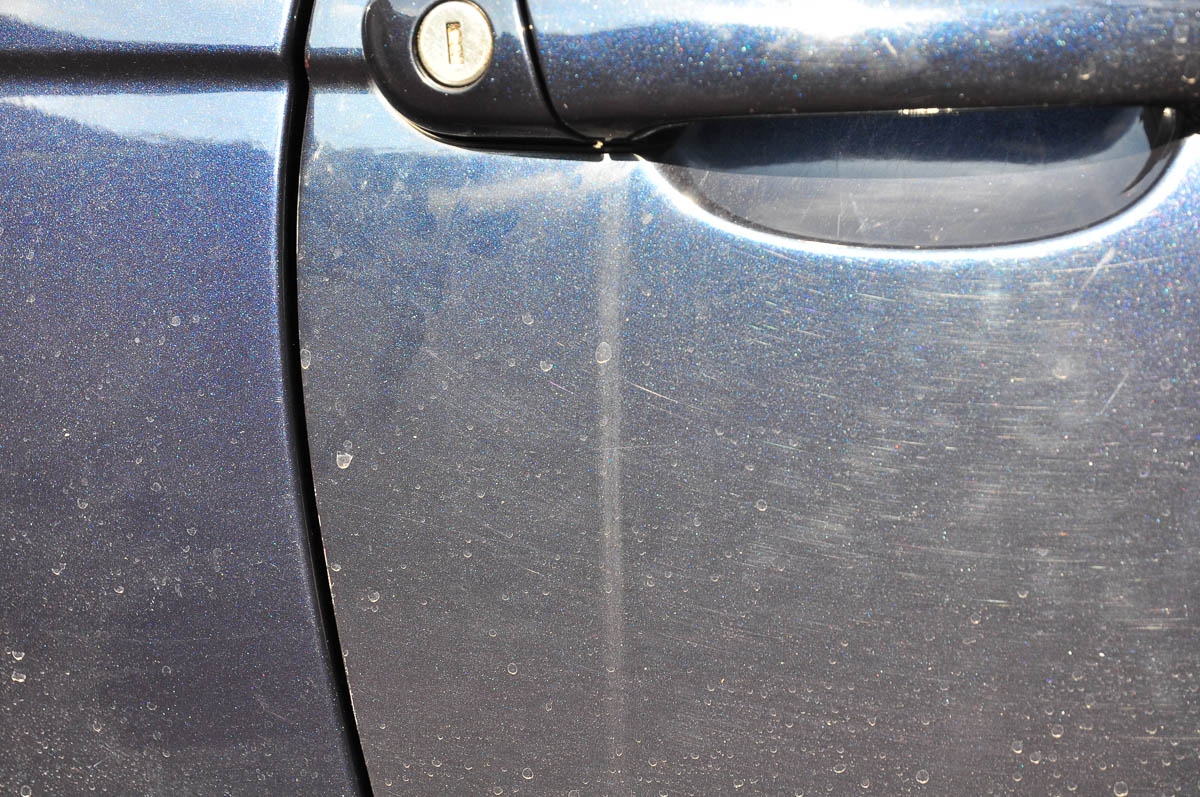
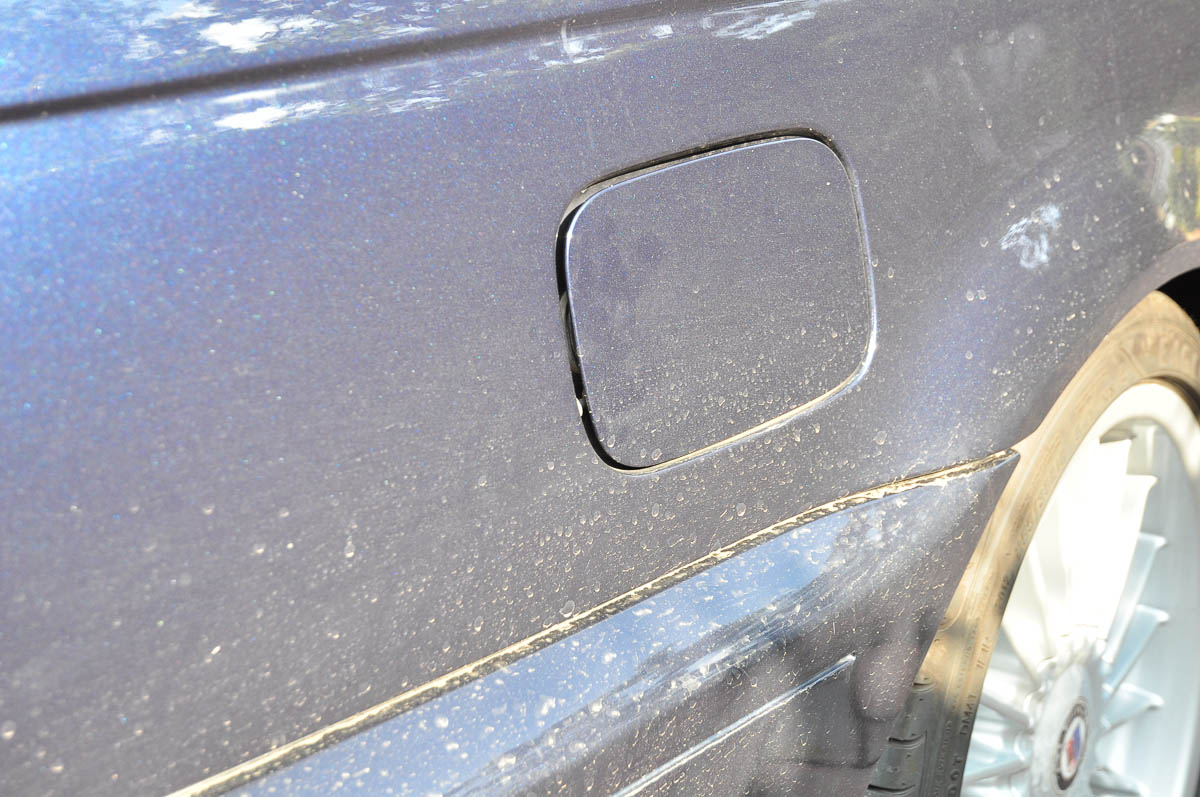
So on to the outside and general condition of the car is good, but there's green mould in some of the gutters and some heavy swirling, although no more than I expected.

Image

Image

Image

Image

Image

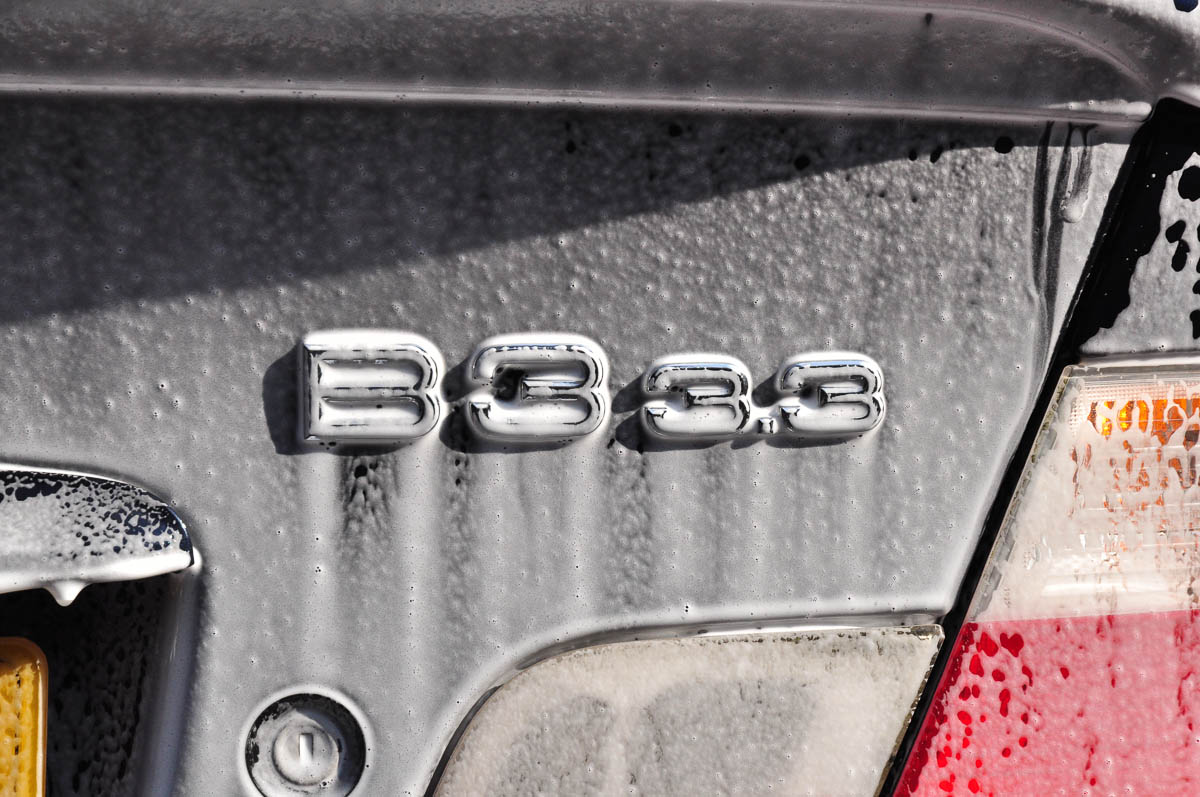
Since no detailing thread is complete without a gratuitous snow foam shot, I give you...

Image

Image


Rinsed off and there's evidence of some wax on there, which is good to see

Image

A bit of snow foam seems to have made its way into the rear lamp unit which warrants further investigation

Image

I then remembered I hadn't rinsed under the arches - amazing how much crud came out but with the gap being tight between wheel and arch it took a while.

Image

I then washed with the usual two buckets and dried leaving this

Image

Image

Image

Image

Image

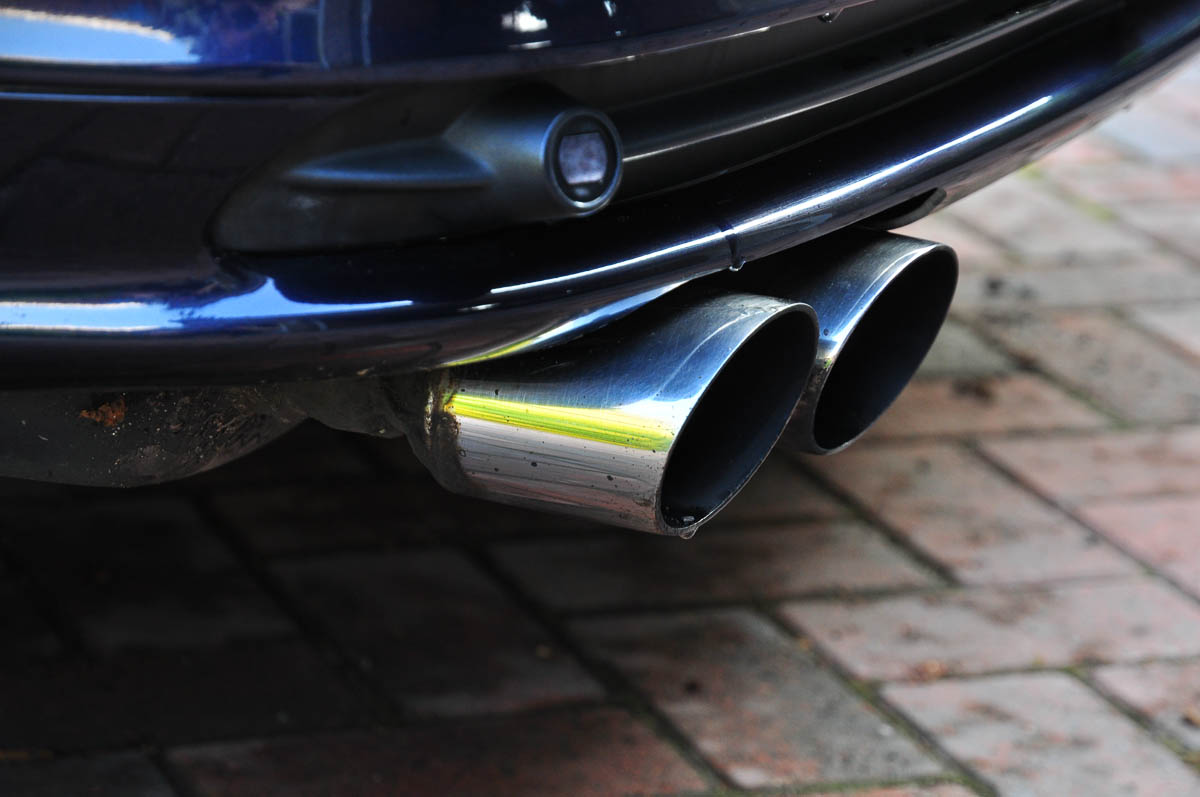
Time was running out but I had a little go at the exhaust tips, taking them from this

Image

To this. Not perfect but much better.

Image

Next time I'll do a full clay session, polish and wax, but this was my first clean to see what was what. Very pleased with how it comes out. Before that though efforts to be concentrated on getting the brake calipers sorted out. Will update following that.
Last edited by James_G on Sun Jan 17, 2021 4:53 pm, edited 1 time in total.
Currently:
1992 Alpina B2.5 #026, Lagoon Green with Parchment Cloth

Previously:
2013 BMW M135i 3dr, Mineral Grey with Red Leather
2001 Alpina B3 3.3 Coupe #170, Orient Blue with Grey Leather
2006 Z4MC, Silver Grey with Red Leather
2001 E46 330i Sport, Silver with Red Leather
1997 E36 323i SE Touring, Calypso Red with Grey Cloth

User avatar
Charles
Moderator
Moderator
Posts: 8065
Joined: Mon Jun 23, 2003 2:44 am
Location: Oxford

Post by Charles » Tue May 21, 2013 11:28 pm

Clearly you have too much time on your hands :wink:

I have no doubt that your car will be back to an excellent condition in short order :D
Charles
Teacher of Chemistry and driver of ALPINAs - not necessarily in that order ;)
B3S Touring (49/116) - been to the moon and now on the way back!
Renault Grand Espace - not mine but the wife's!

User avatar
IAM Joe
ALPINA
ALPINA
Posts: 1642
Joined: Sat May 30, 2009 11:10 pm
Location: North Yorkshire

Post by IAM Joe » Wed May 22, 2013 1:15 pm

Always satisfying to see the results of a few hours hard graft. Well worth the effort, well done :clap:
Joe

SOLD!

Diesel Power! #412

James_G
ALPI
ALPI
Posts: 335
Joined: Thu May 16, 2013 10:33 pm
Location: Guildford

Post by James_G » Sat May 25, 2013 9:39 pm

A quick update following a recent spell in the garage. As mentioned previously, my NSF brake caliper had seized on during a brief drive. So a little bit of internet research and two days later these arrived:

Image

Great service from www.brakeparts.co.uk who delivered two new pistons and two caliper rebuild kits. Although only one of the fronts is seized it made sense to do both at the same time.

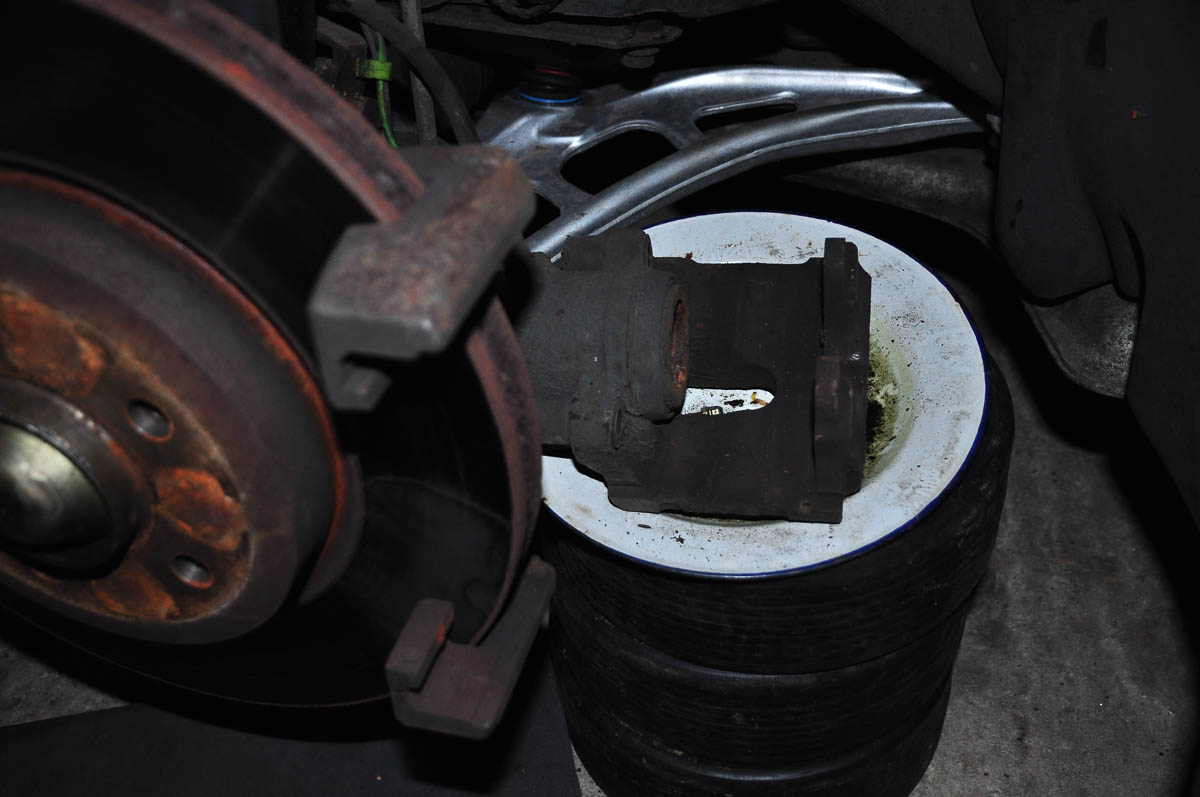
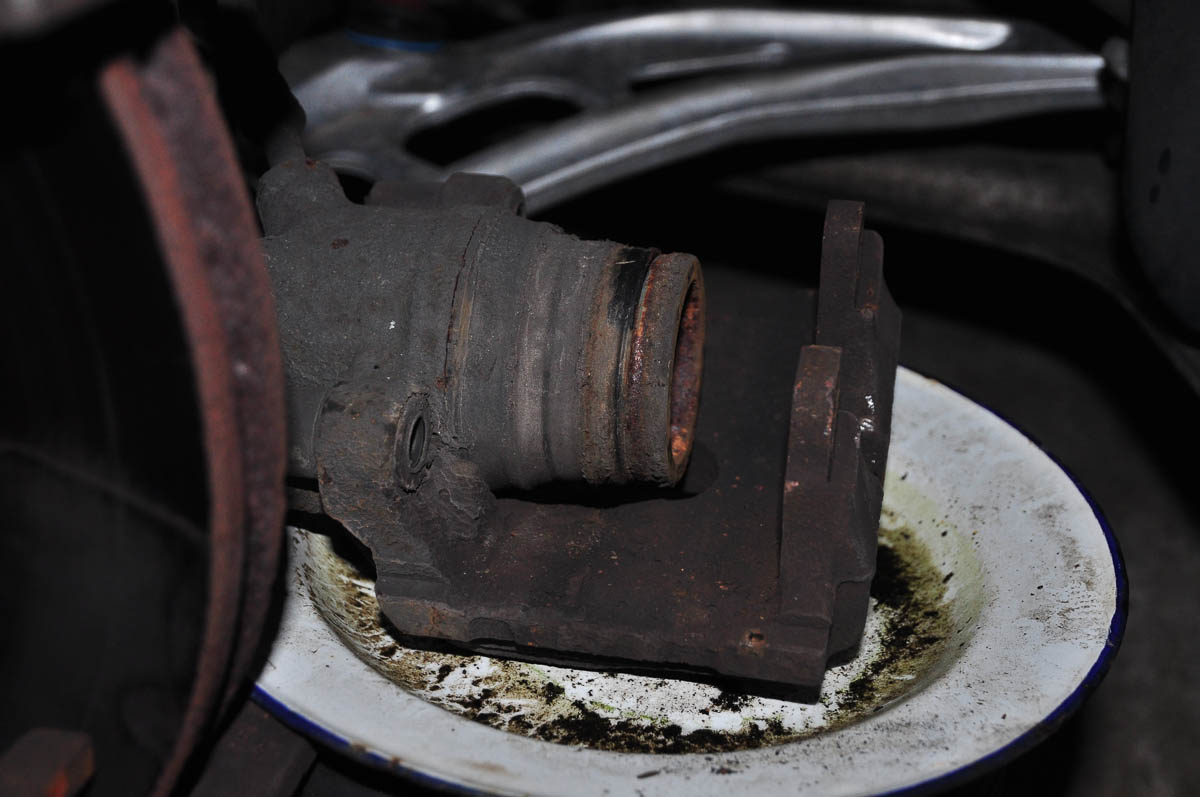
So first thing to do is get the wheel off and remove the caliper. This would normally be easy but with the piston seized it was a little more difficult, but I got there in the end, giving me this (note new lower arm...):

Image

Using the process that somebody else had followed here I pumped the pedal until the piston was clear, which looked like this:

Image

Then using some pliers pulled the piston and old seals out. Word of warning to those who may do this in the future - lots of brake fluid will come out at this point!

Image

Luckily I have some of this to top up the reservoir with later:

Image

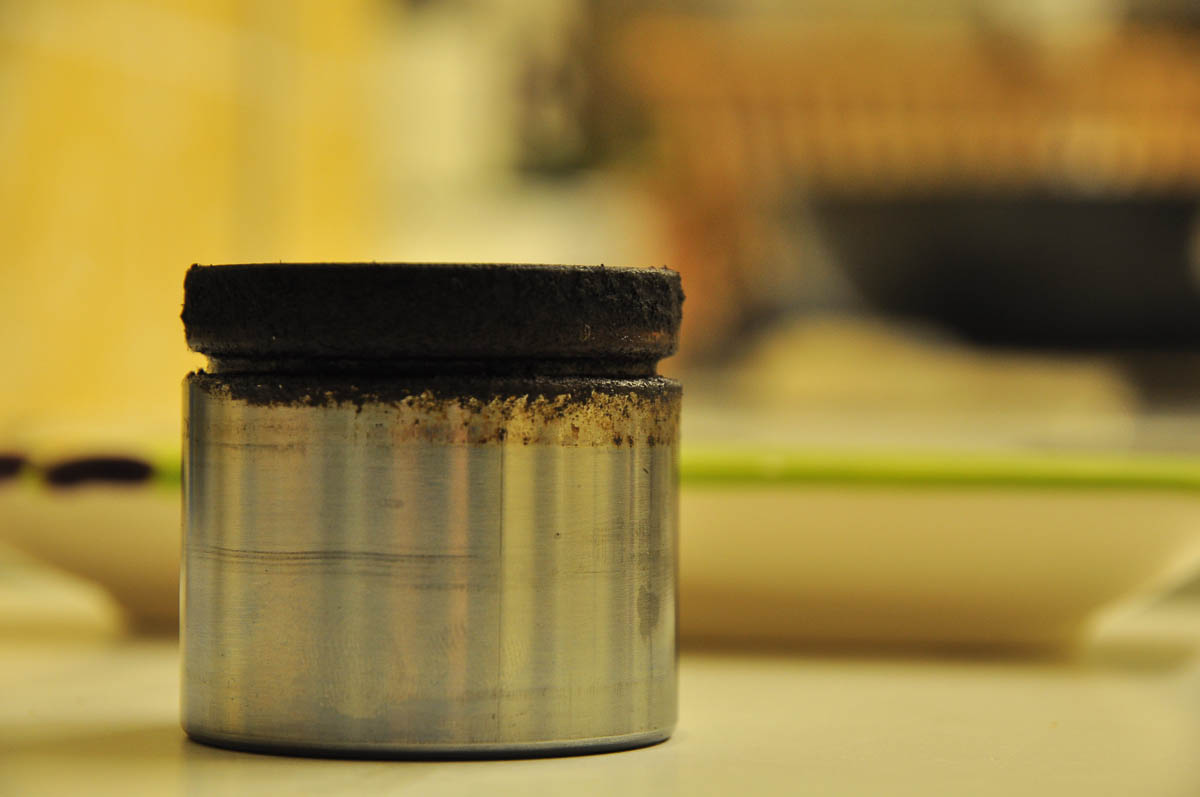
And here's the offending piston all cleaned up. Not as rusty as I thought it would be but interestingly it's quite scored, which can't have helped.

Image

The next step involved using silicon grease and re-fitting the piston. I have a nice camera and didn't want to get it covered in muck so forgive the lack of further photos. Suffice to say though that once the caliper was cleaned up it looked a lot better and there was no drama getting the piston in once I decided to gently tap it in using a wooden drift rather than use a clamp.

I only did one side last night as time was running out, but other side to be done this Monday.
Last edited by James_G on Sun Jan 17, 2021 5:05 pm, edited 1 time in total.
Currently:
1992 Alpina B2.5 #026, Lagoon Green with Parchment Cloth

Previously:
2013 BMW M135i 3dr, Mineral Grey with Red Leather
2001 Alpina B3 3.3 Coupe #170, Orient Blue with Grey Leather
2006 Z4MC, Silver Grey with Red Leather
2001 E46 330i Sport, Silver with Red Leather
1997 E36 323i SE Touring, Calypso Red with Grey Cloth

simon13
ALPINA
ALPINA
Posts: 3388
Joined: Sun Feb 26, 2006 9:10 pm
Location: Camberley, Surrey

Post by simon13 » Sat May 25, 2013 11:10 pm

very common prob on 330's is sticky calipers
Image

polynesian2
ALPI
ALPI
Posts: 365
Joined: Tue Apr 23, 2013 11:31 pm
Location: UK

Post by polynesian2 » Mon May 27, 2013 11:30 pm

Not sure if the 328 based B3s have this issue, but at least I now know how to deal with it. Thanks for sharing and taking the time to photograph and explain the process.

James_G
ALPI
ALPI
Posts: 335
Joined: Thu May 16, 2013 10:33 pm
Location: Guildford

Post by James_G » Thu May 30, 2013 9:51 pm

Following on from the discussion on this thread http://thealpinaregister.com/forums/vie ... hp?t=15277 I went off and bought another Sachs damper and Lemforder arm to match up with the ones the previous owner fitted in the days before I took ownership. With a clear bank holiday Monday I set about fitting them both.

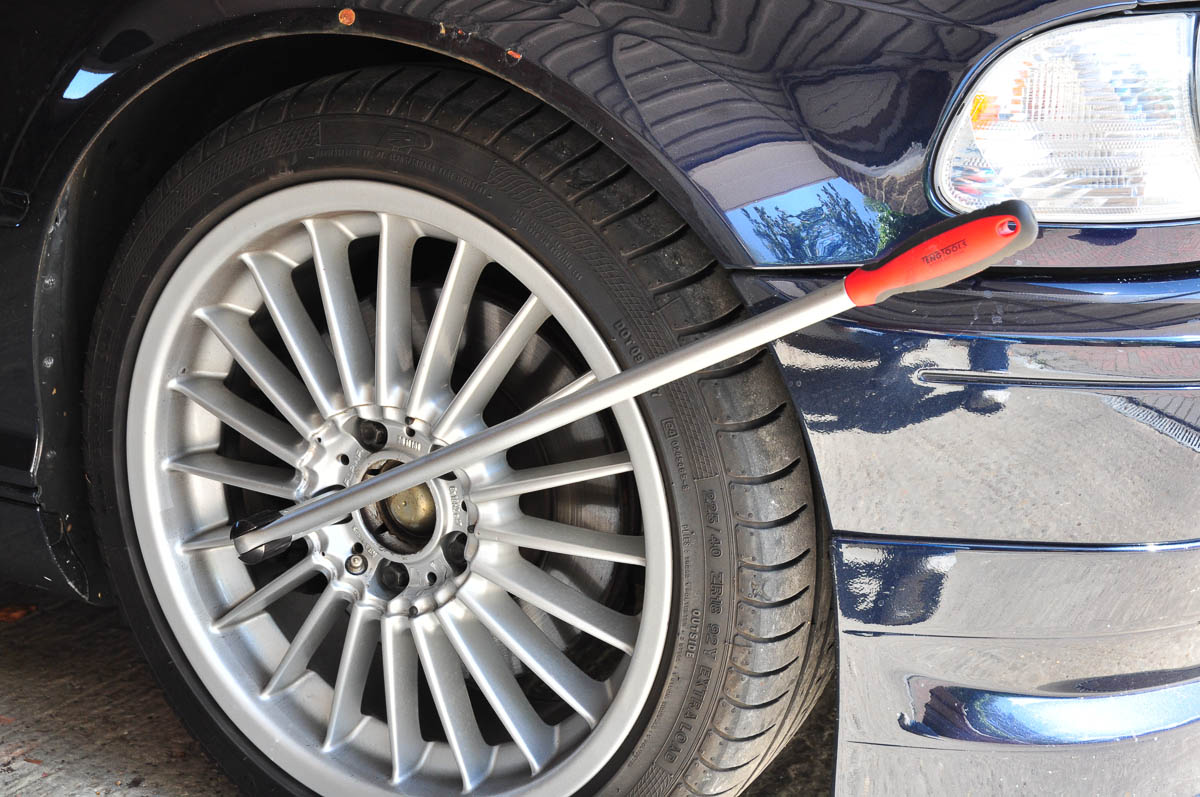
So, first job is of course to get the wheels off made much easier but this excellent birthday present from earlier in the year, my Teng Tools breaker bar. And to think I used to undo wheel nuts with a torque wrench :shock: Rust on the wheel arch not fixing itself, unfortunately.
Image

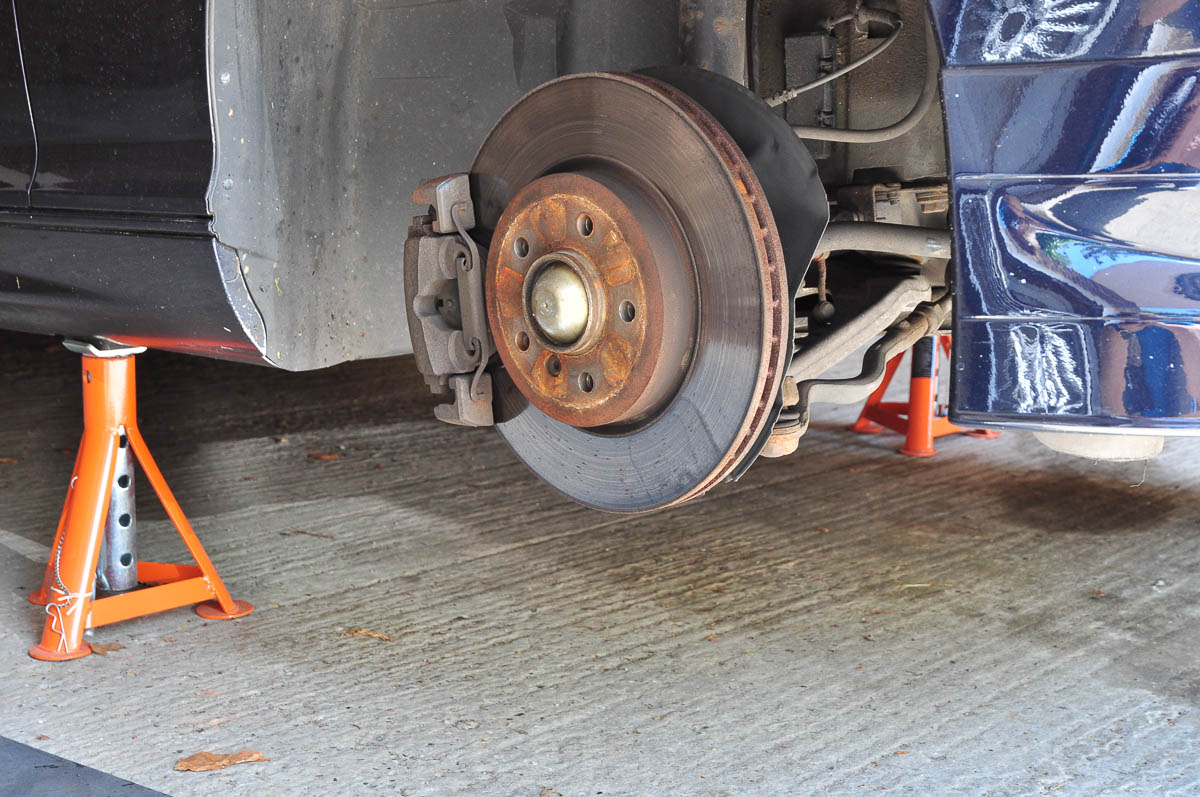
I also used to work on cars with them resting on the jack, but not these days. Instead I wanted to get the front up on axle stands, like so
Image

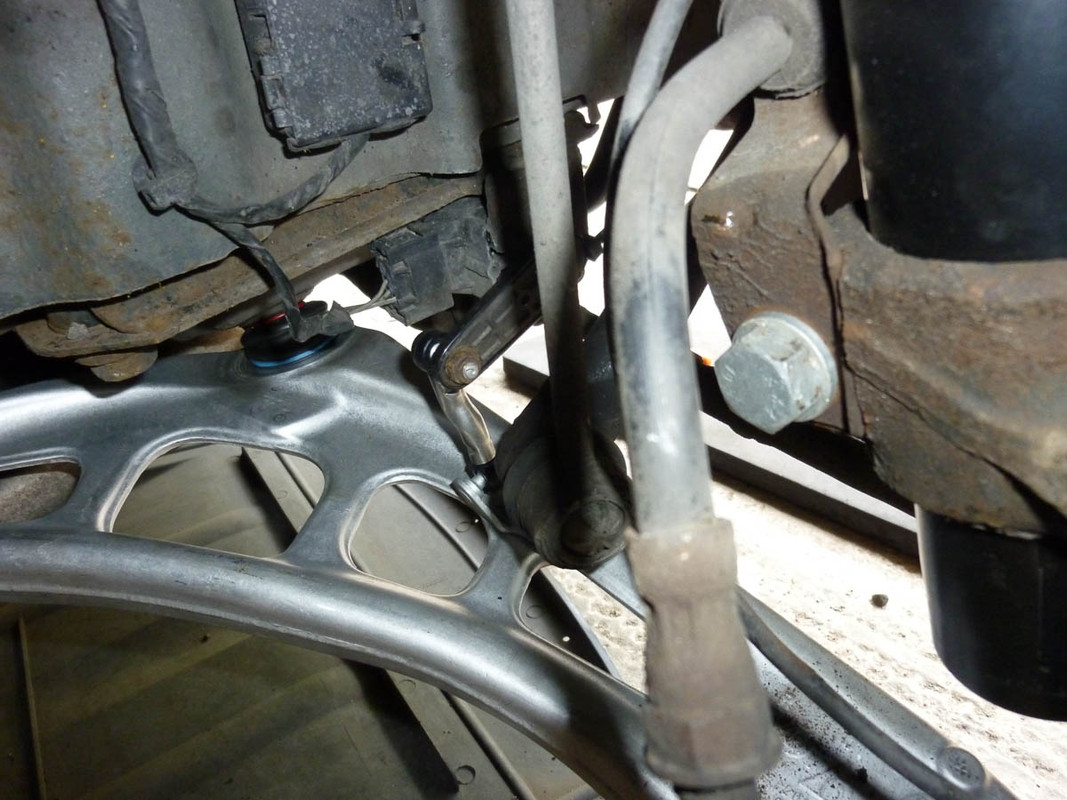
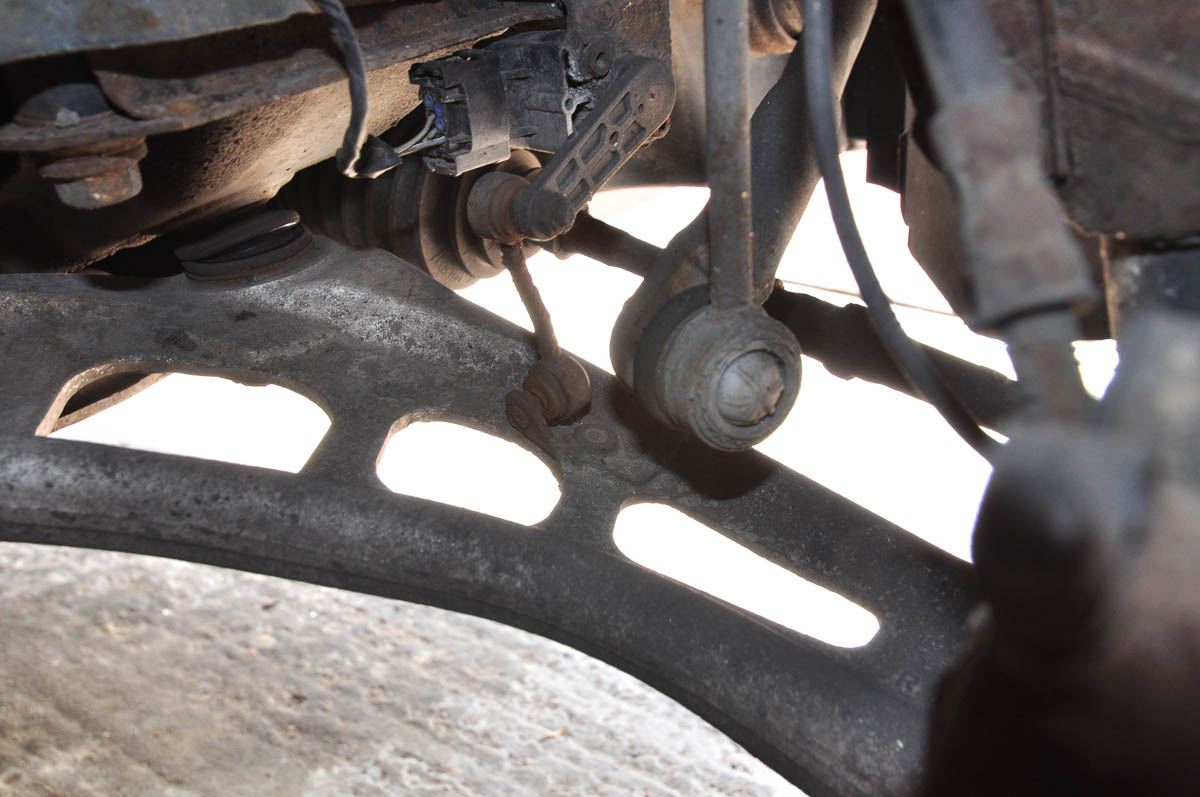
First job was to remove the lower arm and I had no problem with the rear bushing bolts nor the one nearest the disc but in a school boy error moment I quickly realised that I didn't have a 21mm spanner to do the difficult inboard one and I couldn't see a way of using a socket on it. So instead I turned my attention to the strut. While in there I was interested to spot the xenon levelling sensor - I had assumed it worked on rear axle travel only
Image

At this point I had unbolted the part of it that's attached to the arm, but for some reason it wouldn't come free, probably due to galvanic corrosion between differing metals if my A-level chemistry serves me right. Alas I hadn't unbolted the top part to compensate, leaving me feeling like a prat because of this:
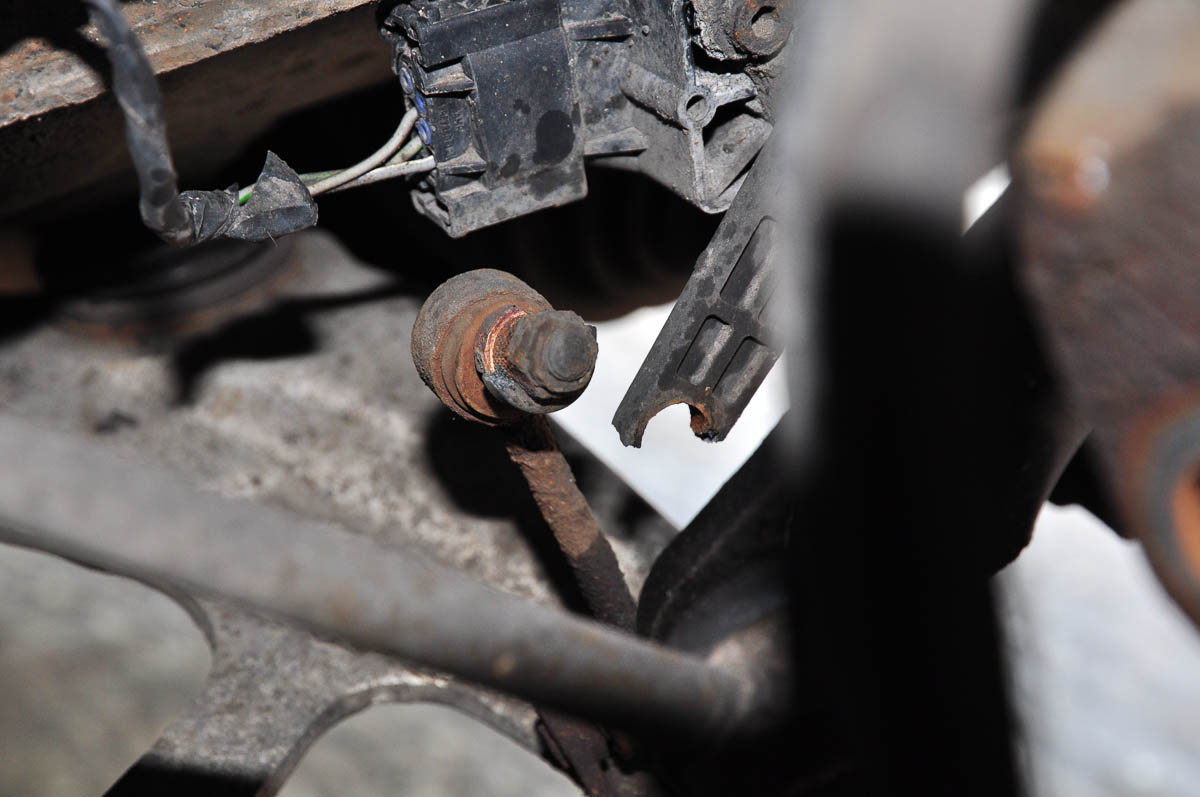
Image

So frustrating and so easily avoidable. For a break I decided to jump in the OH's car and head over to ECP to buy the matching rear dampers as they were showing a 45% discount for the bank holiday. While there a friend phoned to say that he did have a 36mm socket that I could borrow, so I can now get the oil filter housing off without damaging it. Good news.

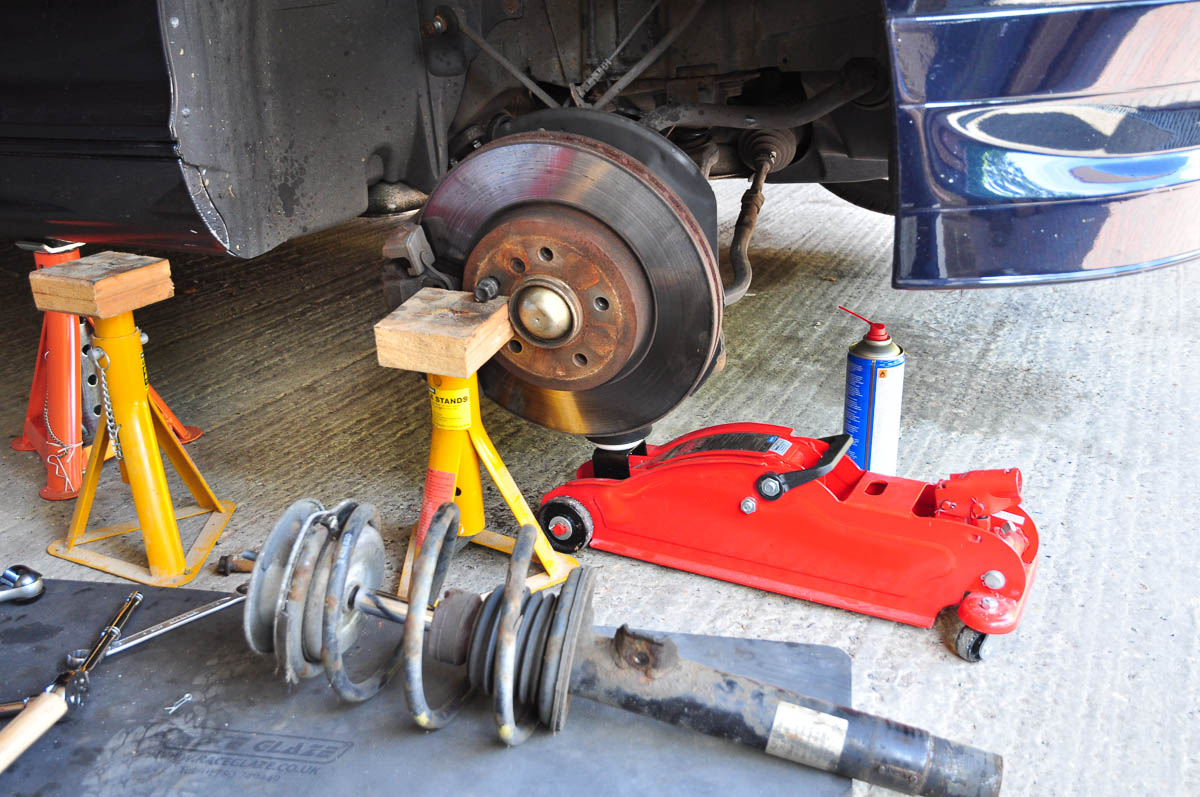
Once back, I carried on and soon had the old strut out. Yellow axle stand and jack there to support the hub and keep the brake pipe from stretching.
Image

And now resting in the vice ready for disassembly. Alas my springs are a bit rusty and but for the fact that I've still barely done 200 miles since buying the car I'd send them off to be smartened up.
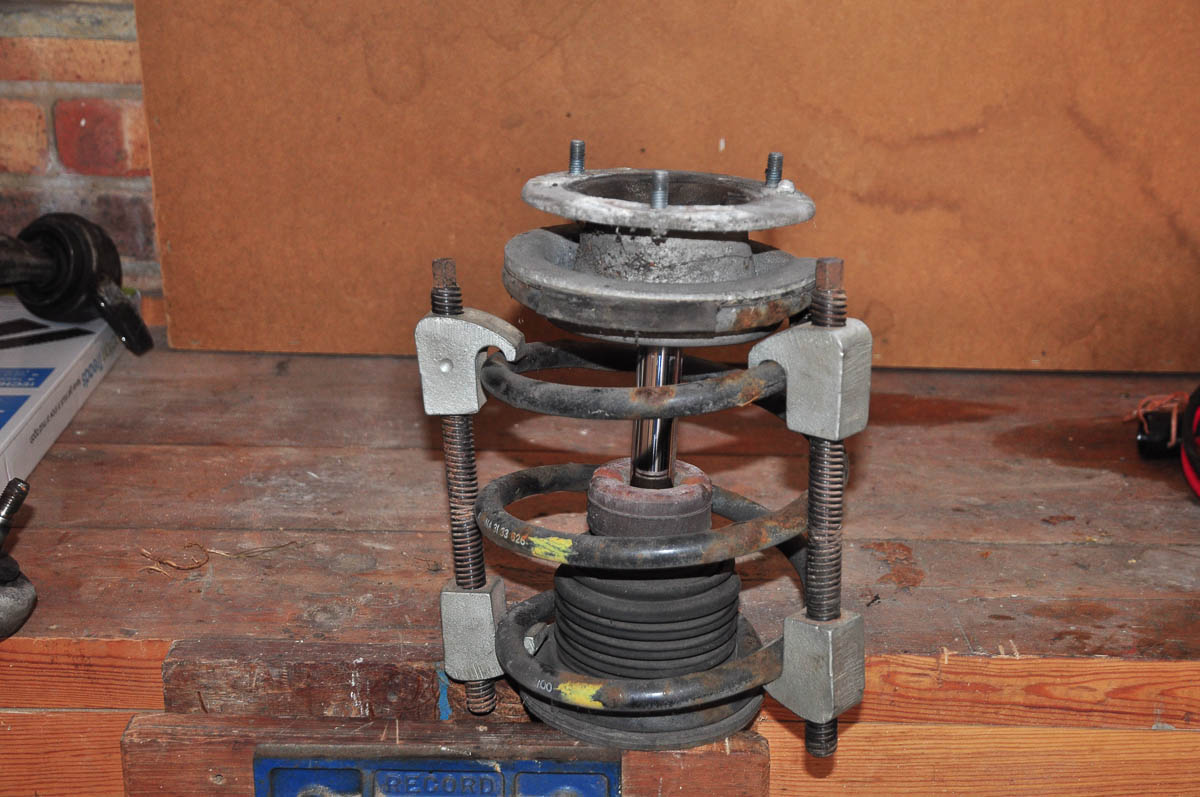
Image

No dramas here as I'd undone the top bolt when the strut was in the car with the trusty breaker bar, so it all came apart easily.
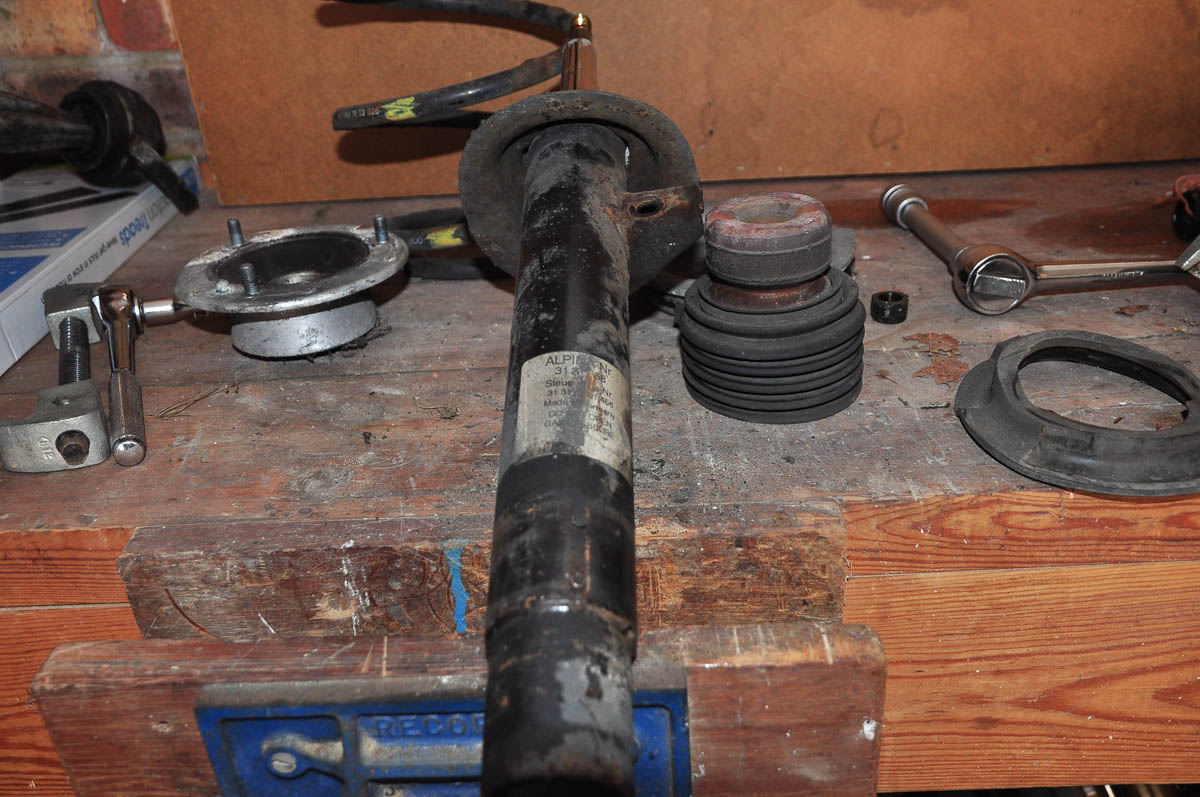
Image

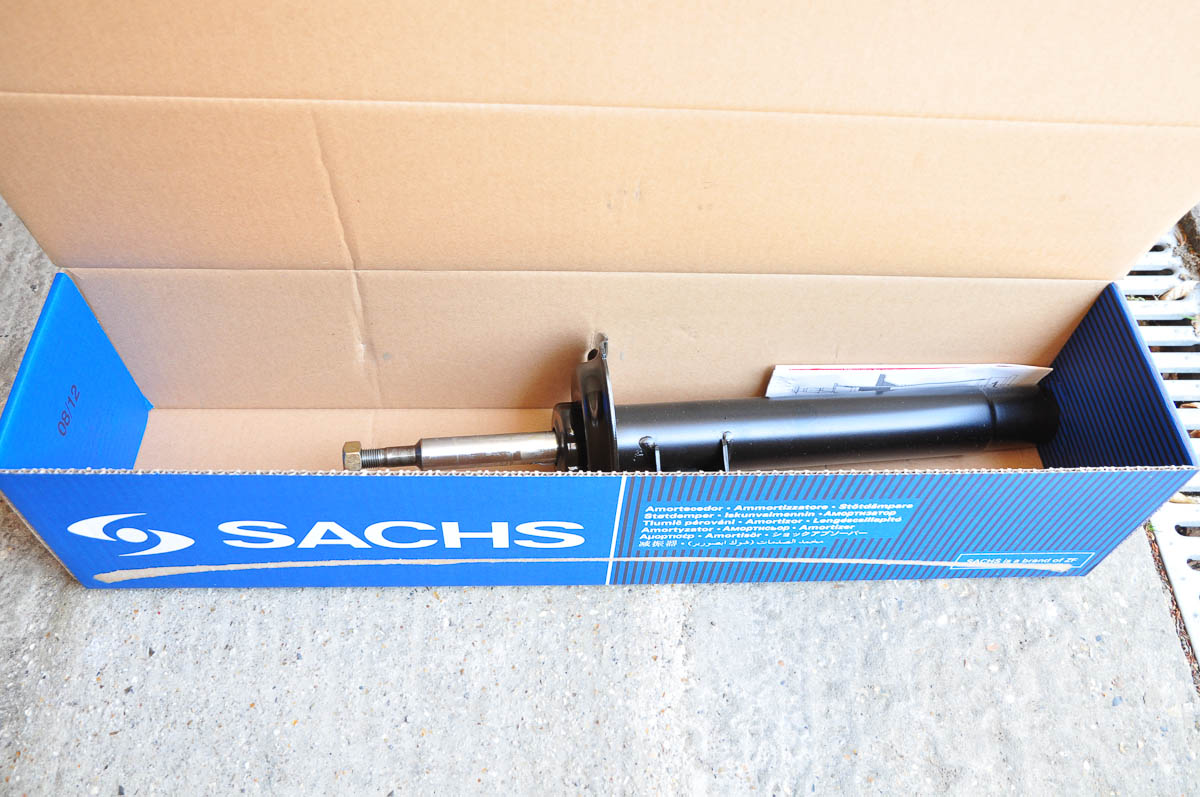
Here's the new one. Surprising lack of packaging to keep it together in the box, but then I guess it's better than being under a wheelarch in all weathers...
Image

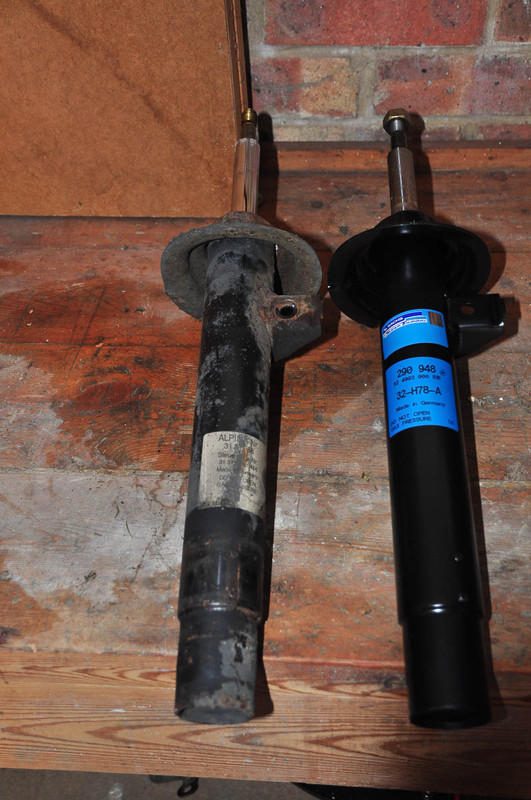
General consensus seems to be that Alpina dampers are built by Sachs and having them side by side I can tell you they are visually identical (although no doubt the internals are different). The only external difference is that the new top nut is 22mm and the original one was smaller, 20mm I think. Thread is the same though. I now have both the original front dampers off the car so I am wondering - does anybody know if they can be rebuilt to original Alpina specs?
Image

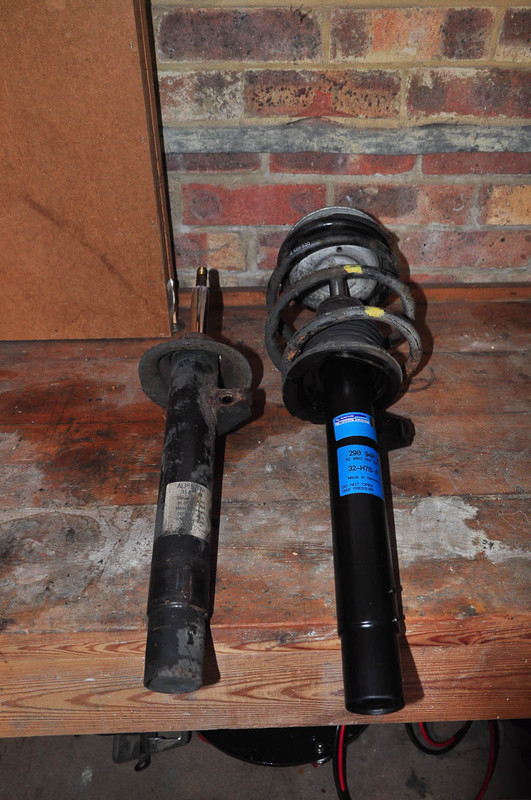
And all put back together, which took about 20 minutes, including cleaning up the top strut mount.
Image

Refitting is the reverse of removal as the old Haynes manuals used to say but in this case it really was, so a scant 10 minutes or so and it was back together, just leaving everything to be torqued up.

Image

For those who might be doing this soon I found torque specs off E46fanatics (I think) which were as follows:

Top three nuts - 25 ft lb for 21mm flange size
Lower pinch bolt - 60 ft lb
Top strut nut - 47 ft lb.

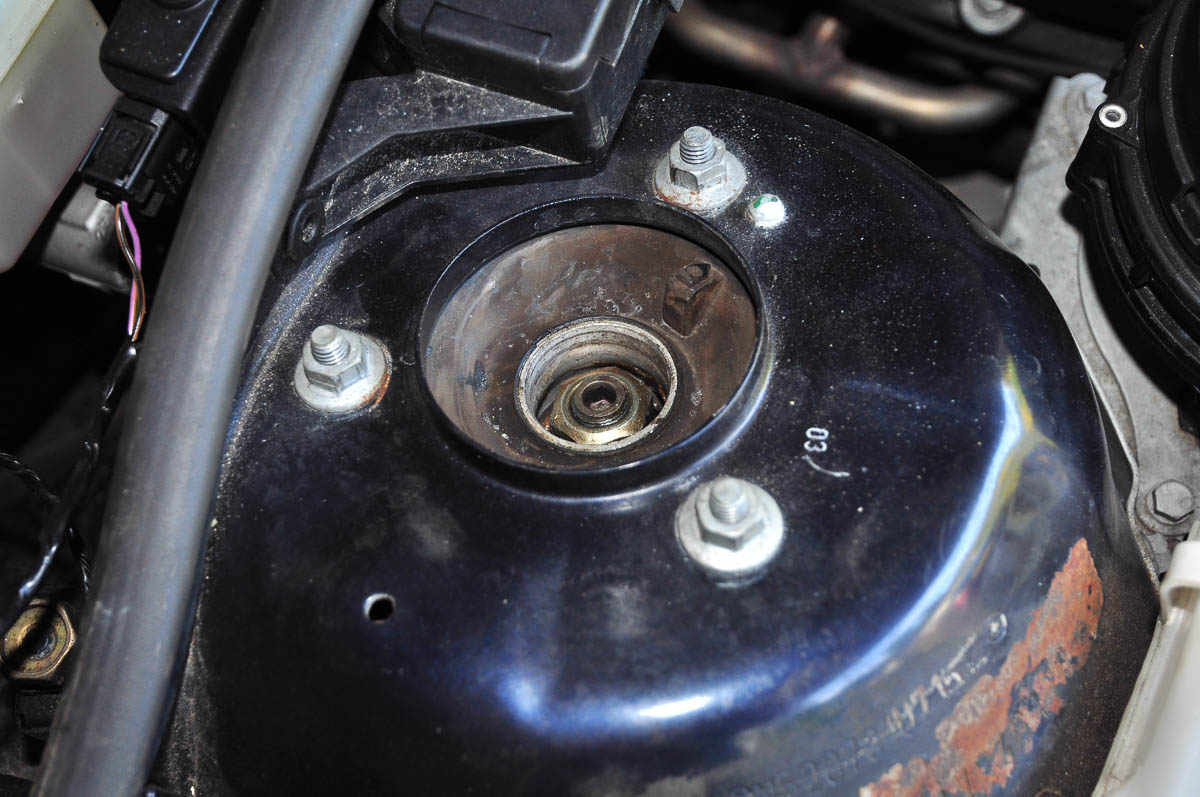
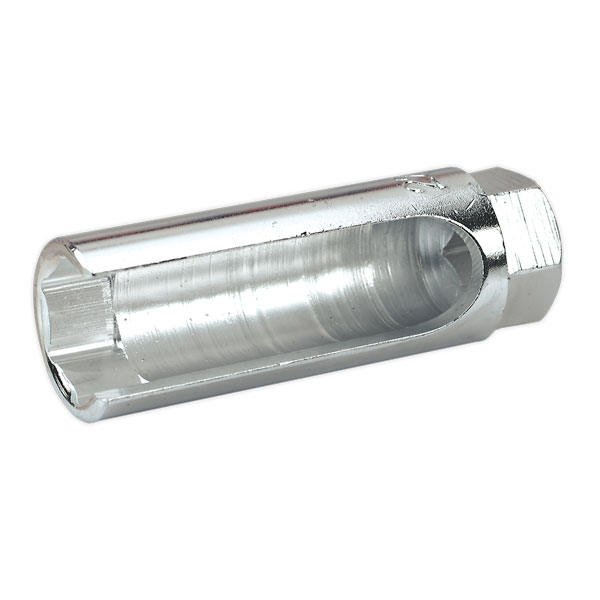
That last one proved tricky though since you need to hold the damper piston while you tighten the nut. It's this one:
Image

Common practice is to use an impact wrench but a) I don't have one and b) it's thought to damage the seals so I had to bail out there and have ordered one of these which I hope will arrive before the weekend.
Image

Annoyed that I couldn't go out for a drive with my now matched suspension I decided to finish two small jobs that I had been waiting on parts for.

The original jack was missing a clip, not the end of the world I grant you

Image

But I've bought and fitted one anyway:

Image

And the hook that enables you to easily lift the carpet had broken off
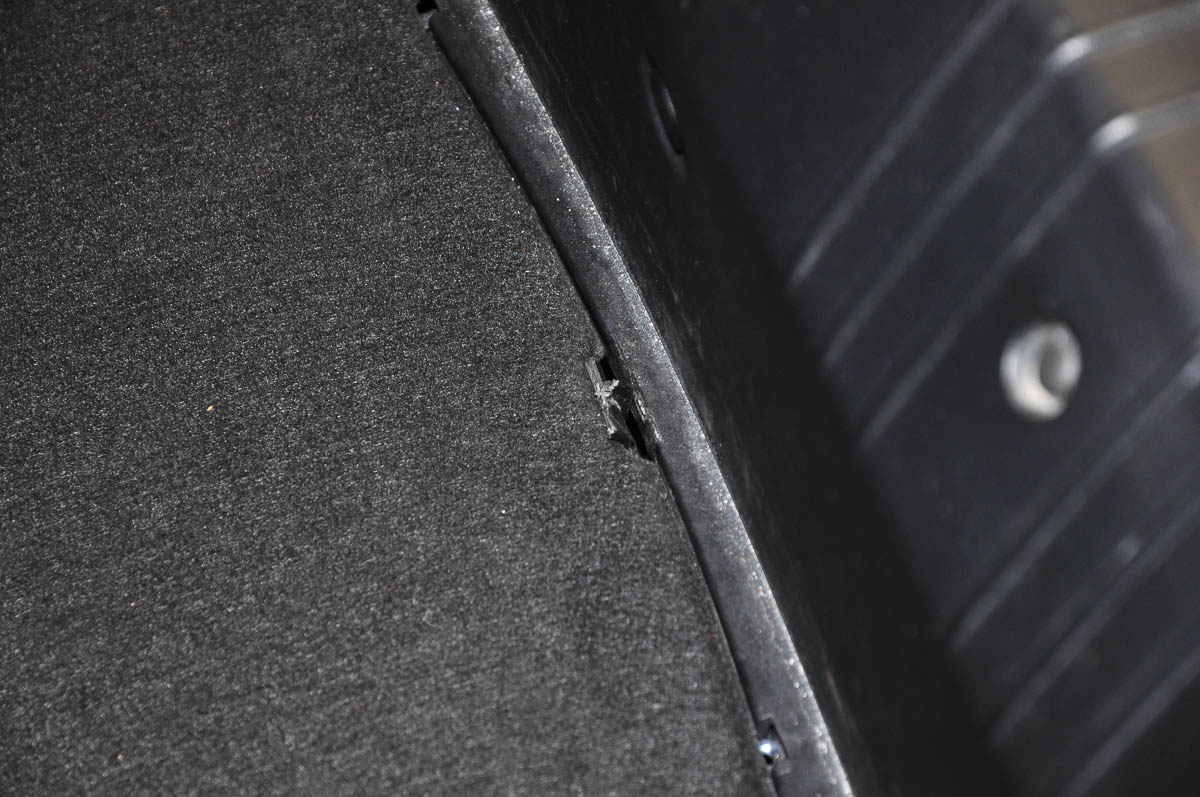
Image

So I replaced that as well, which does make life a little easier and is the sort of attention to detail that no dealer would ever give you.

Image

So hopefully, it'll be a quick torqueing up of that nut and I can get out for a drive, before I then have to get it back on stands to swap the arm over. Slow but steady progress though - it's all coming together.

Thanks for reading - hope you are enjoying the updates.
Last edited by James_G on Mon Jan 18, 2021 4:10 pm, edited 2 times in total.
Currently:
1992 Alpina B2.5 #026, Lagoon Green with Parchment Cloth

Previously:
2013 BMW M135i 3dr, Mineral Grey with Red Leather
2001 Alpina B3 3.3 Coupe #170, Orient Blue with Grey Leather
2006 Z4MC, Silver Grey with Red Leather
2001 E46 330i Sport, Silver with Red Leather
1997 E36 323i SE Touring, Calypso Red with Grey Cloth

ali
ALPINA
ALPINA
Posts: 2401
Joined: Sat Feb 10, 2007 12:40 am
Location: Edinburgh

Post by ali » Sat Jun 01, 2013 1:02 am

Thats some good progress you are making there. Great effort.
B3 3.3 Coupe #090
D3 2.0 Biturbo Touring #098

James_G
ALPI
ALPI
Posts: 335
Joined: Thu May 16, 2013 10:33 pm
Location: Guildford

Post by James_G » Tue Jun 11, 2013 12:30 am

So another weekend and some time in the garage again. Having spent Saturday morning doing some errands the car was nicely up to temperature and I thought it a perfect opportunity to do the oil change I mentioned previously.

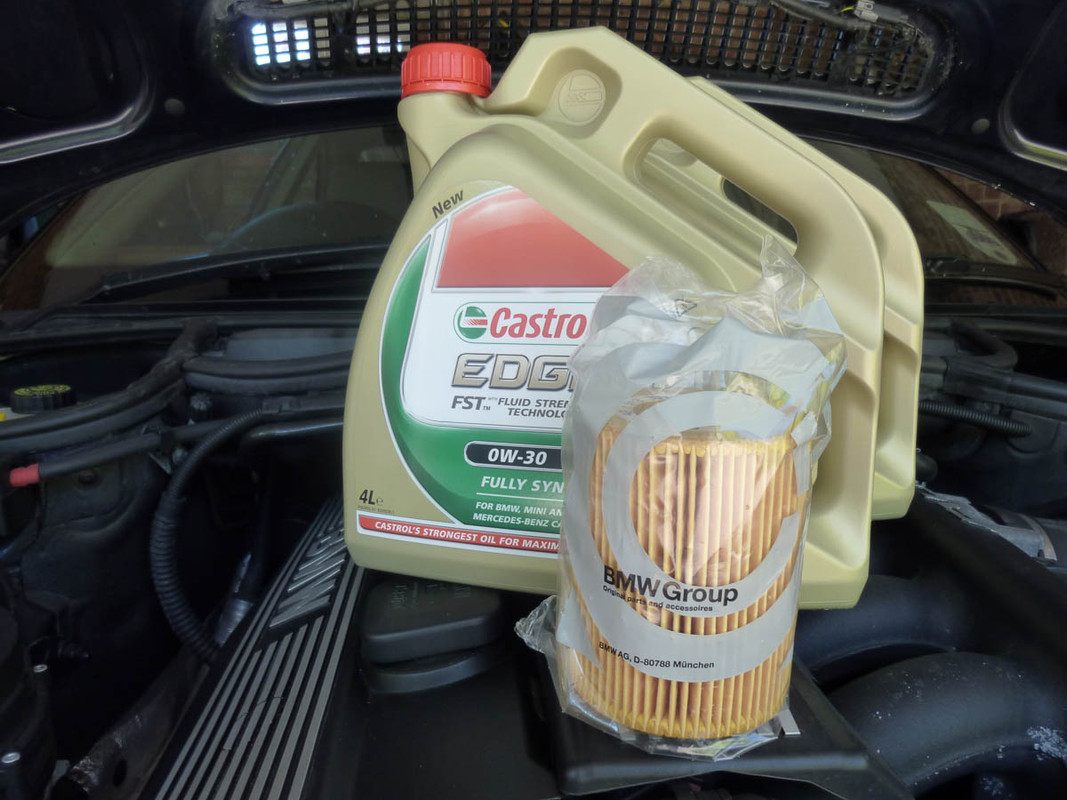
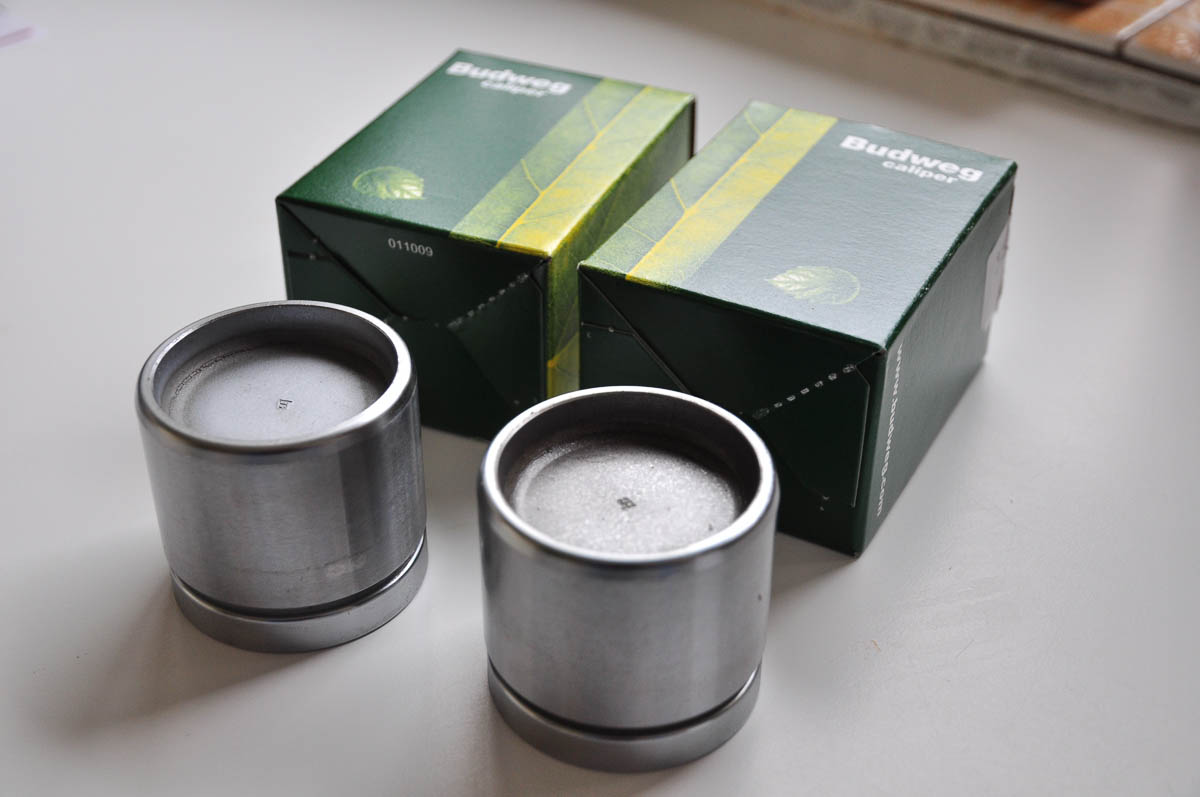
Having ordered in from Opie Oils (oil) and my local dealer (filter) I have this all ready to go
Image

Now I am sure most of you know this next bit but for any of you that don't, here's a brief oil change step by step.

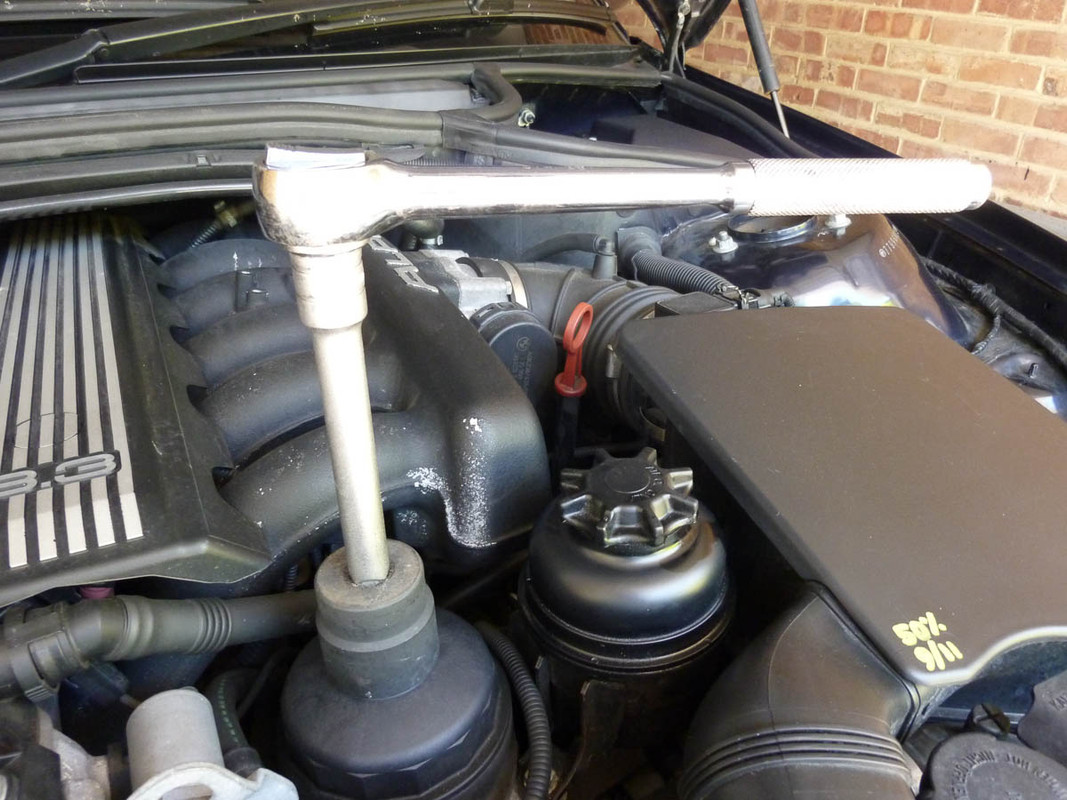
So, oil cap off and 36mm socket to undo the oil filter housing. This is an impact socket borrowed from a friend, which is totally over specced but saved me buying one.

Image

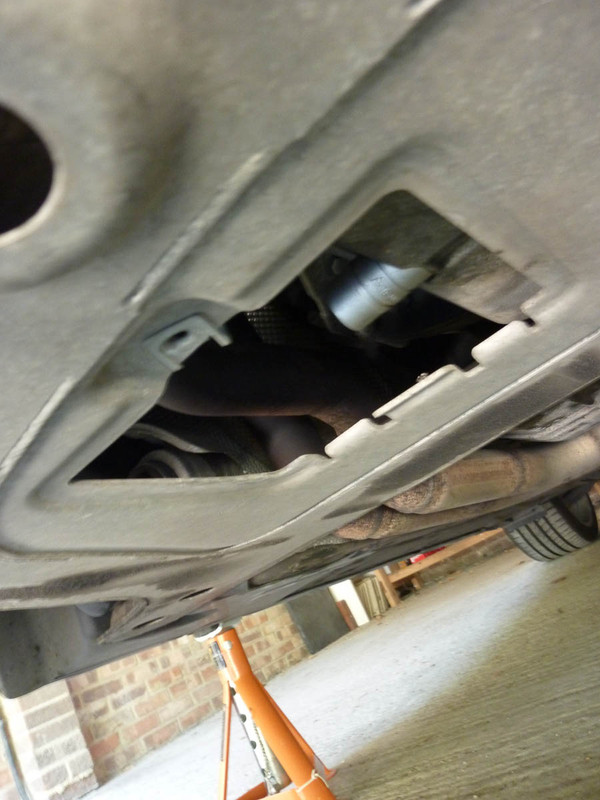
Then with the car up on axle stands you can get access to the err access cover underneath. Shown here with the 17mm socket sat on the sump plug.

Image

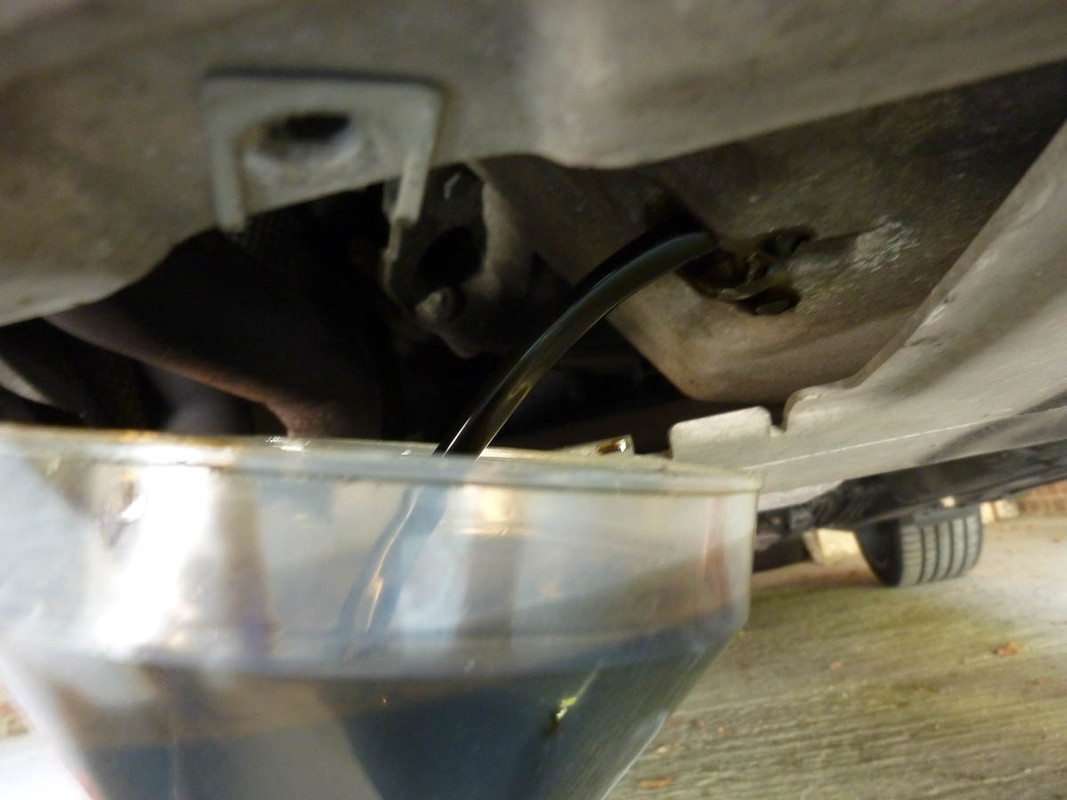
Once released hot oil flows freely, hopefully into your catch can and not onto your garage floor

Image

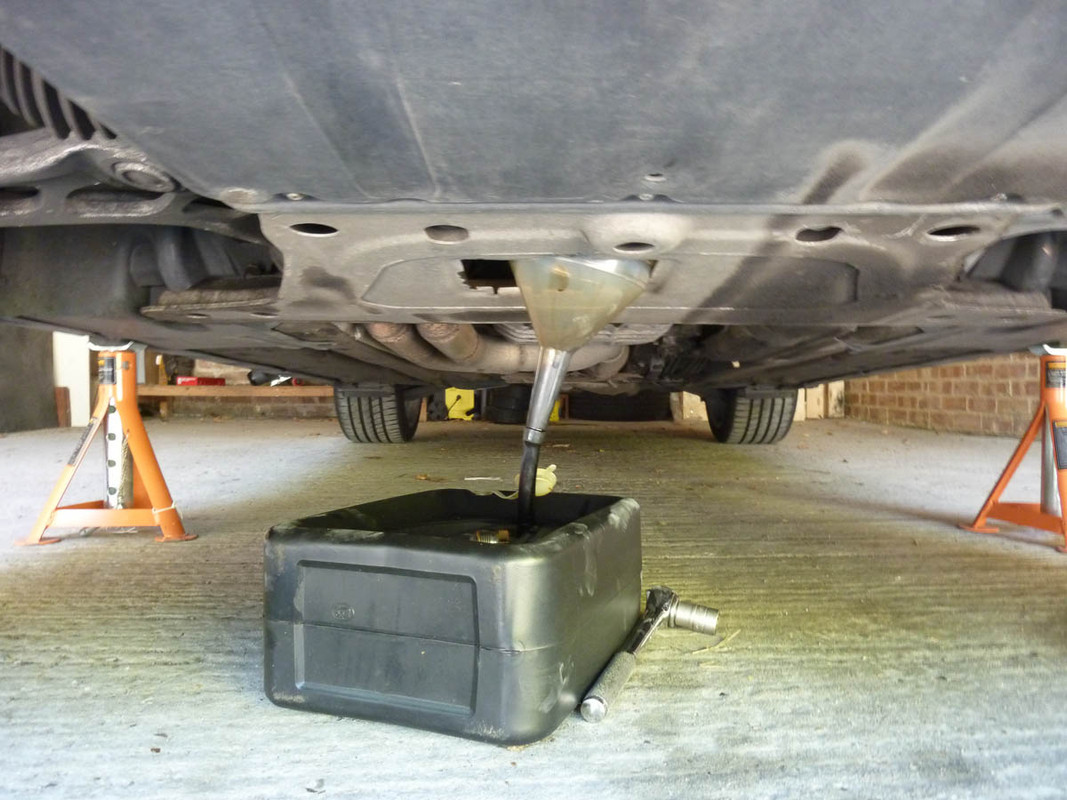
In my case I use a Halfords special modified with a funnel and a piece of tubing

Image

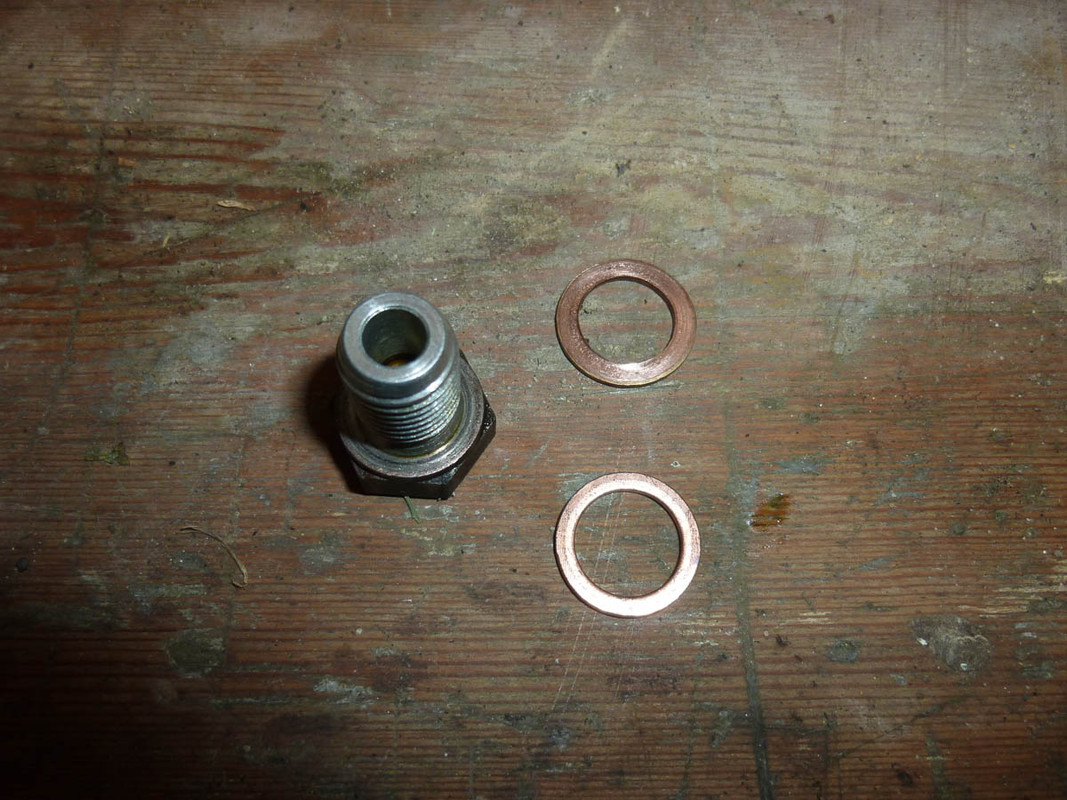
While that's draining I take the chance to clean up the sump plug and fit the new crush washer (supplied with my BMW filter - not sure about after market). Here you can see that the sump plug is hollow and the new washer is at the bottom.

Image

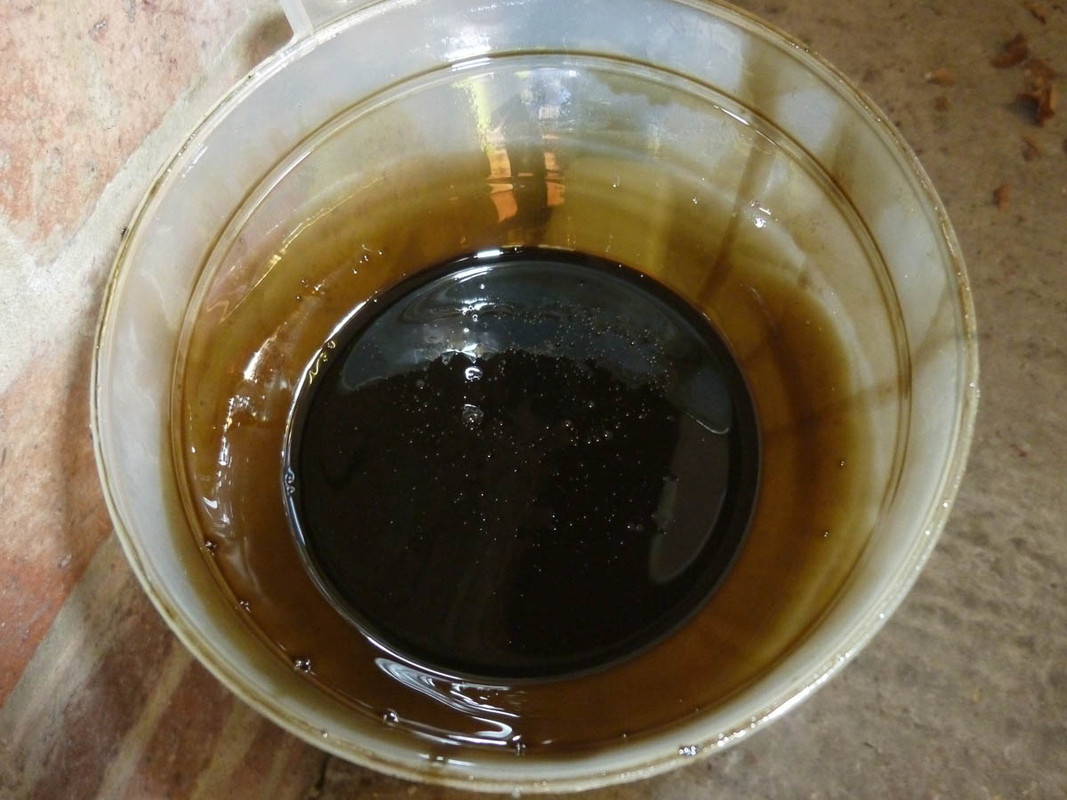
Old oil is 9 months and 6k miles old but looking pretty black

Image

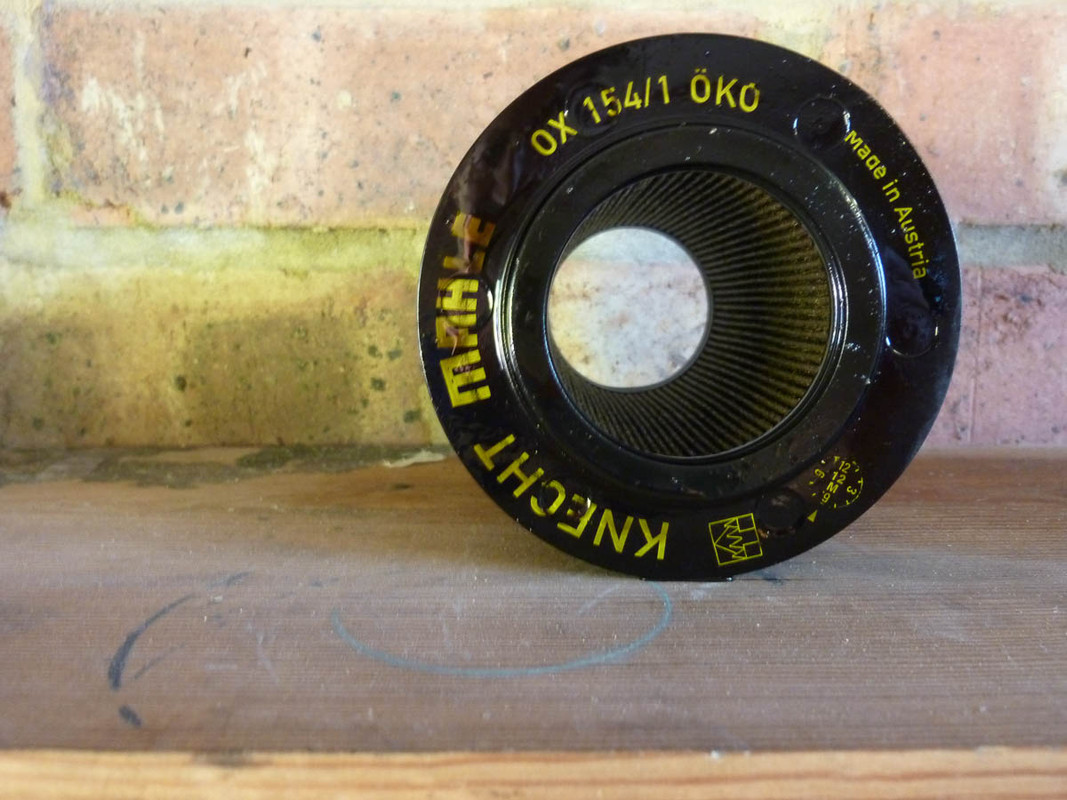
Old filter removed from housing and it's a Mahle item which I recally being a decent aftermarket brand

Image

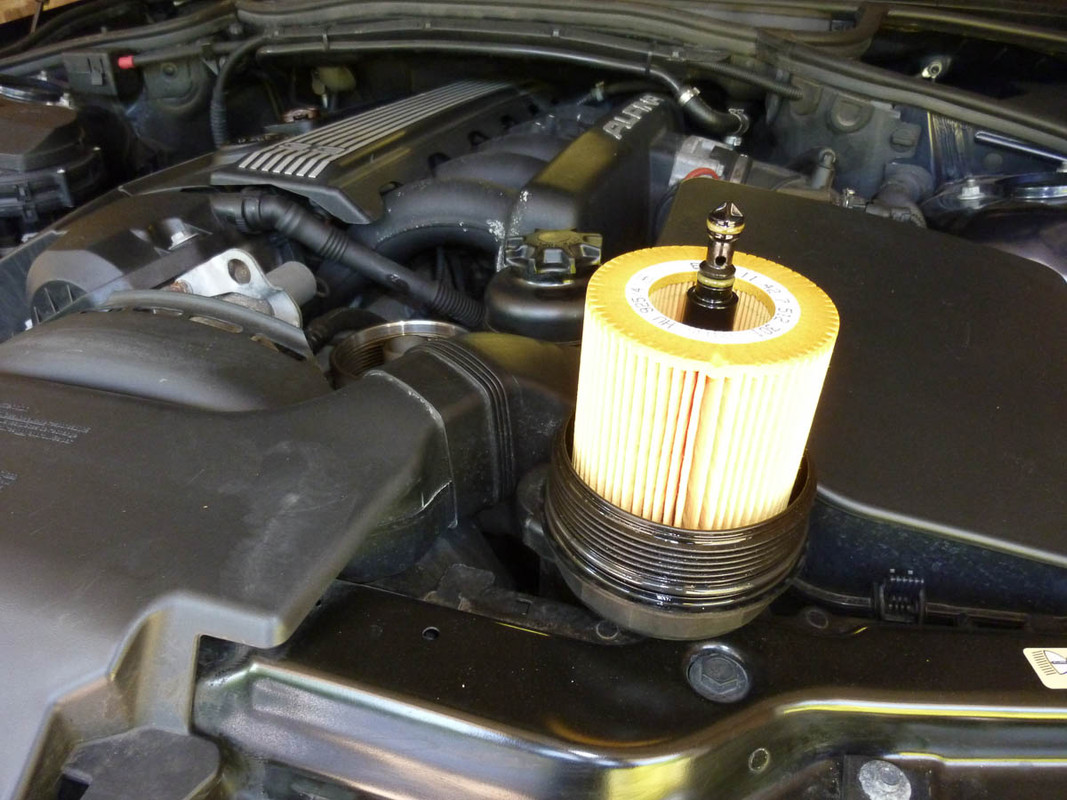
New filter then slipped onto housing along with a new sealing ring that is again supplied with the filter

Image

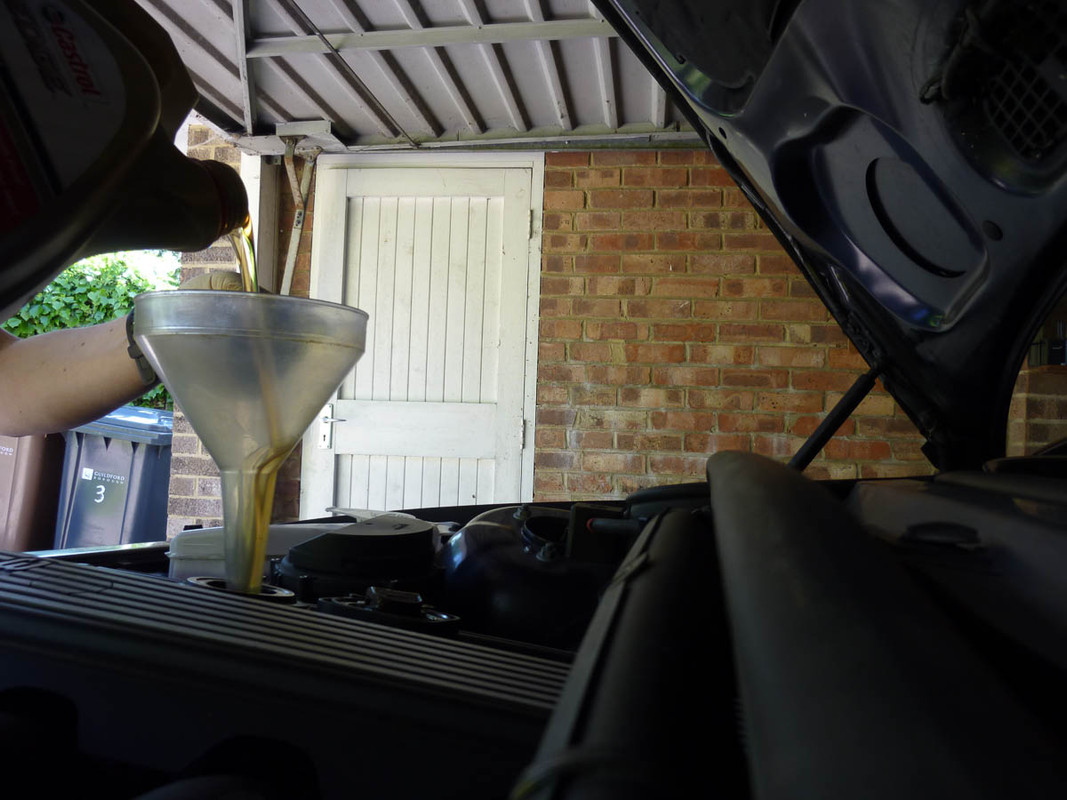
Once that's reinstalled and tightened to 18 ft/lb I'm back under the car to reinstall the sump plug. Then, time for 6.5l of Castrol's finest to go in.

Image

Then having checked your level is ok, refit your oil cap and job done.

Next post - installation of new lower control arm, which took a lot longer than this did...
Last edited by James_G on Mon Jan 18, 2021 1:26 am, edited 1 time in total.
Currently:
1992 Alpina B2.5 #026, Lagoon Green with Parchment Cloth

Previously:
2013 BMW M135i 3dr, Mineral Grey with Red Leather
2001 Alpina B3 3.3 Coupe #170, Orient Blue with Grey Leather
2006 Z4MC, Silver Grey with Red Leather
2001 E46 330i Sport, Silver with Red Leather
1997 E36 323i SE Touring, Calypso Red with Grey Cloth

James_G
ALPI
ALPI
Posts: 335
Joined: Thu May 16, 2013 10:33 pm
Location: Guildford

Post by James_G » Tue Jun 11, 2013 9:25 pm

So for those of you still reading that was Saturday afternoon and it's now Sunday afternoon and time to tackle the lower arm replacement. The previous side had been done a few weeks before (by the previous owner) and so I was doing this to match things up.

I had taken a good look round the net and this write up seemed to cover things nicely so I used that as a reference

http://shadetree-mechanic.blogspot.co.u ... l-arm.html

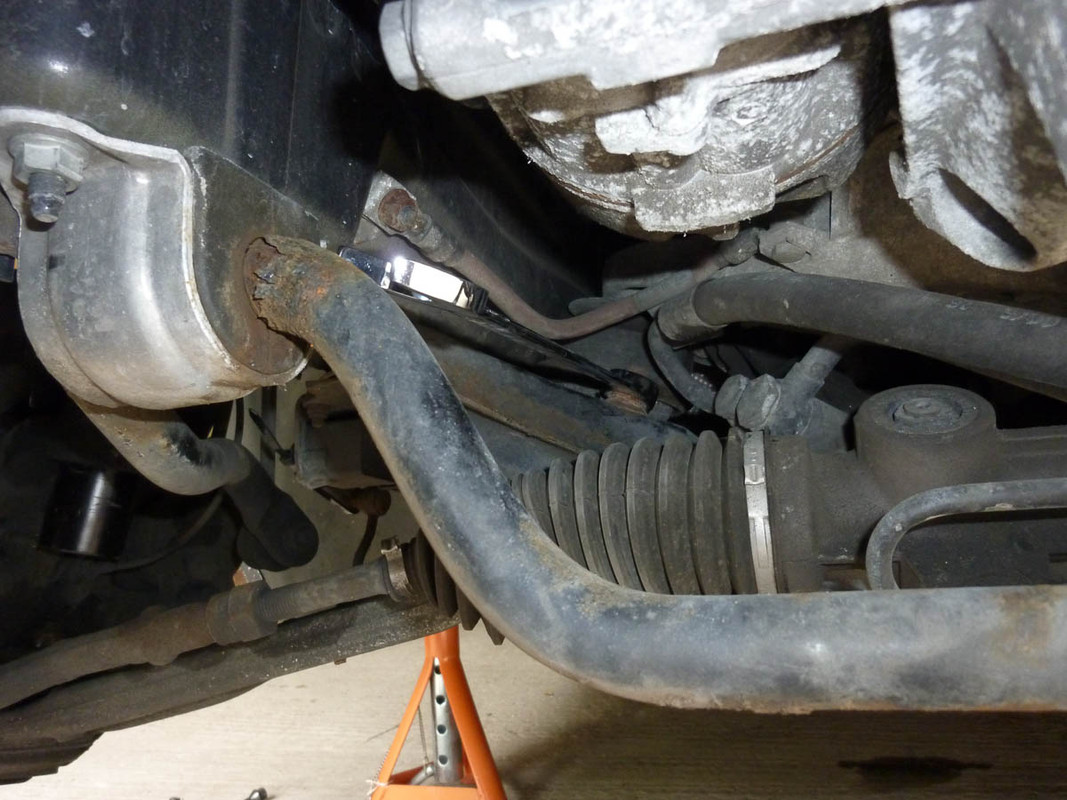
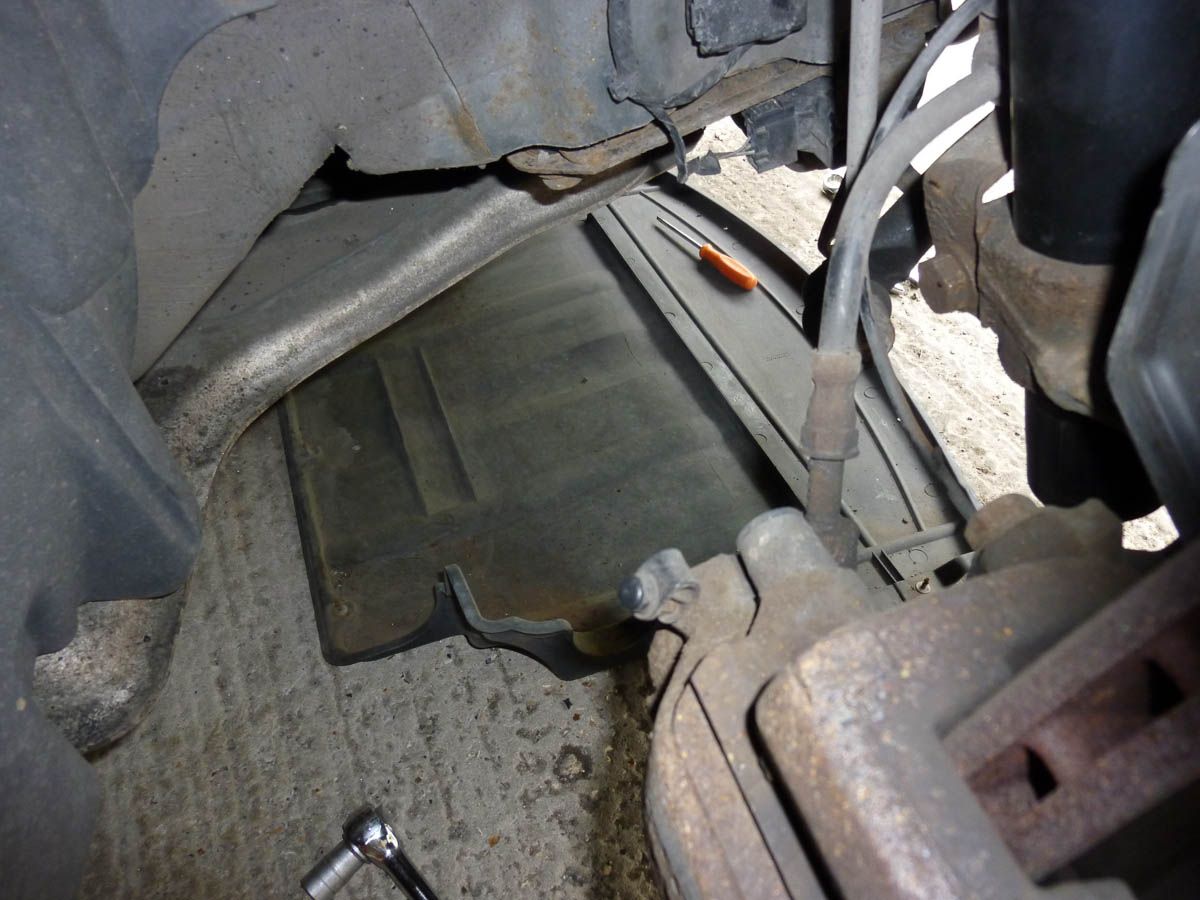
So once again, back up on axle stands and first thing is to get the undertray off, so I can get decent access to the inboard nut. Here it is with the 21mm spanner on it and as you can see, there's not much room. Looks like the car has had recent anti-roll bar bushings too.

Image


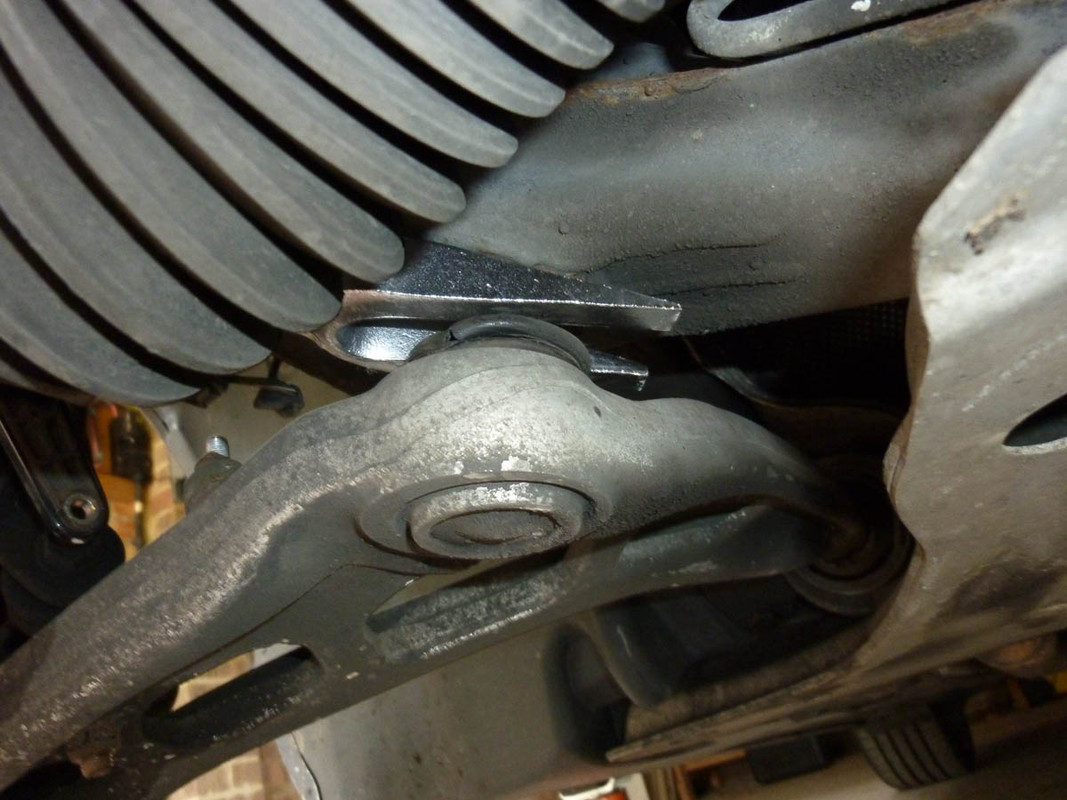
But using the ball joint fork against the spanner, as per the aforementioned guide worked a treat and then it was just a slow job to unwind the nut. Once done, it was time to split the ball joint. I've previously tried and failed twice to split ball joints so I was overjoyed when this one went without any trouble at all using a 3lb lump hammer (£8.99 - Screwfix)

Here it is ready to go

Image


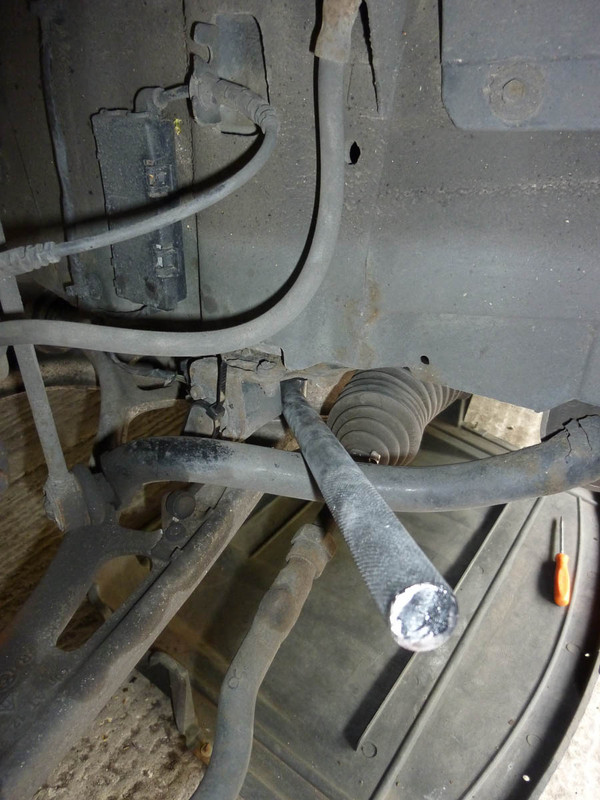
And from a different angle. As you can see it's well placed to get a decent hammer swing on it.

Image


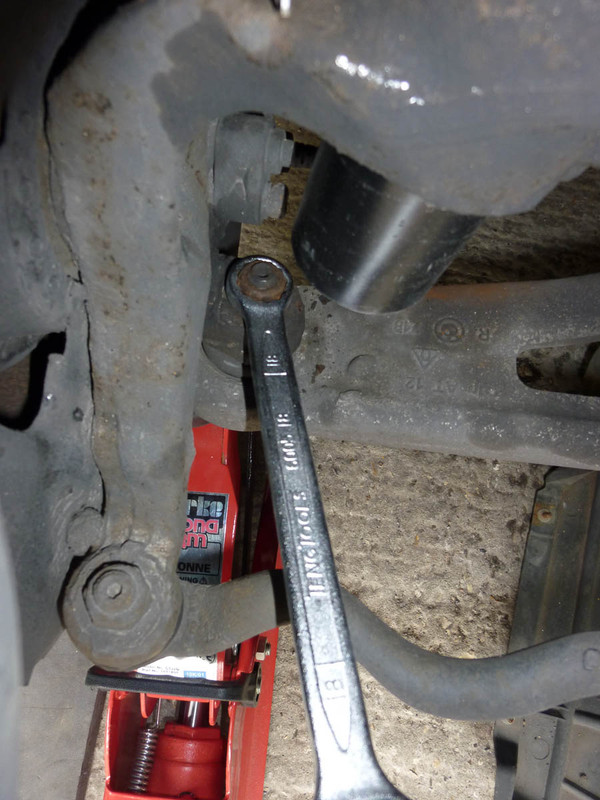
Moving on it's time to tackle the outboard ball joint and the first step is to remove the 18mm nut. Having freed this up the last time, it came off easily. Some spanner sets seem to be missing 18mm spanners though - not often used size I guess.

Image


And the ball joint splitter in here

Image


Given how easily the previous joint split this one was far far tougher and I tried all sorts of techniques to get it to go. In the end I had to upgrade the 3lb hammer to this (weight unknown!)

Image


Even then it took a few goes to get it off. I had braced the arm with the jack to make sure that when it went the weight of the disc etc didn't make it collapse to the floor.

And here's the offending item. It seems that unless you have the splitter in exactly the right place the forks dig into the aluminium of the arm. Should have propped up the arm more to avoid this. At least I'll know for next time.

Image


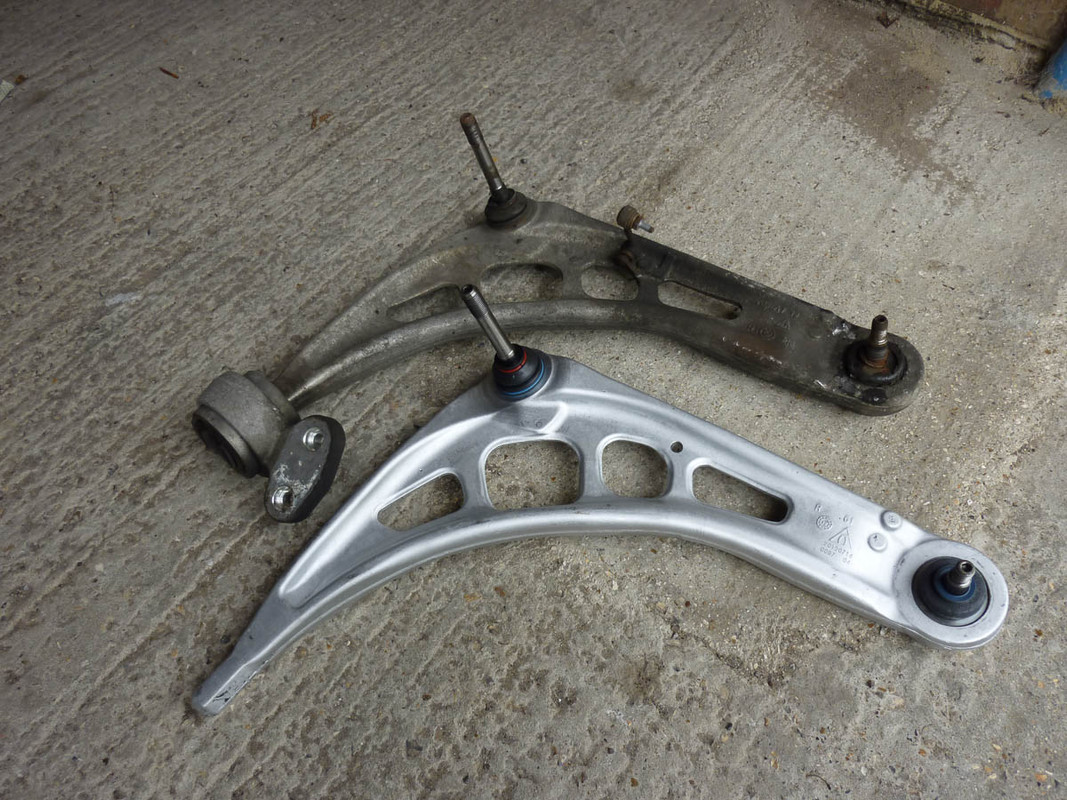
So here we go then, old arm (original BMW) versus new (Lemforder). There are some very subtle differences visually, mainly in the moulding edges but more importantly I felt I needed to match up the arm with the other side, which was also a Lemforder. On which note I popped into my local ECP and asked for a copy invoice for the parts the previous owner had fitted and they duly obliged, so that's now in service history file with the other invoices.

Image

A rare shot of the wheel well without a lower control arm

Image


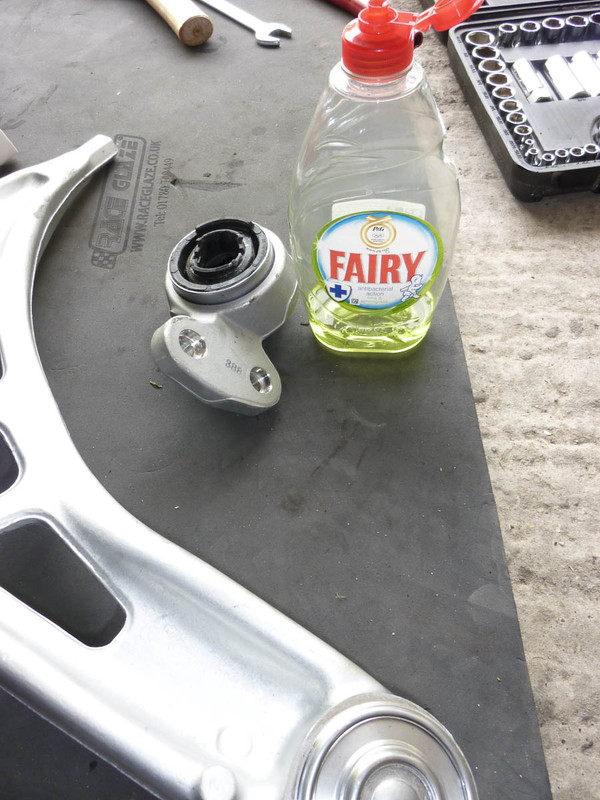
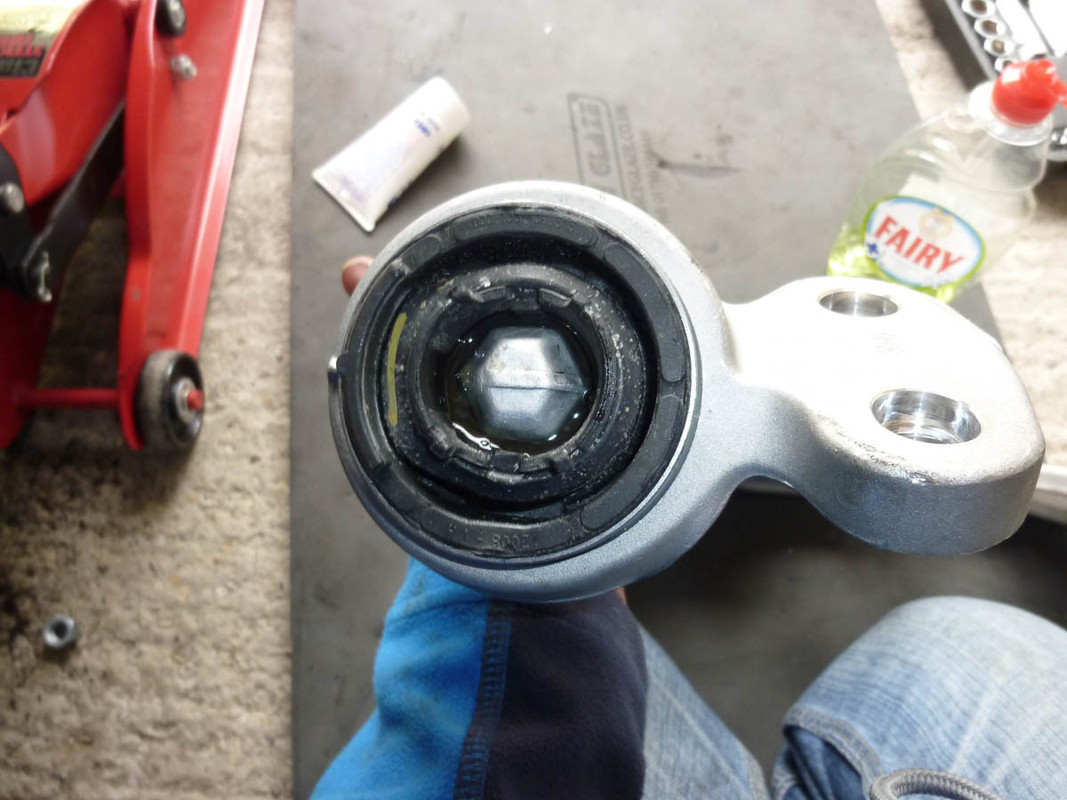
Next, it's time to fit a new rear control bushing and as per all the guides I used some of the finest washing up liquid that man can buy to ease installation.

Image


And voila, all done

Image


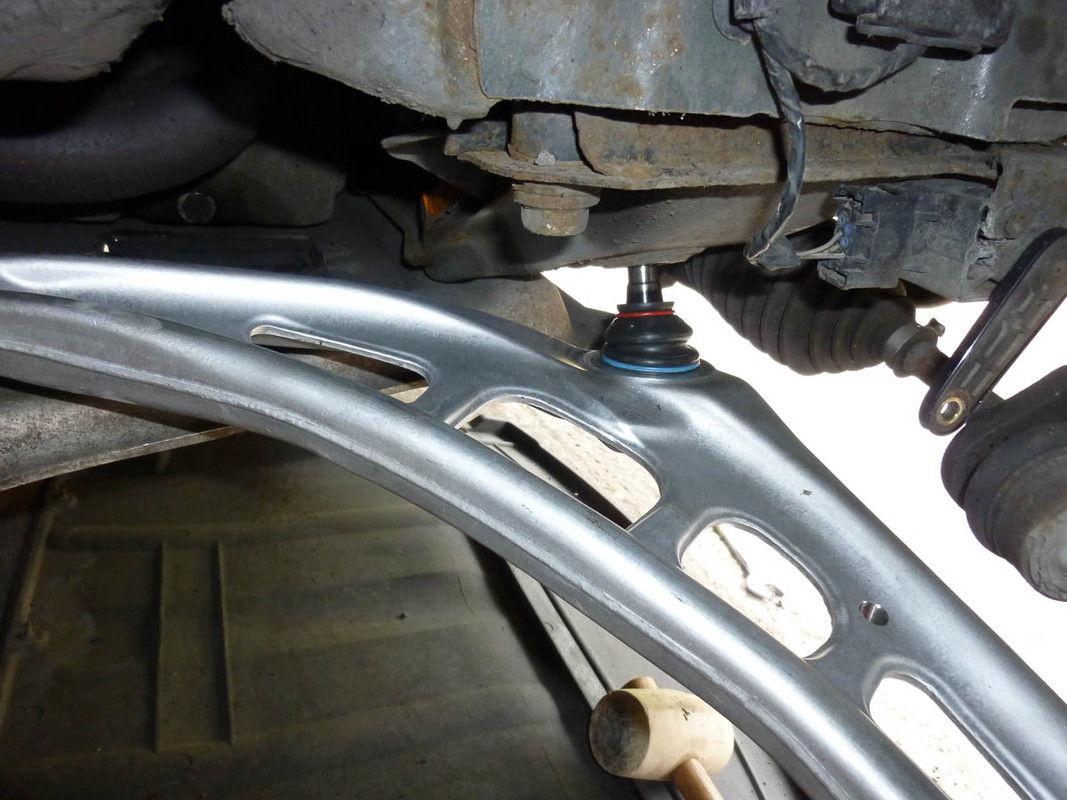
So re-installing the arm is a good deal easier than getting it off and the only minor issue was lining things up to get this joint to go back through the sub frame.

Image


I then tightened everything up and I did have to use an allen key on both ball joints to stop the shaft spinning while the new lock nuts (supplied with the arm) went on. Here it is, all done.

Image


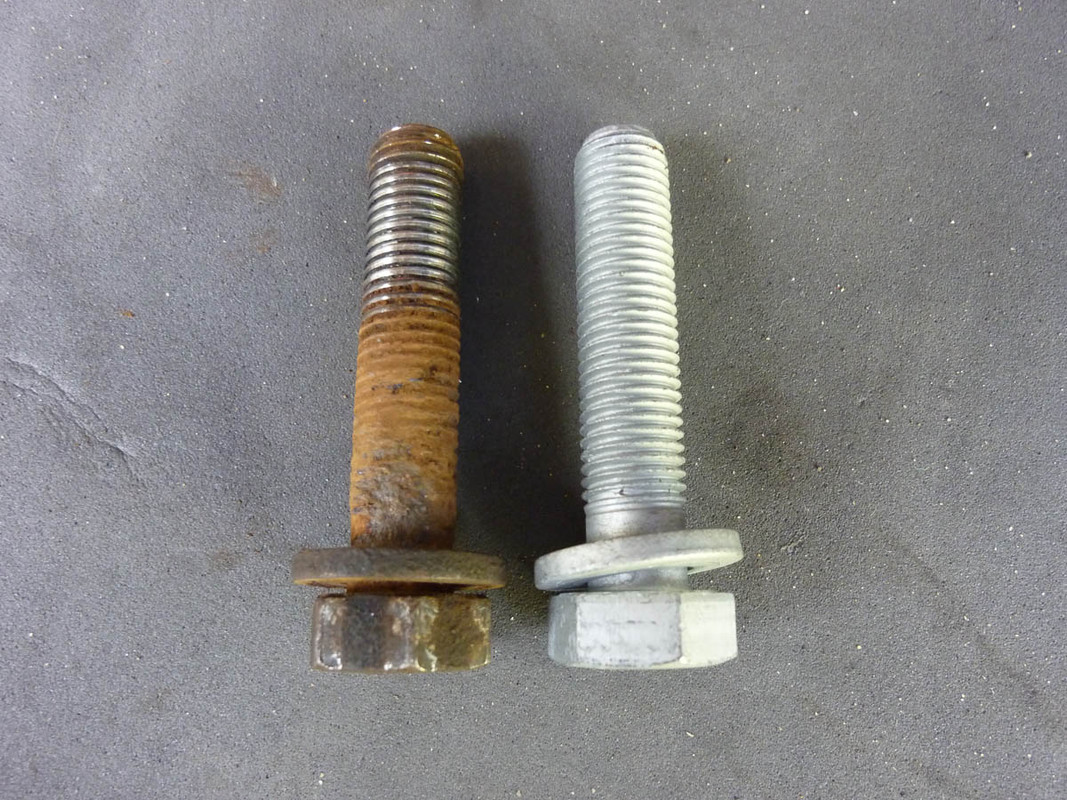
While I was there I decided to replace the lower damper pinch bolts having been concerned about their condition when refitting them two weeks ago. I can't recall exactly how much they were but only a few £s and much better than one shearing off next time.

Here's an old one showing some thinning at the head end and a nice new one

Image


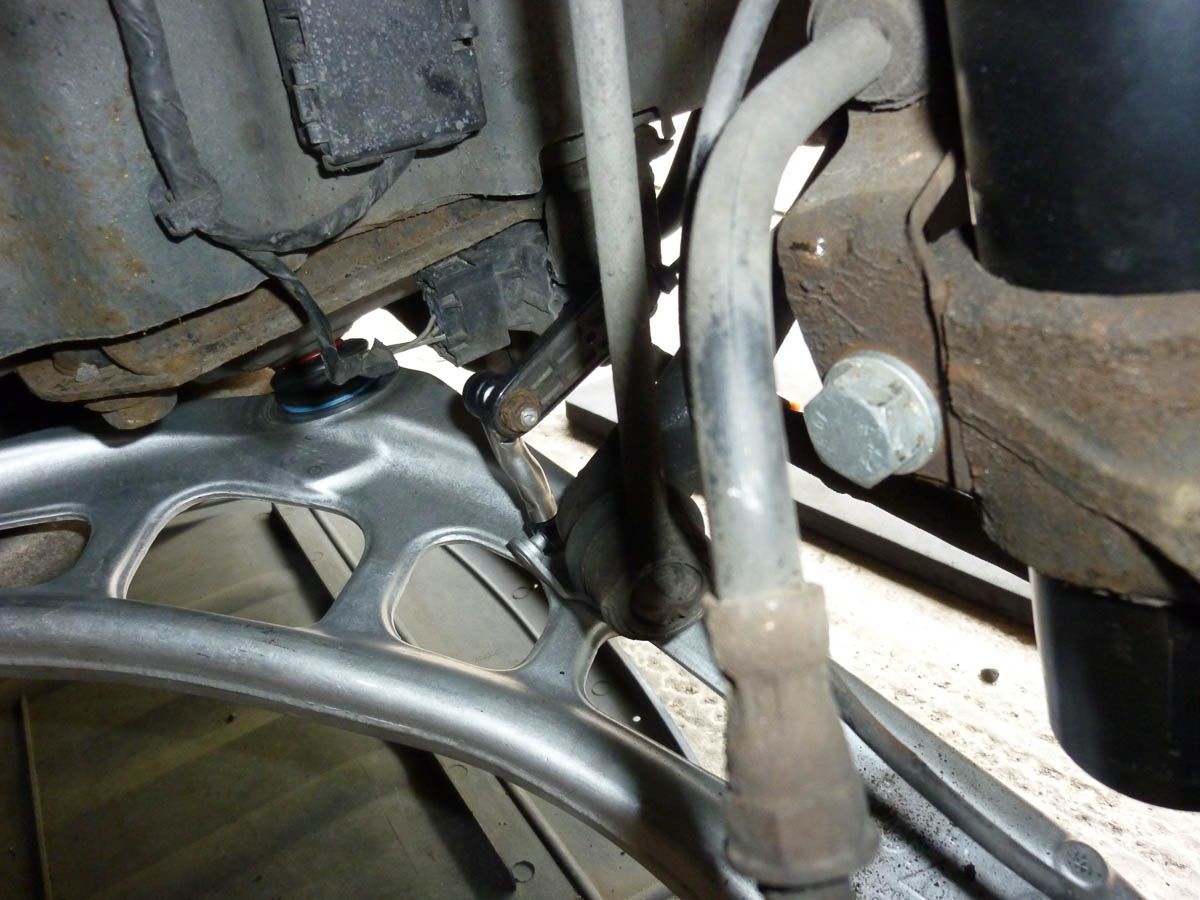
And here it is installed for those who don't know which bolt I am talking about. It's the one in the middle right of this shot (note also the new xenon light levelling joint - I couldn't easily remove the old one from the arm)

Image


So once off the jacks and wheels back on I took it for a quick run down the A3 and I can say that it's straightened my steering up nicely (although full alignment still on the cards) and feels much more planted.

Like all jobs it would be easier 2nd time around but hopefully they won't need doing for a good few more years yet. So in theory I only have the rear dampers to do now, but I noticed while under the car that the there is a small leak coming from the transmission pan so I suspect I'll be dropping that fairly soon.

Image


Thanks for reading - until next time.
Last edited by James_G on Mon Jan 18, 2021 1:42 am, edited 1 time in total.
Currently:
1992 Alpina B2.5 #026, Lagoon Green with Parchment Cloth

Previously:
2013 BMW M135i 3dr, Mineral Grey with Red Leather
2001 Alpina B3 3.3 Coupe #170, Orient Blue with Grey Leather
2006 Z4MC, Silver Grey with Red Leather
2001 E46 330i Sport, Silver with Red Leather
1997 E36 323i SE Touring, Calypso Red with Grey Cloth

James_G
ALPI
ALPI
Posts: 335
Joined: Thu May 16, 2013 10:33 pm
Location: Guildford

Post by James_G » Sat Jun 15, 2013 9:31 pm

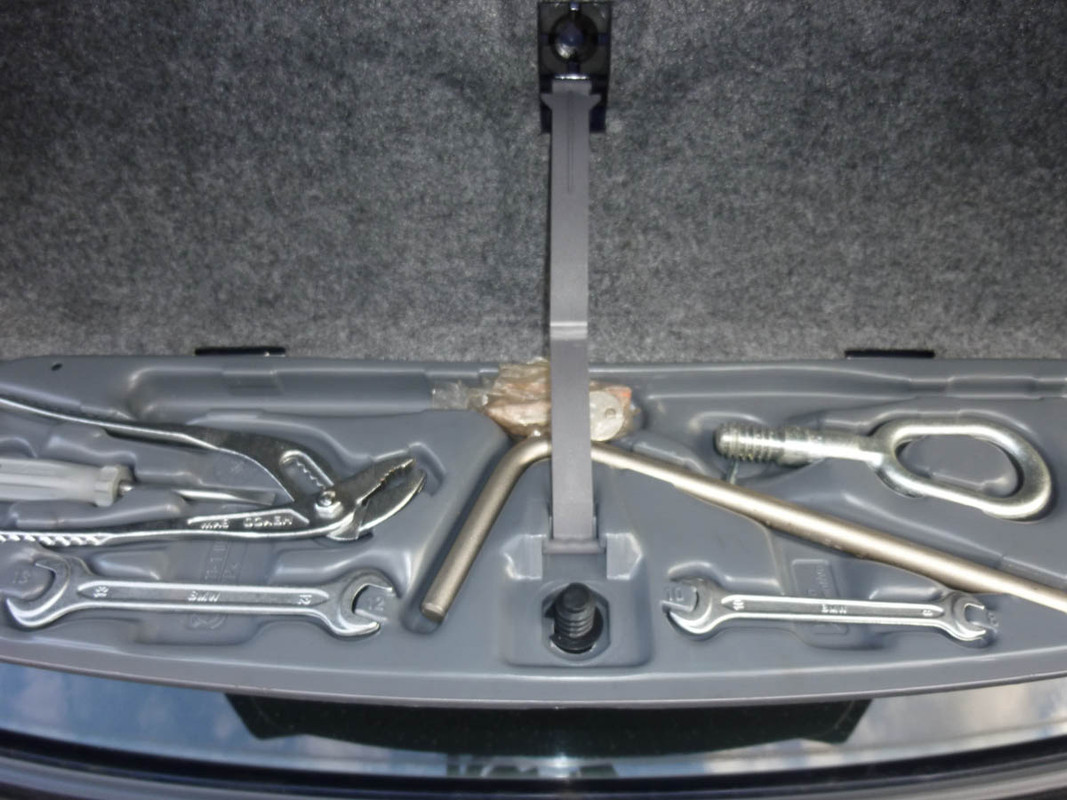
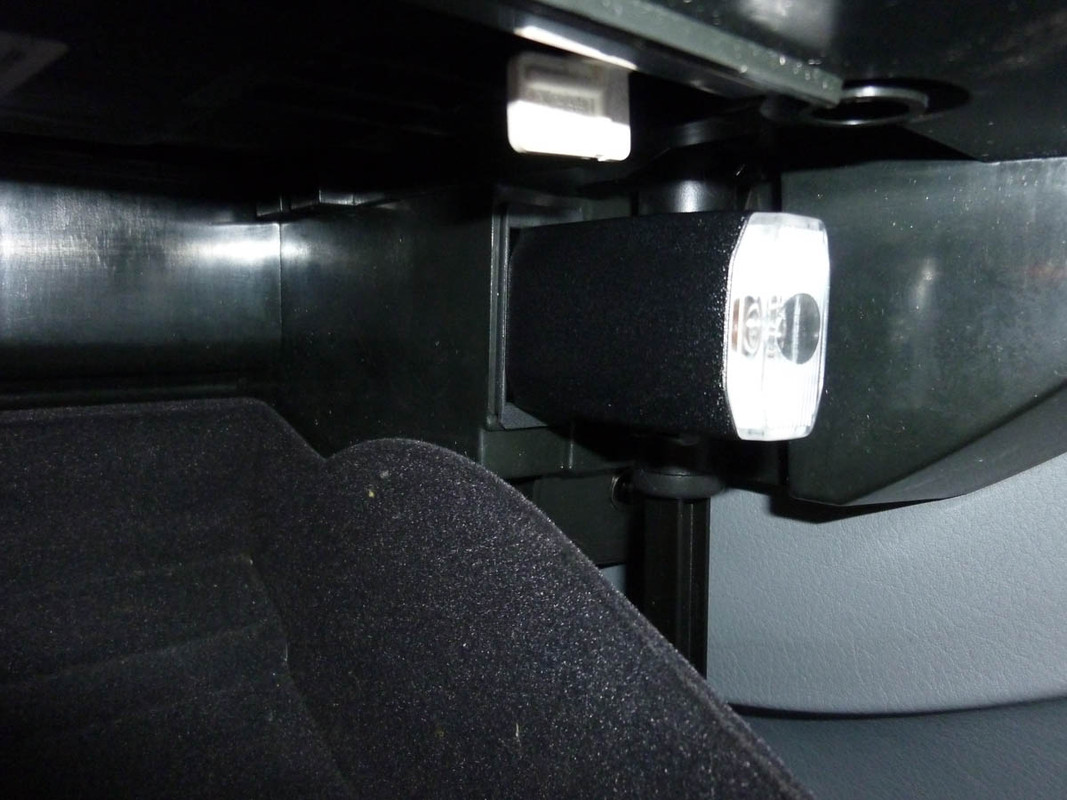
A few updates on a few jobs. Earlier in this post I moaned that some of the tools were missing from the boot, along with the glovebox torch.

Found some pliers on eBay, delivered for just under £5

Image

And a brand new torch again on eBay for £4 delivered

Image

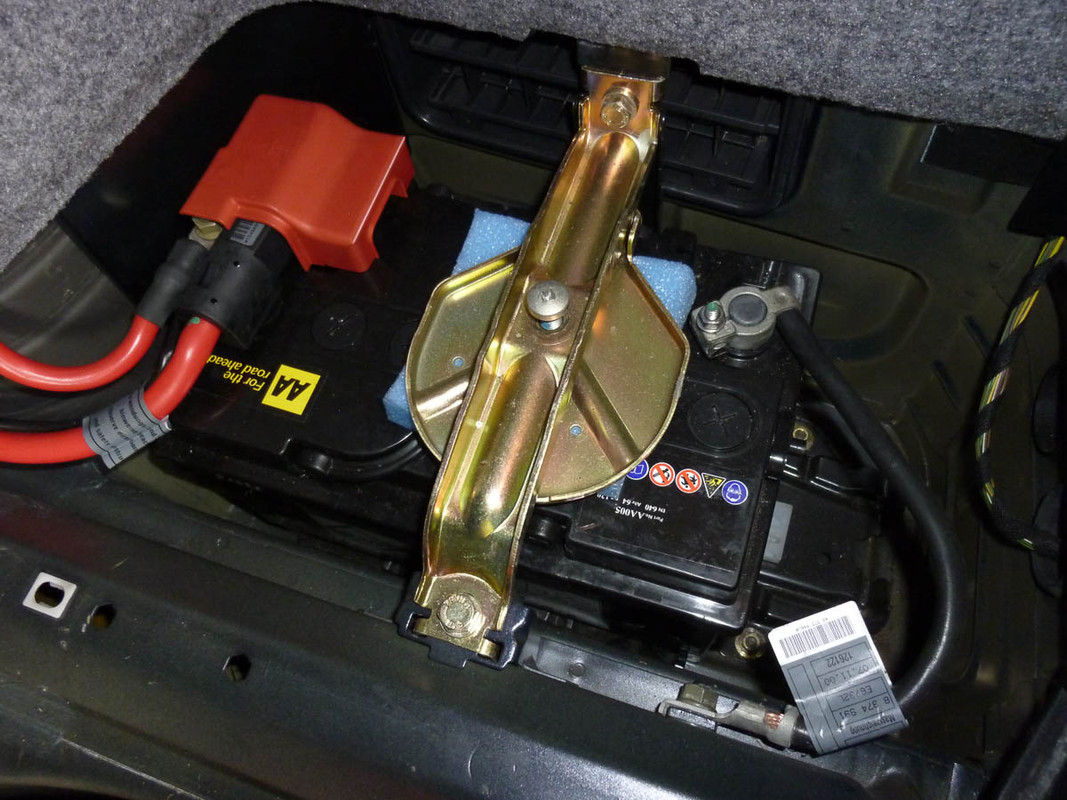
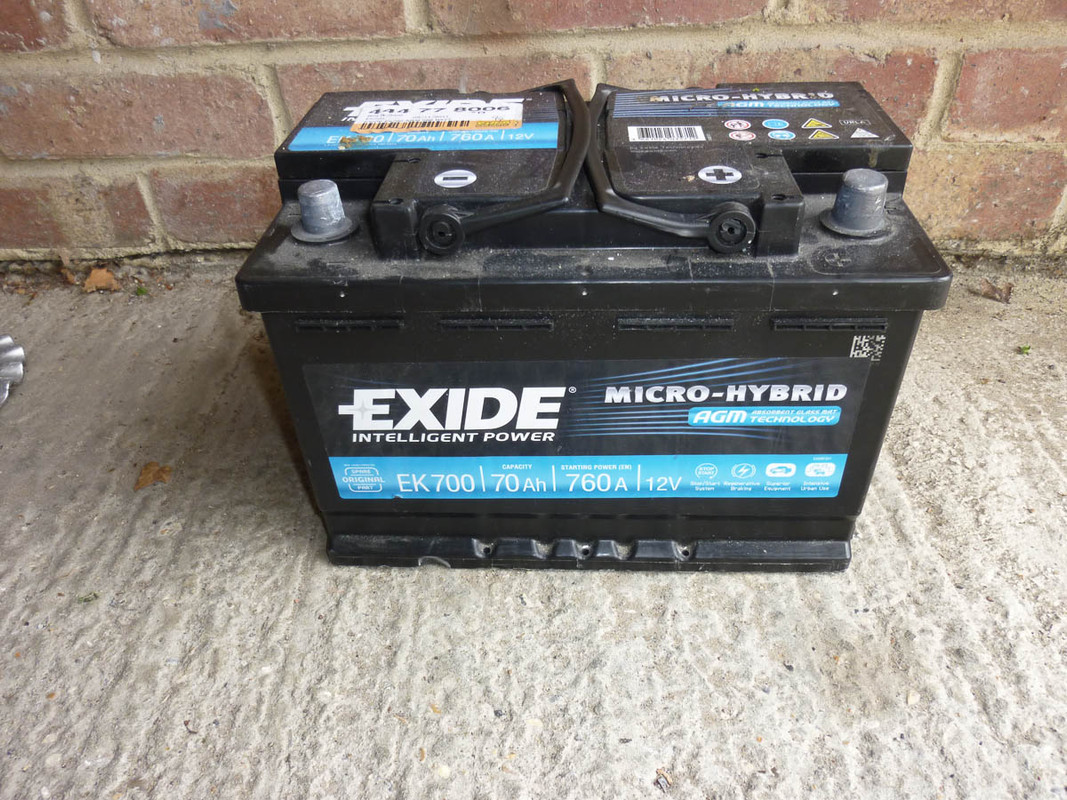
Also the battery in the car was the wrong size and given it was branded up by the AA I am guessing that somebody ended up being stranded and took whatever was on the AA van that night. Note the blue foam needed to hold it in place.

Image

A good friend of mine recently bought a VW Phaeton, the 6.0l W12 version, and found that it had one of these fitted.

Image

And it turns out it's far too small for his needs, so he's had to buy the right sized one and has gifted me this one. As luck would have it, it's the right size for the B3 so in it goes.

Image

Car turns over much faster and starts perfectly. Job done.
Last edited by James_G on Mon Jan 18, 2021 2:00 am, edited 1 time in total.
Currently:
1992 Alpina B2.5 #026, Lagoon Green with Parchment Cloth

Previously:
2013 BMW M135i 3dr, Mineral Grey with Red Leather
2001 Alpina B3 3.3 Coupe #170, Orient Blue with Grey Leather
2006 Z4MC, Silver Grey with Red Leather
2001 E46 330i Sport, Silver with Red Leather
1997 E36 323i SE Touring, Calypso Red with Grey Cloth

User avatar
Alpina Jim
ALPINA
ALPINA
Posts: 1450
Joined: Wed Nov 12, 2003 10:34 pm
Location: Near Portsmouth

Post by Alpina Jim » Sun Jun 16, 2013 10:54 am

A good write up James and great to see your enthusiasm to bring your car up to a high standard. Looking forward to following this thread.

Good luck,
Jim

'98 B10 3.2 #174 in Alpina Blue owned since 13th Sept 2002.

Post Reply