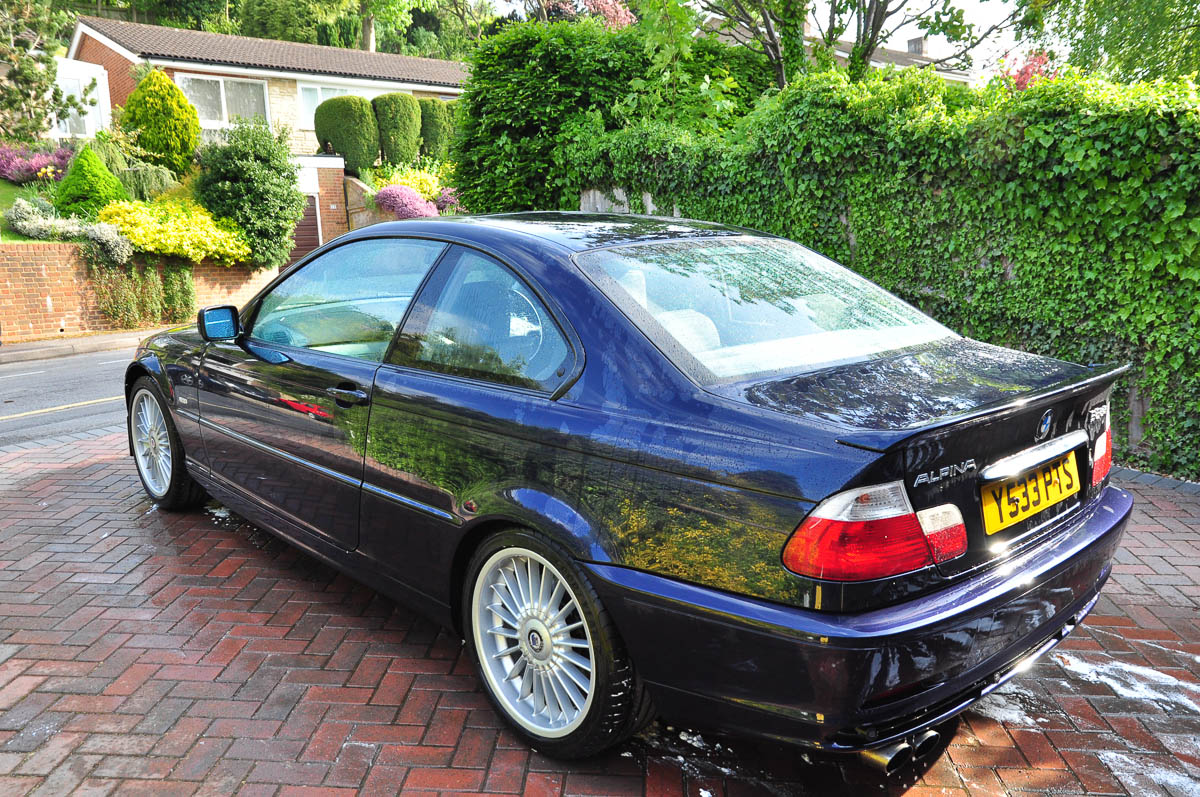
Following on from the discussion on this thread
http://thealpinaregister.com/forums/vie ... hp?t=15277 I went off and bought another Sachs damper and Lemforder arm to match up with the ones the previous owner fitted in the days before I took ownership. With a clear bank holiday Monday I set about fitting them both.
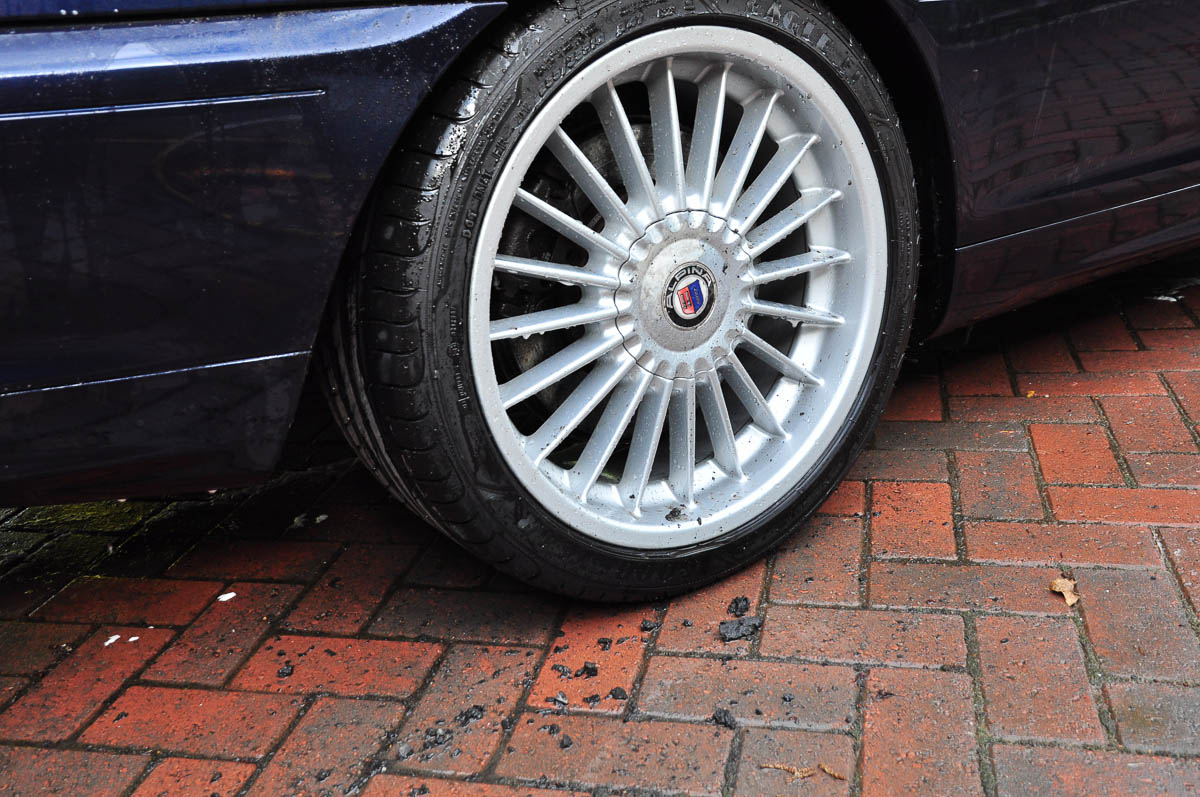
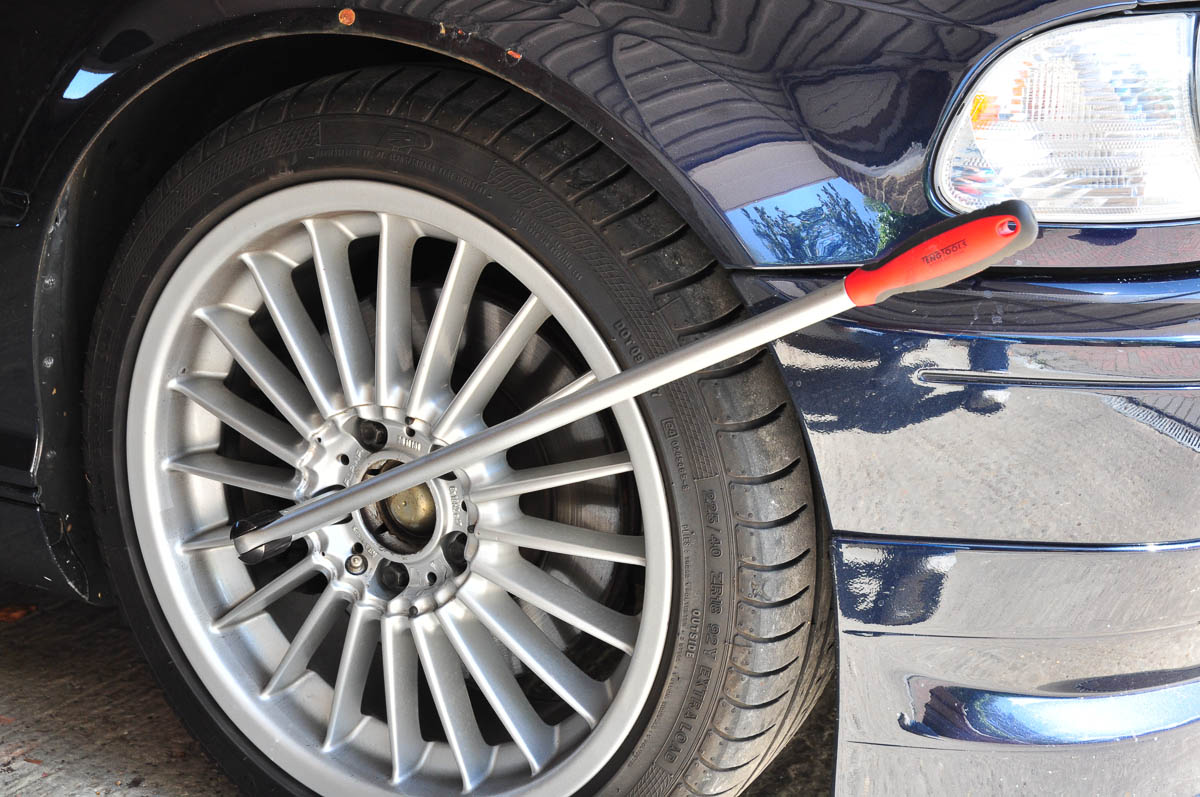
So, first job is of course to get the wheels off made much easier but this excellent birthday present from earlier in the year, my Teng Tools breaker bar. And to think I used to undo wheel nuts with a torque wrench

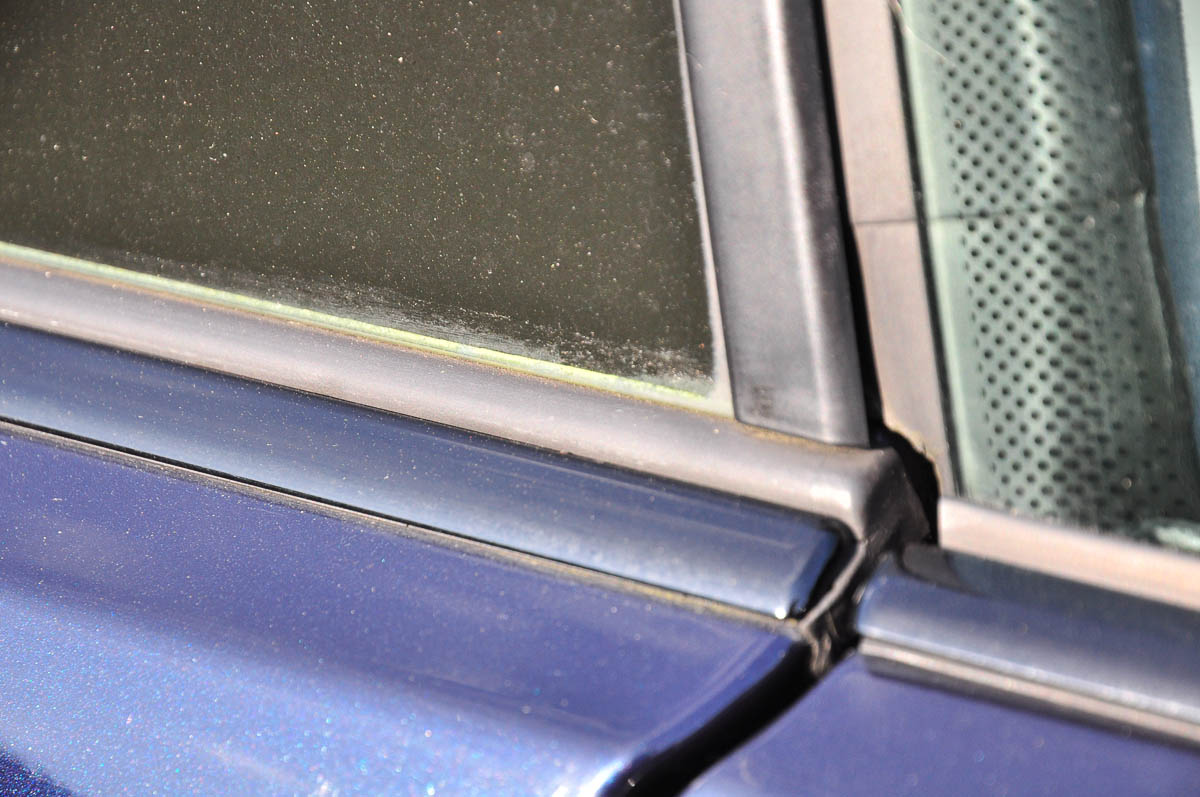
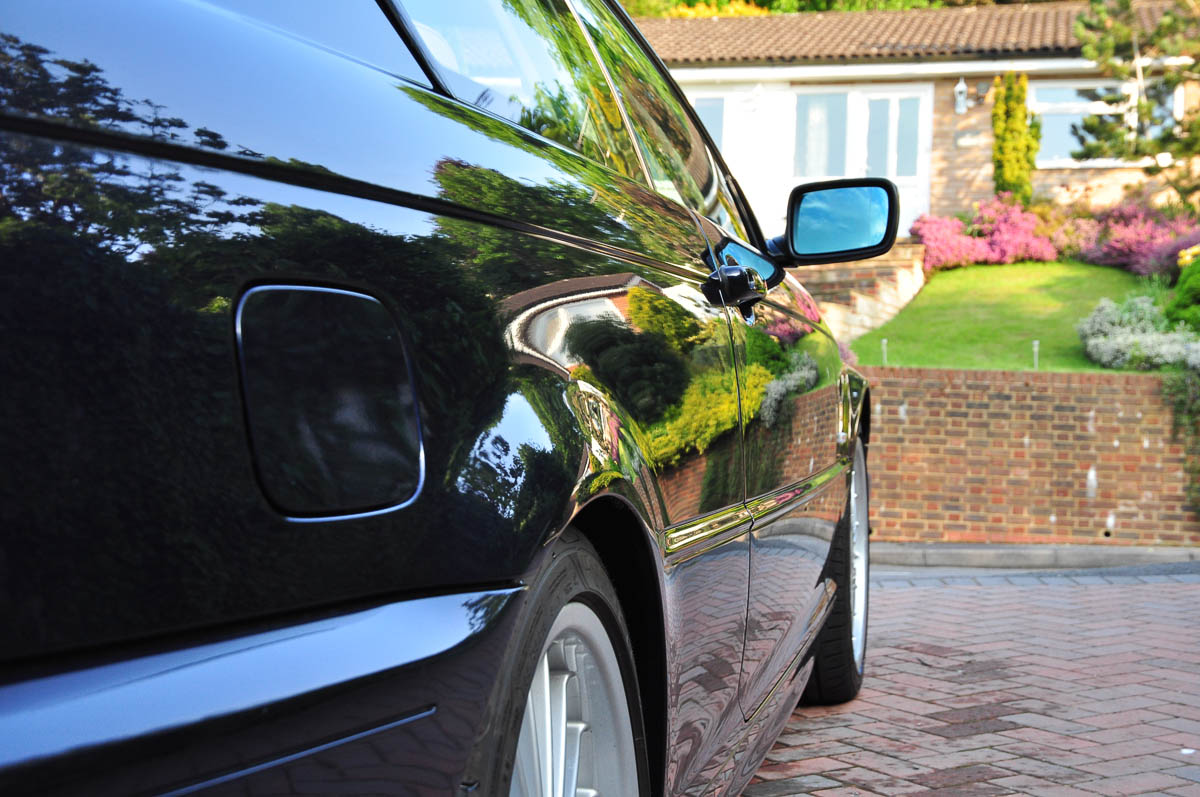
Rust on the wheel arch not fixing itself, unfortunately.
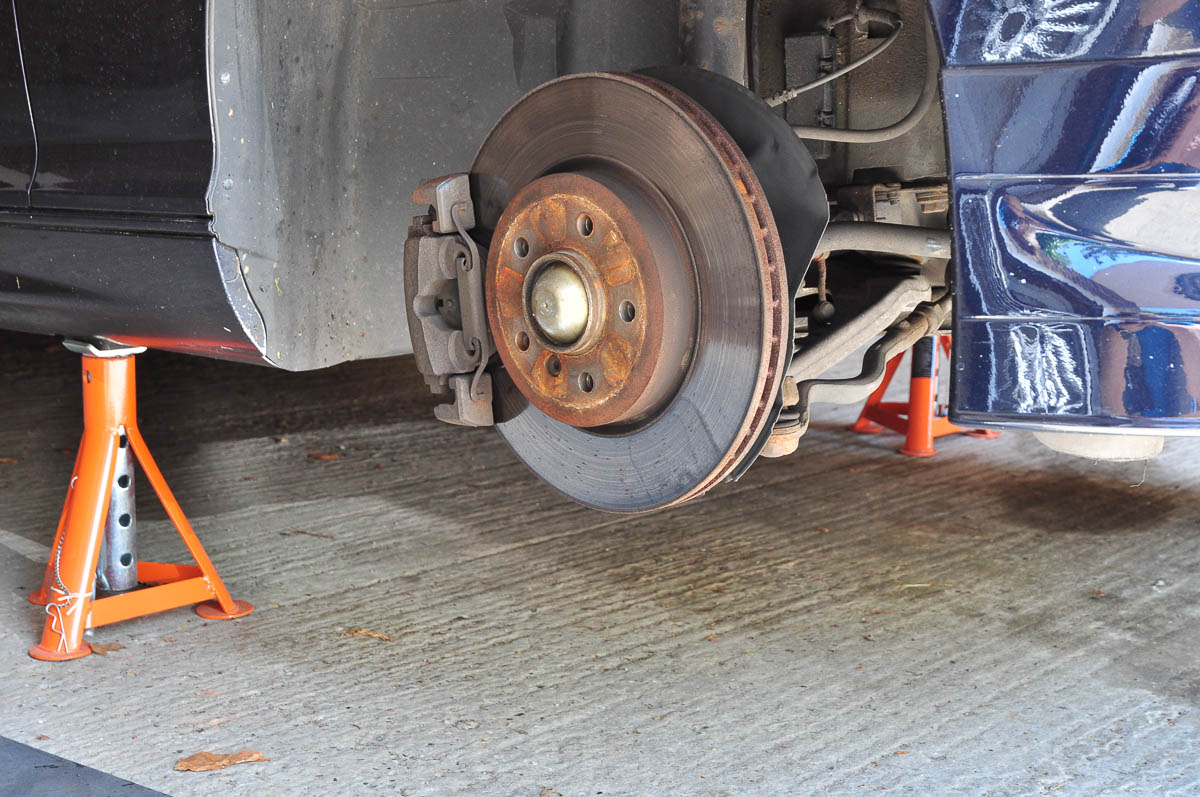
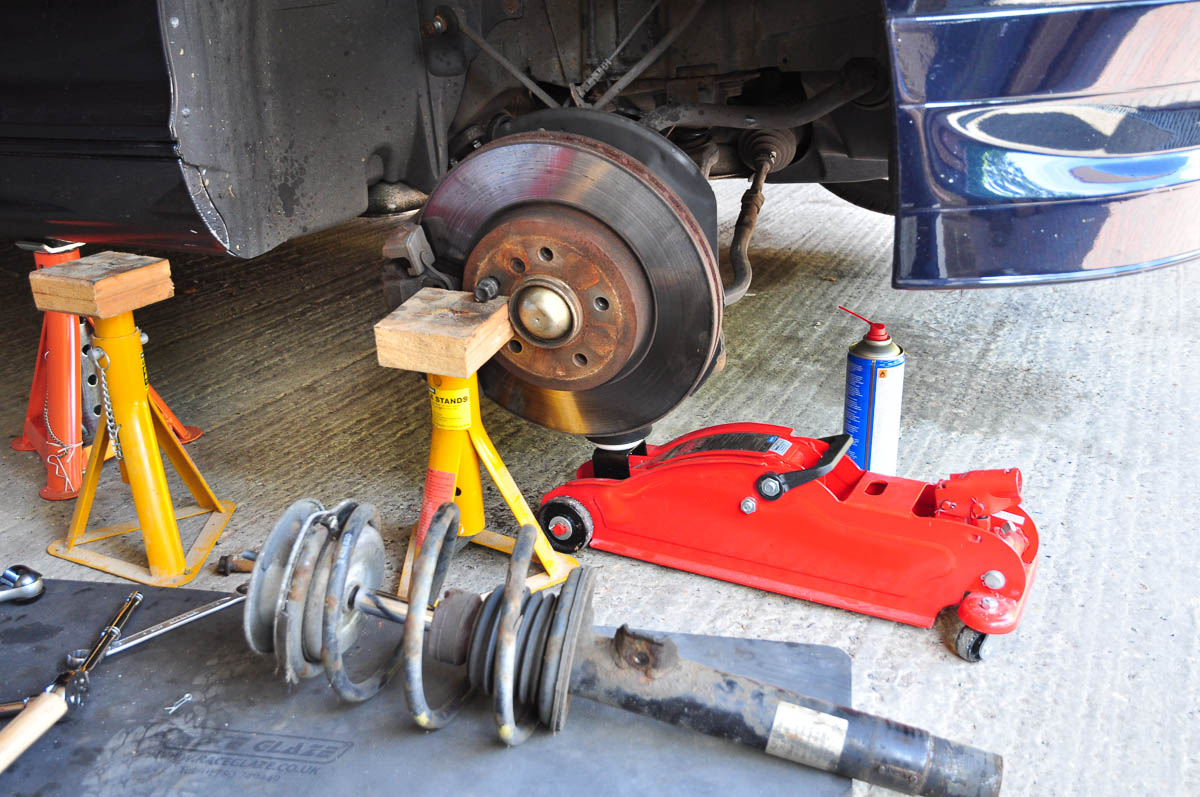
I also used to work on cars with them resting on the jack, but not these days. Instead I wanted to get the front up on axle stands, like so
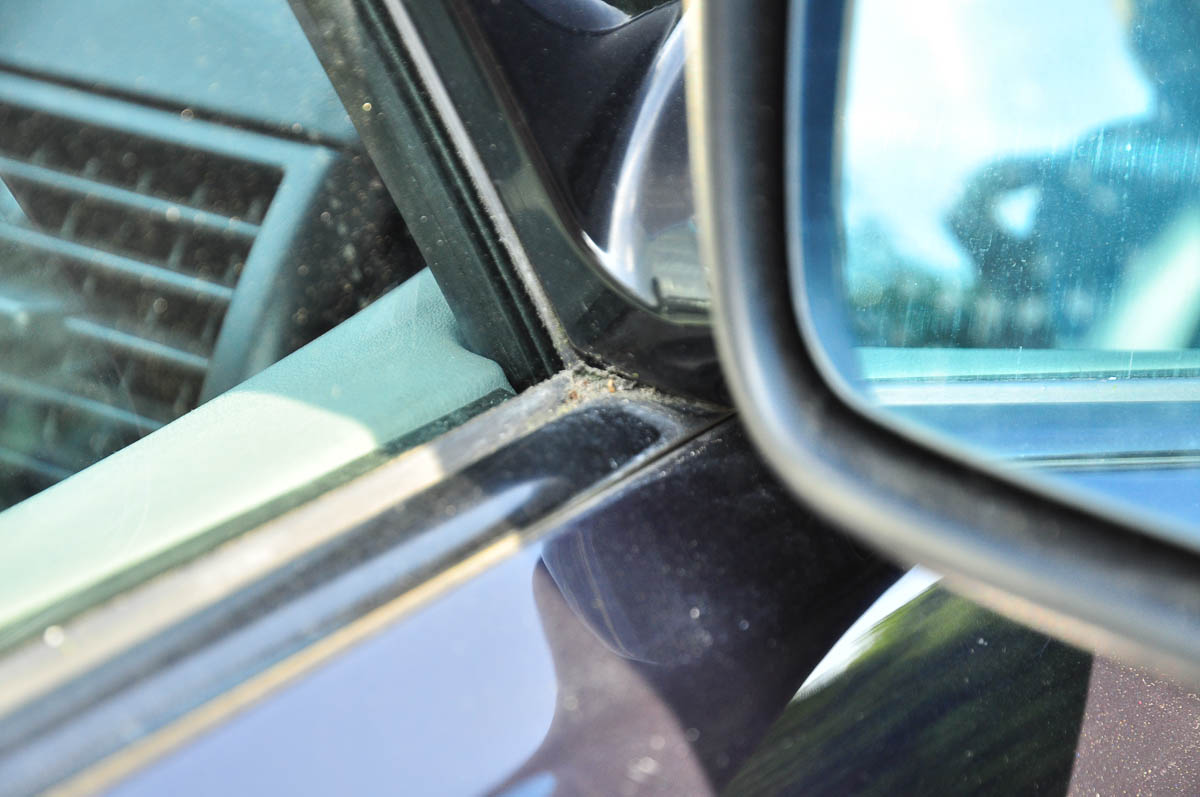
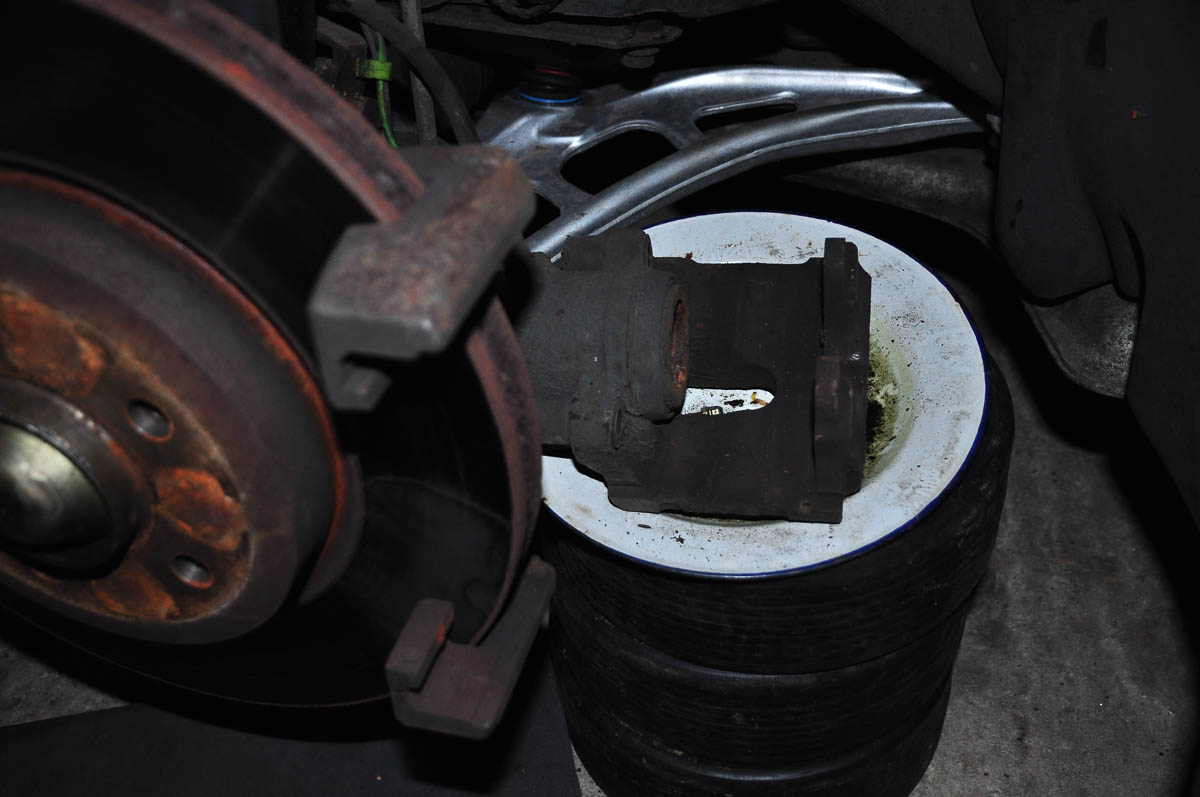
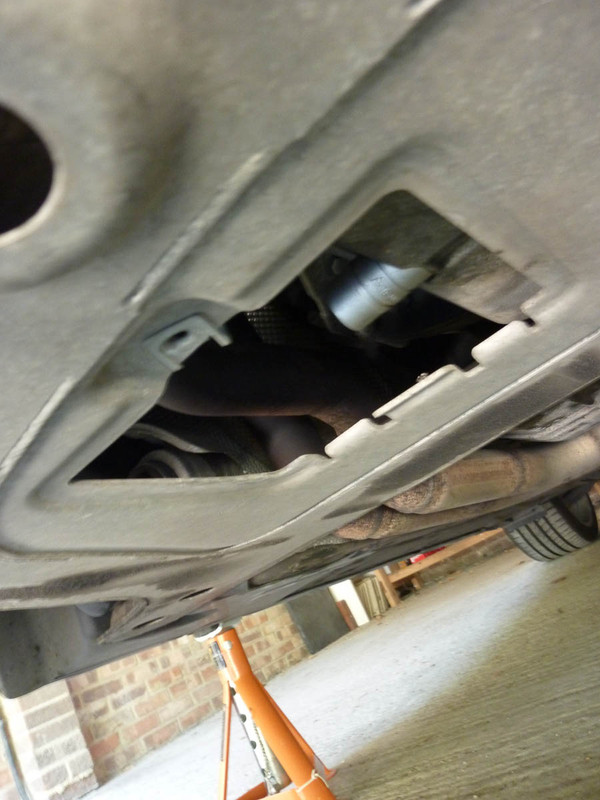
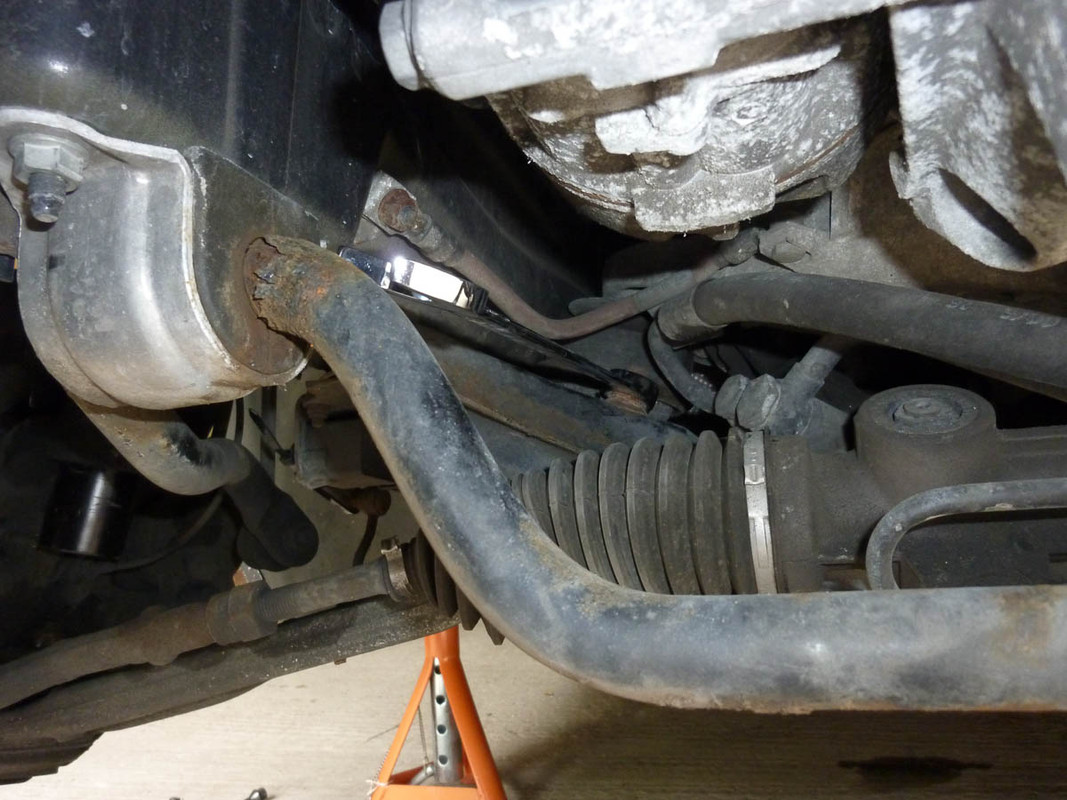
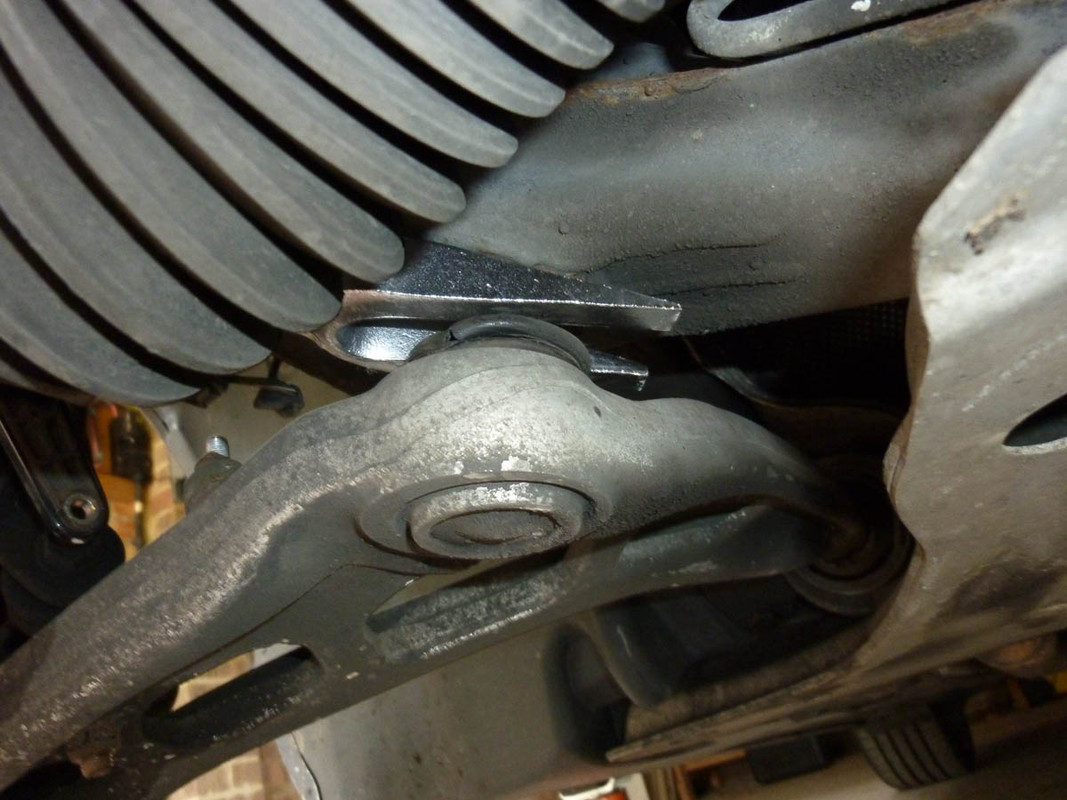
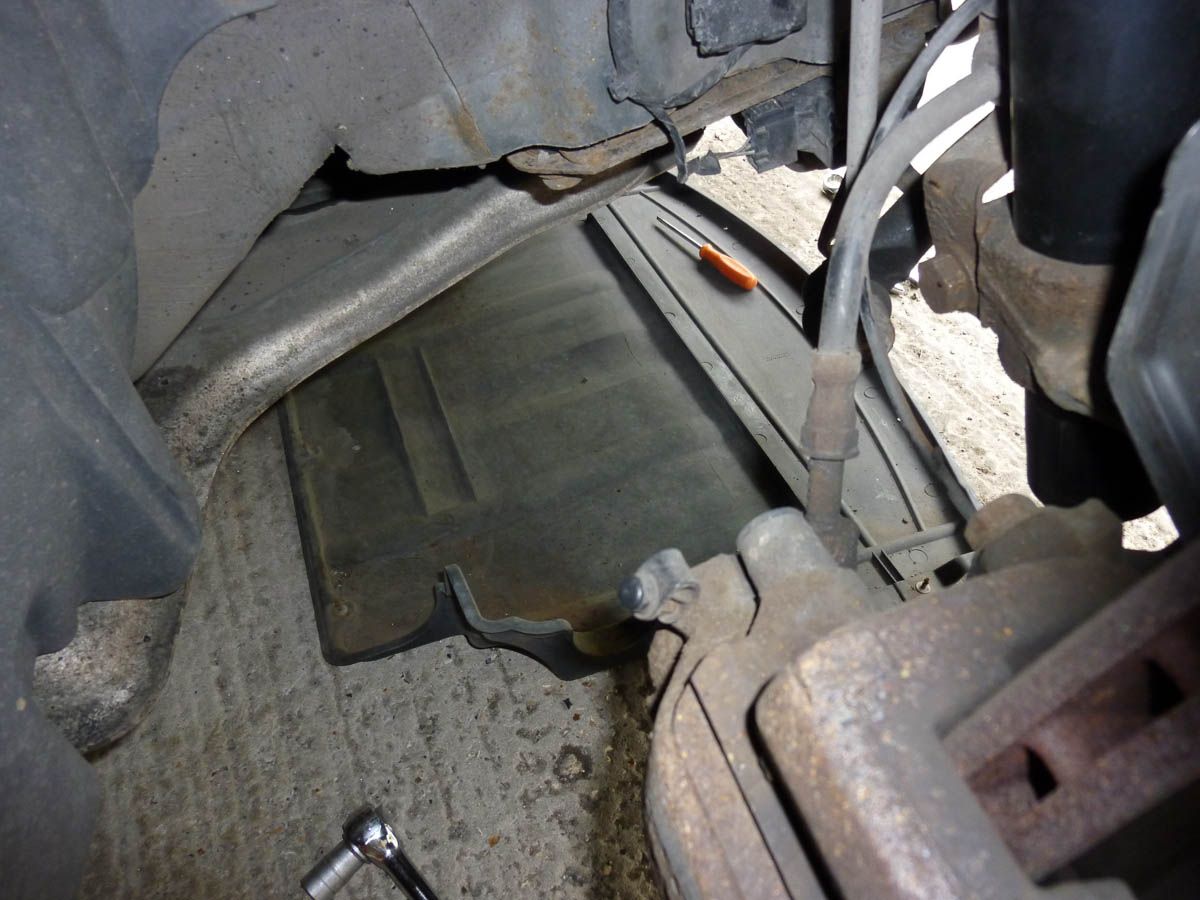
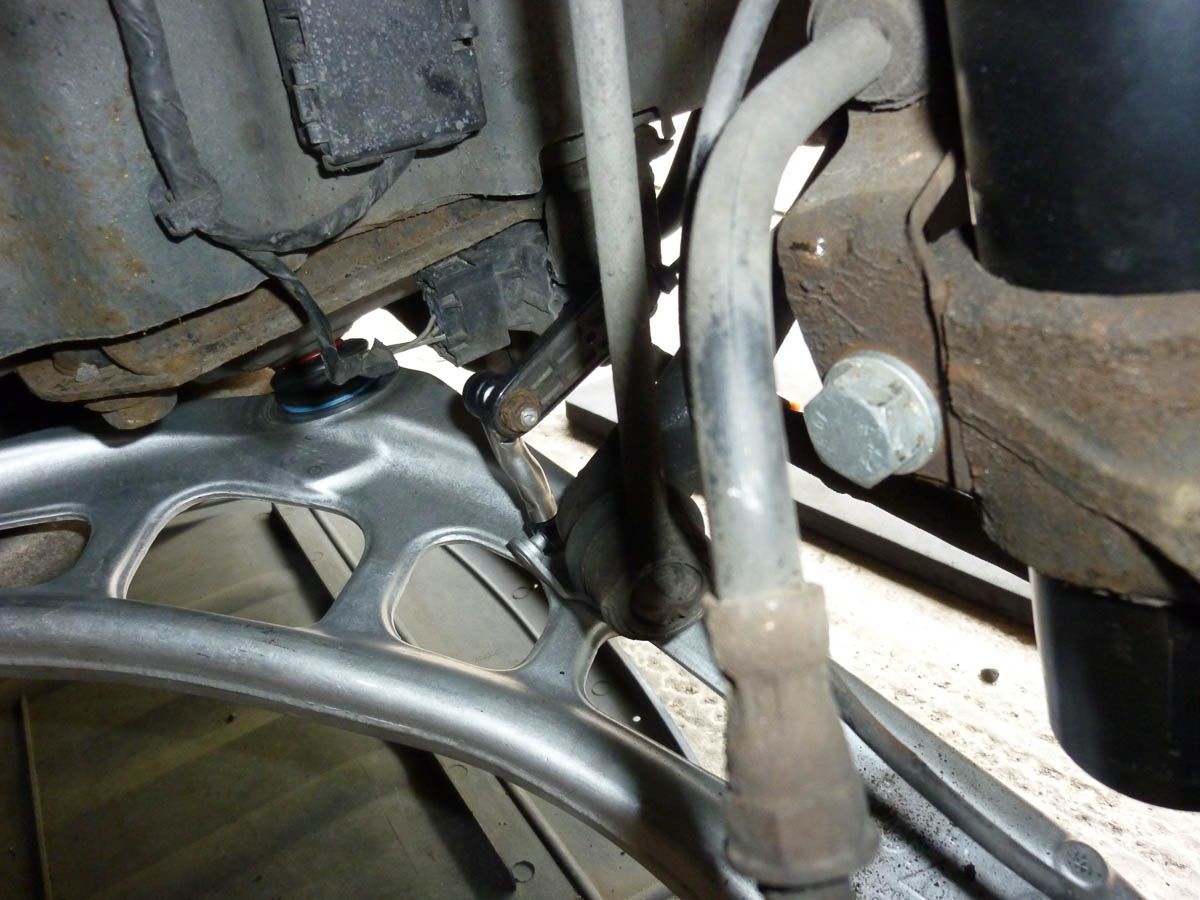
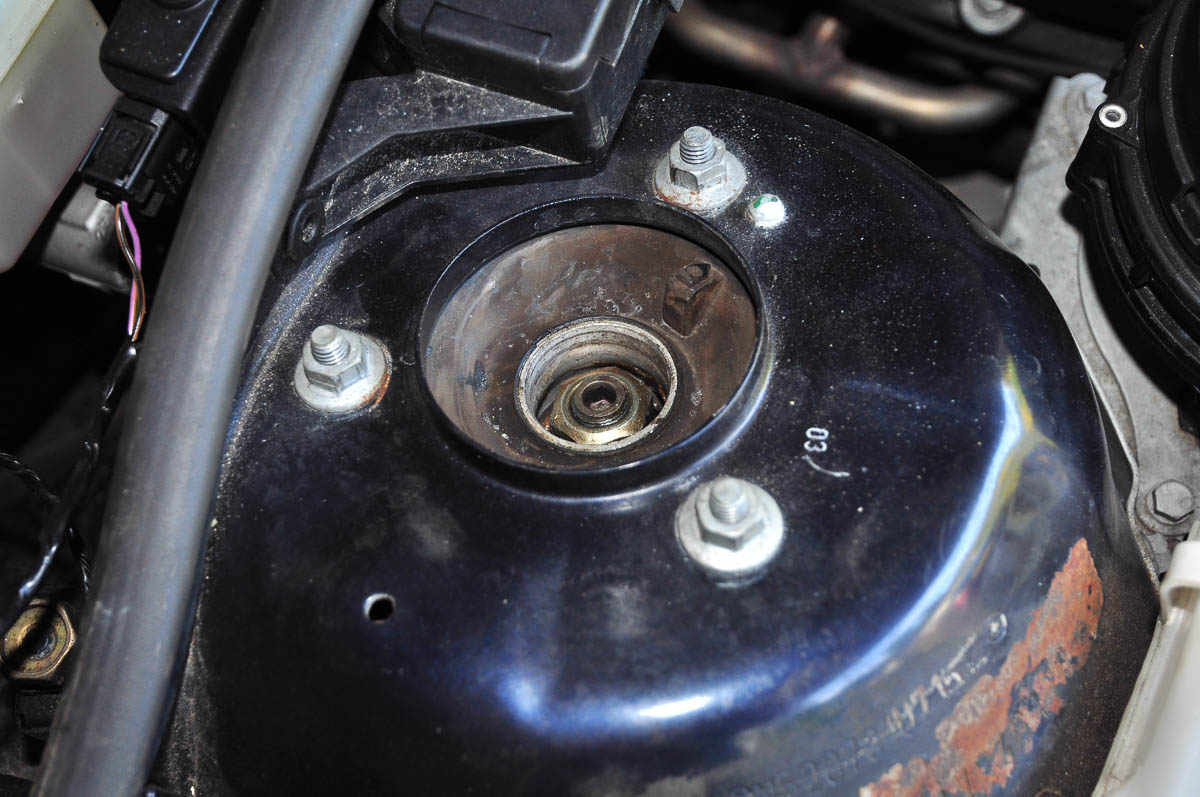
First job was to remove the lower arm and I had no problem with the rear bushing bolts nor the one nearest the disc but in a school boy error moment I quickly realised that I didn't have a 21mm spanner to do the difficult inboard one and I couldn't see a way of using a socket on it. So instead I turned my attention to the strut. While in there I was interested to spot the xenon levelling sensor - I had assumed it worked on rear axle travel only
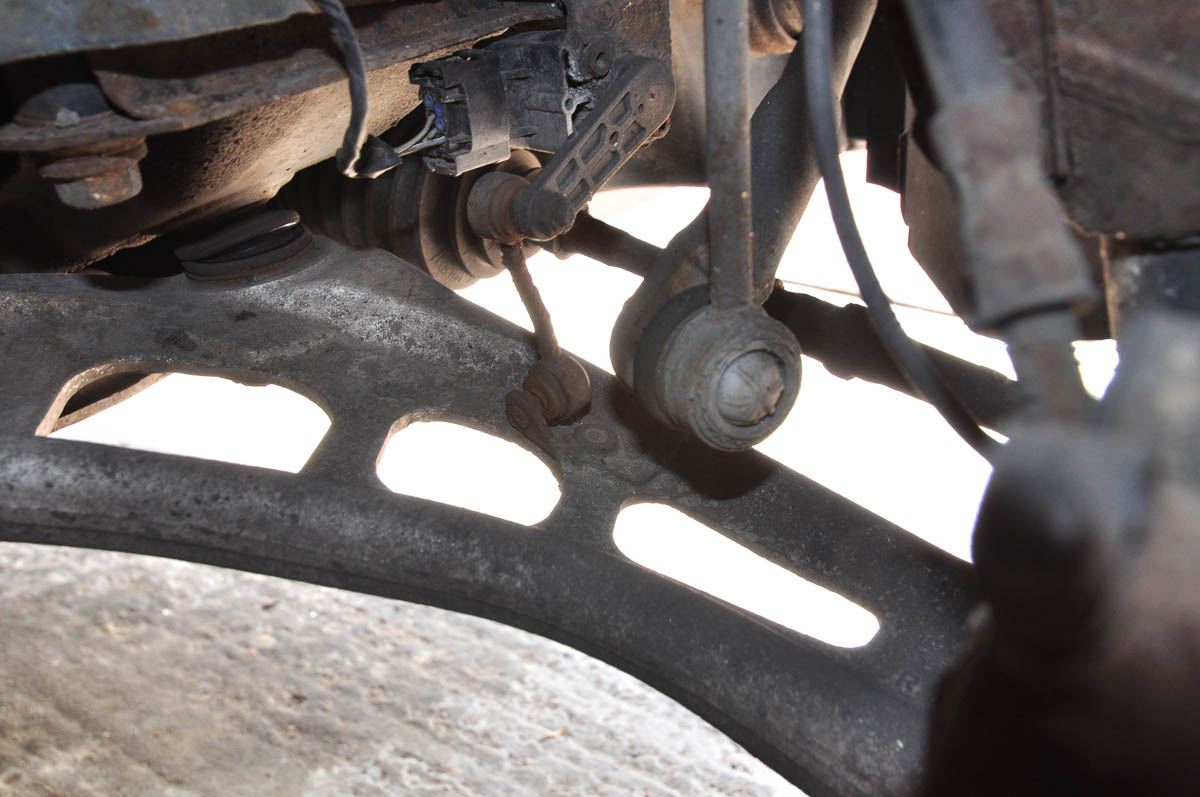
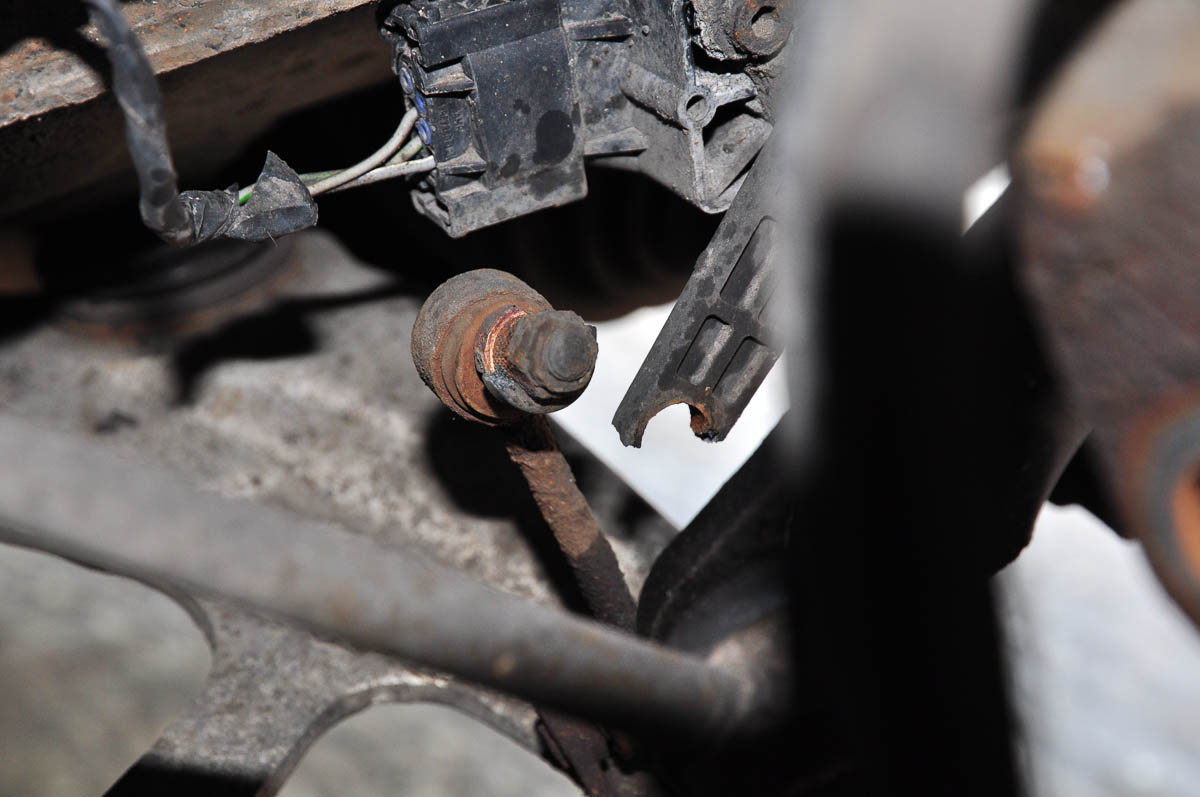
At this point I had unbolted the part of it that's attached to the arm, but for some reason it wouldn't come free, probably due to galvanic corrosion between differing metals if my A-level chemistry serves me right. Alas I hadn't unbolted the top part to compensate, leaving me feeling like a prat because of this:
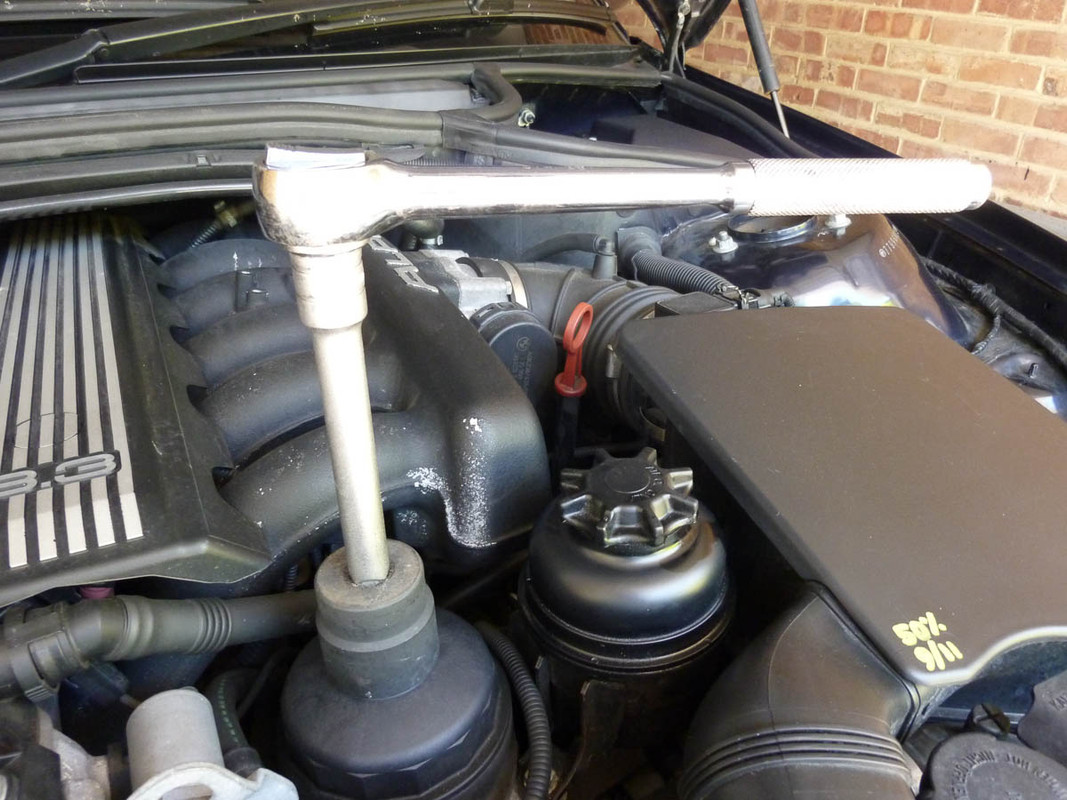
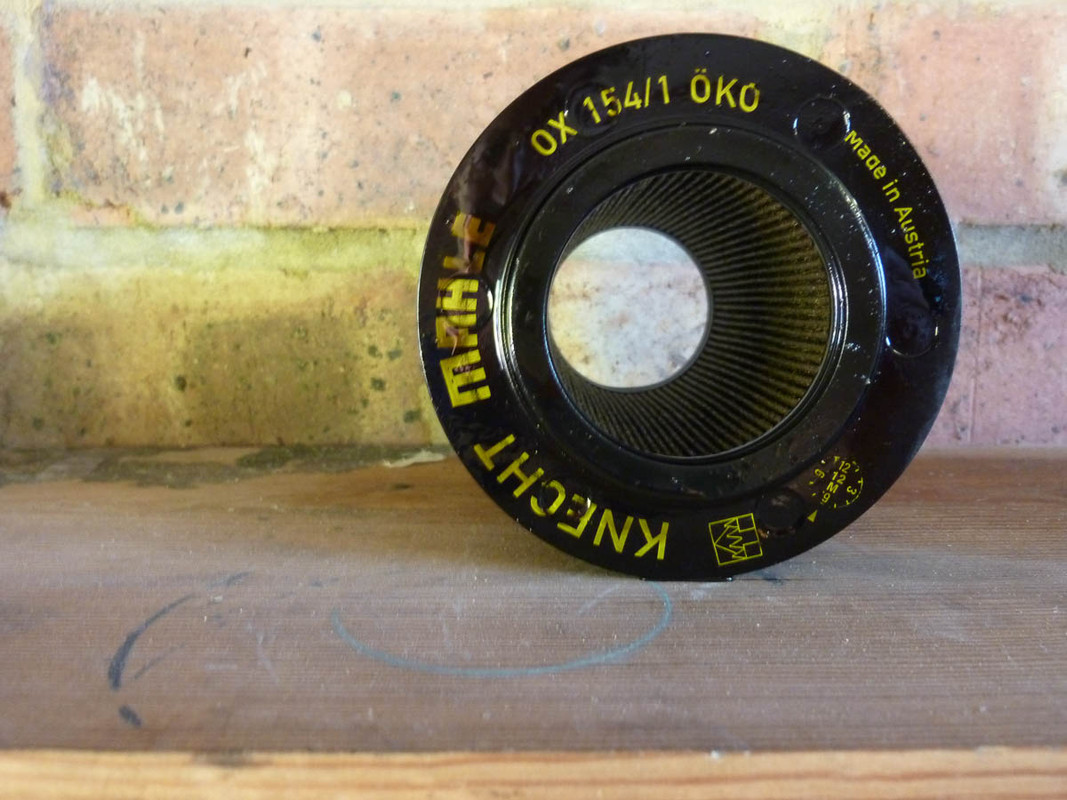
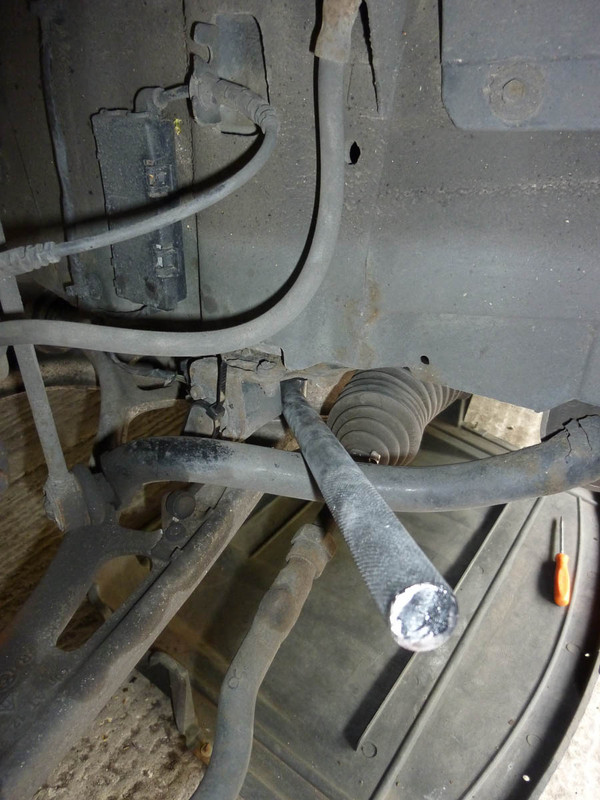
So frustrating and so easily avoidable. For a break I decided to jump in the OH's car and head over to ECP to buy the matching rear dampers as they were showing a 45% discount for the bank holiday. While there a friend phoned to say that he did have a 36mm socket that I could borrow, so I can now get the oil filter housing off without damaging it. Good news.
Once back, I carried on and soon had the old strut out. Yellow axle stand and jack there to support the hub and keep the brake pipe from stretching.
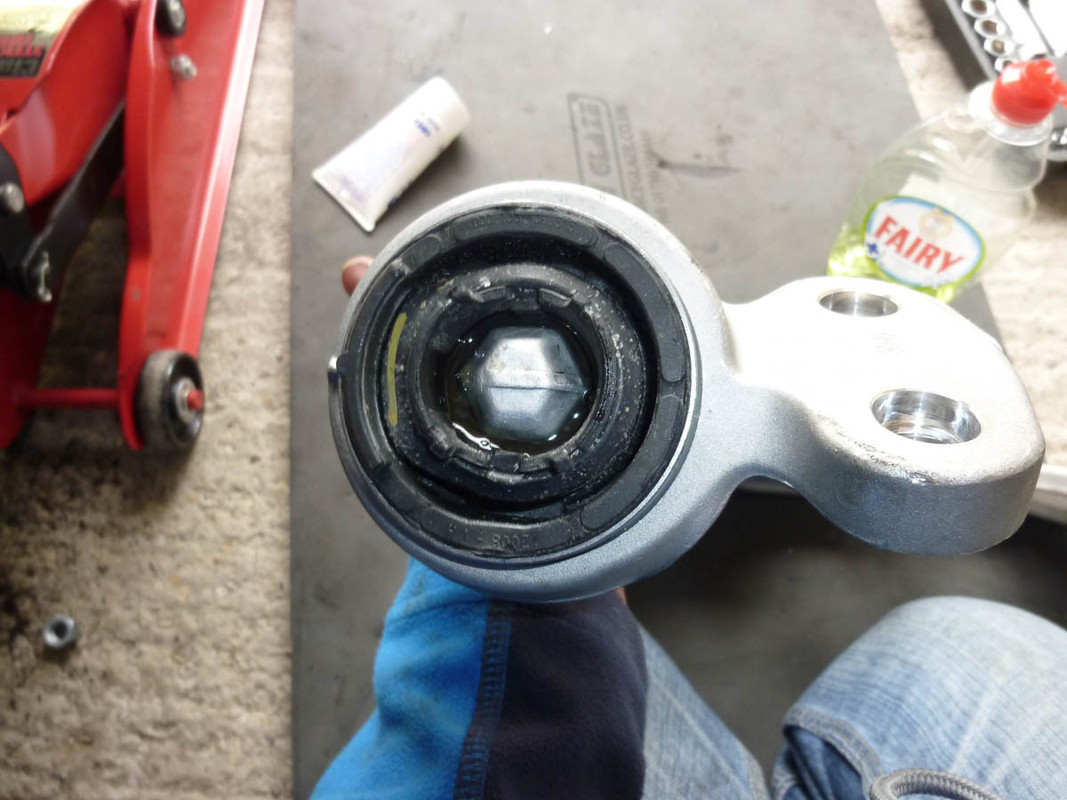
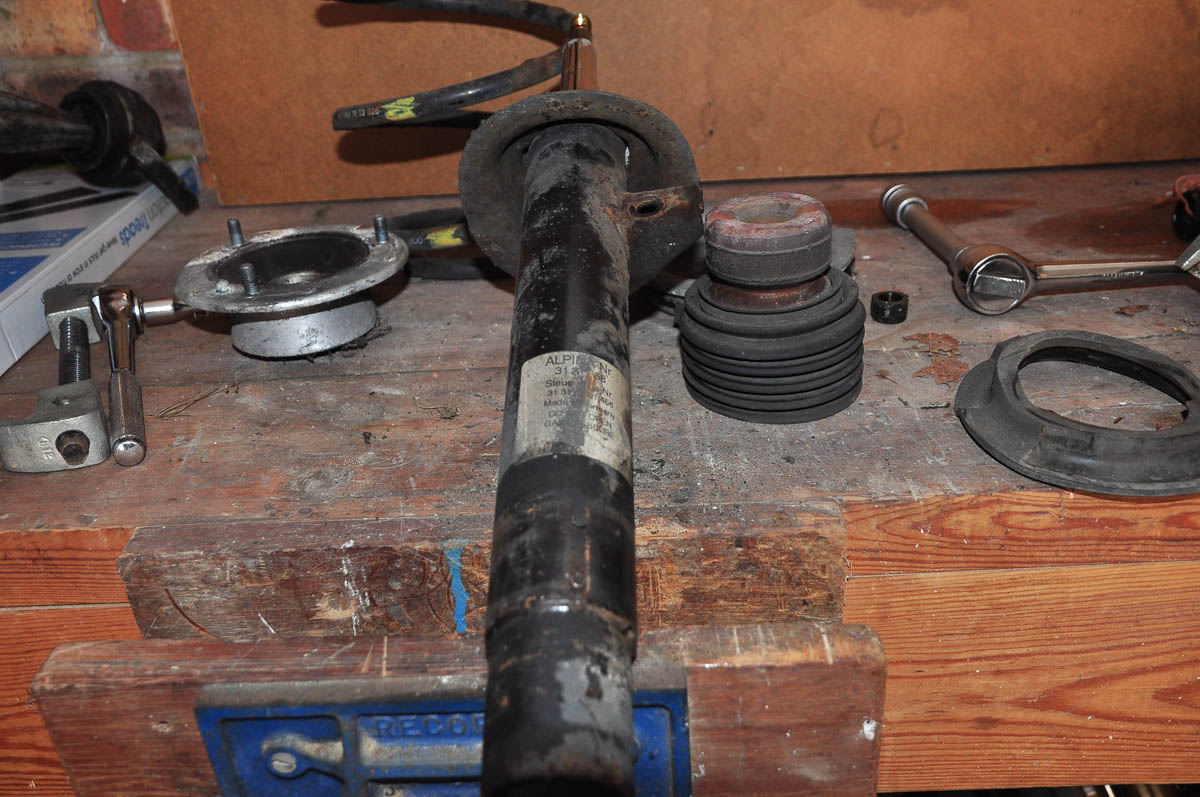
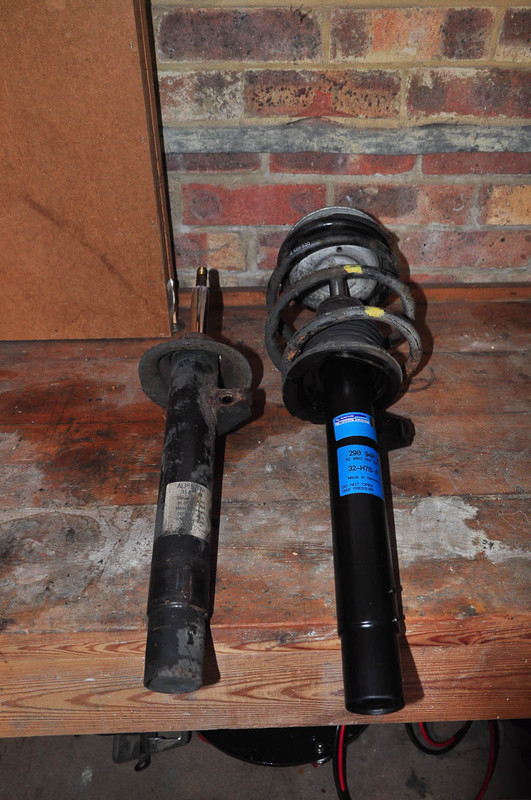
And now resting in the vice ready for disassembly. Alas my springs are a bit rusty and but for the fact that I've still barely done 200 miles since buying the car I'd send them off to be smartened up.

No dramas here as I'd undone the top bolt when the strut was in the car with the trusty breaker bar, so it all came apart easily.
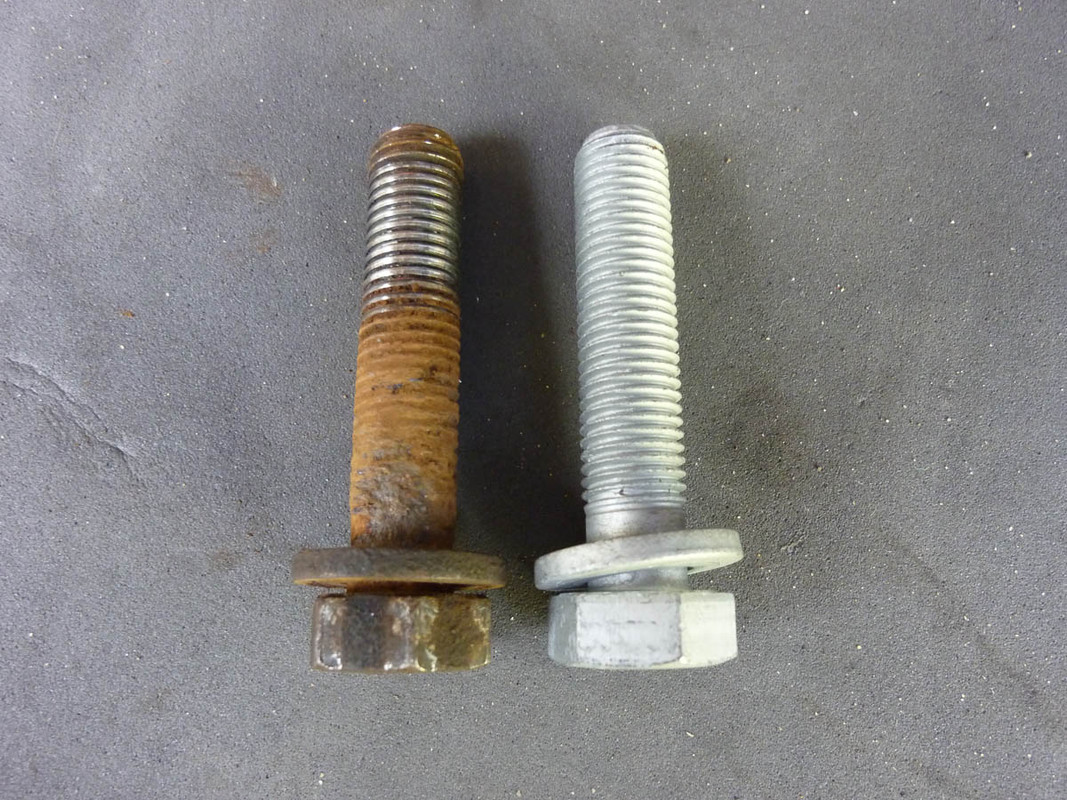
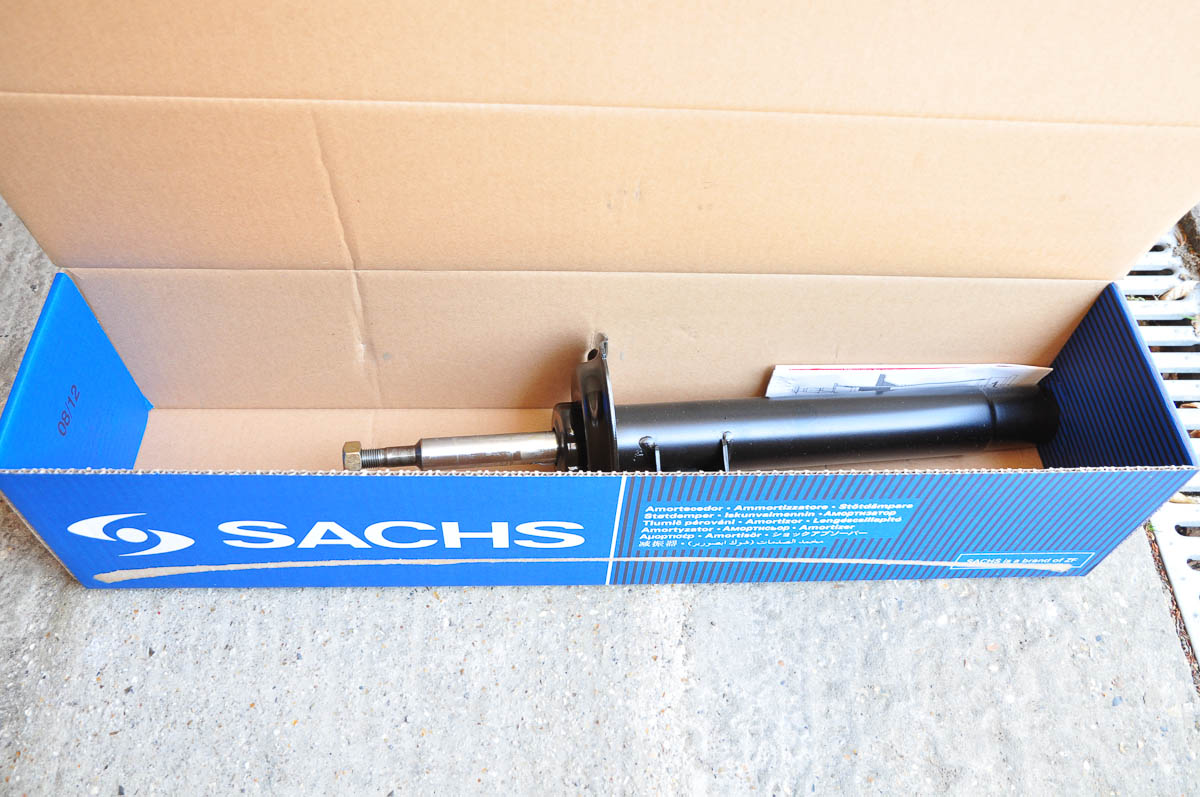
Here's the new one. Surprising lack of packaging to keep it together in the box, but then I guess it's better than being under a wheelarch in all weathers...
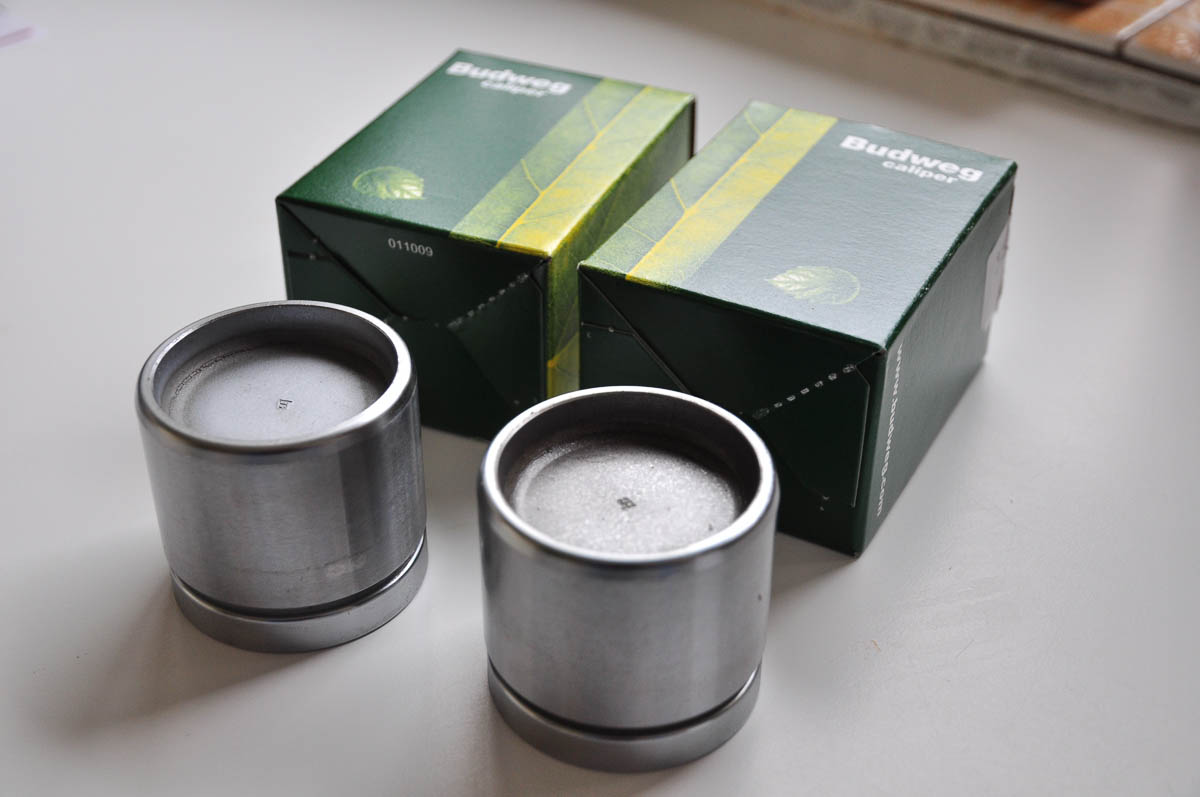
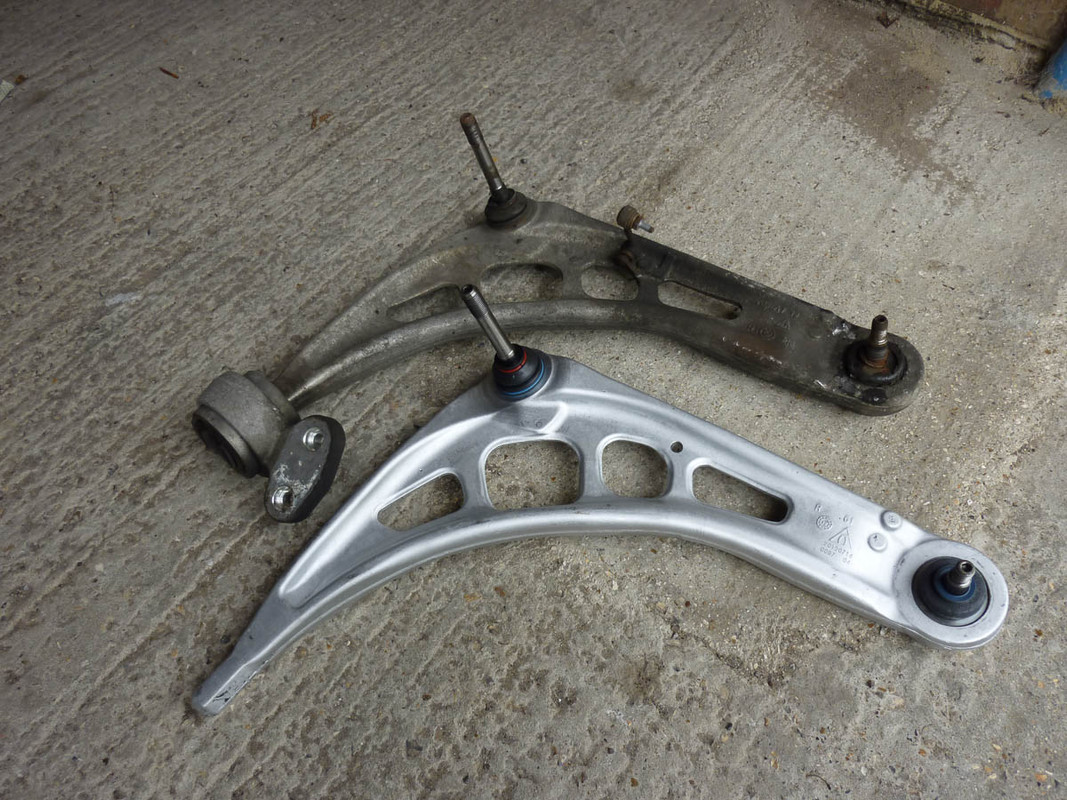
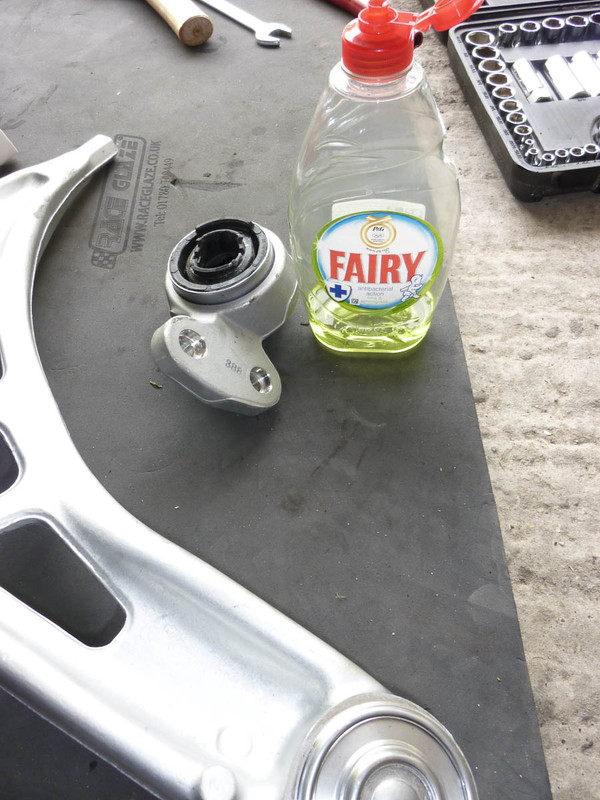
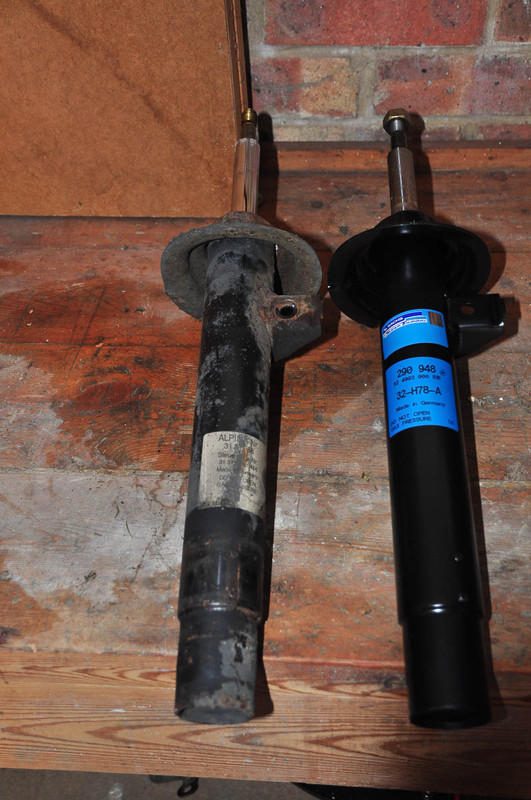
General consensus seems to be that Alpina dampers are built by Sachs and having them side by side I can tell you they are visually identical (although no doubt the internals are different). The only external difference is that the new top nut is 22mm and the original one was smaller, 20mm I think. Thread is the same though. I now have both the original front dampers off the car so I am wondering - does anybody know if they can be rebuilt to original Alpina specs?
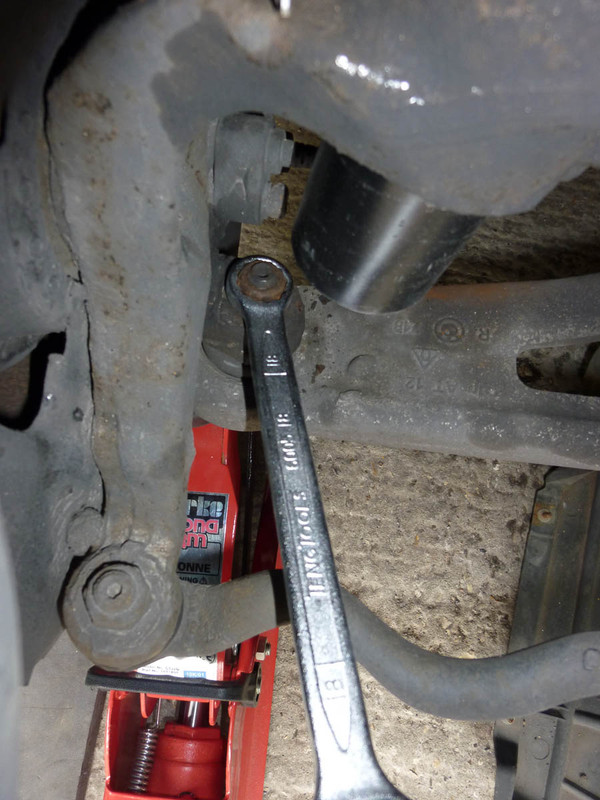
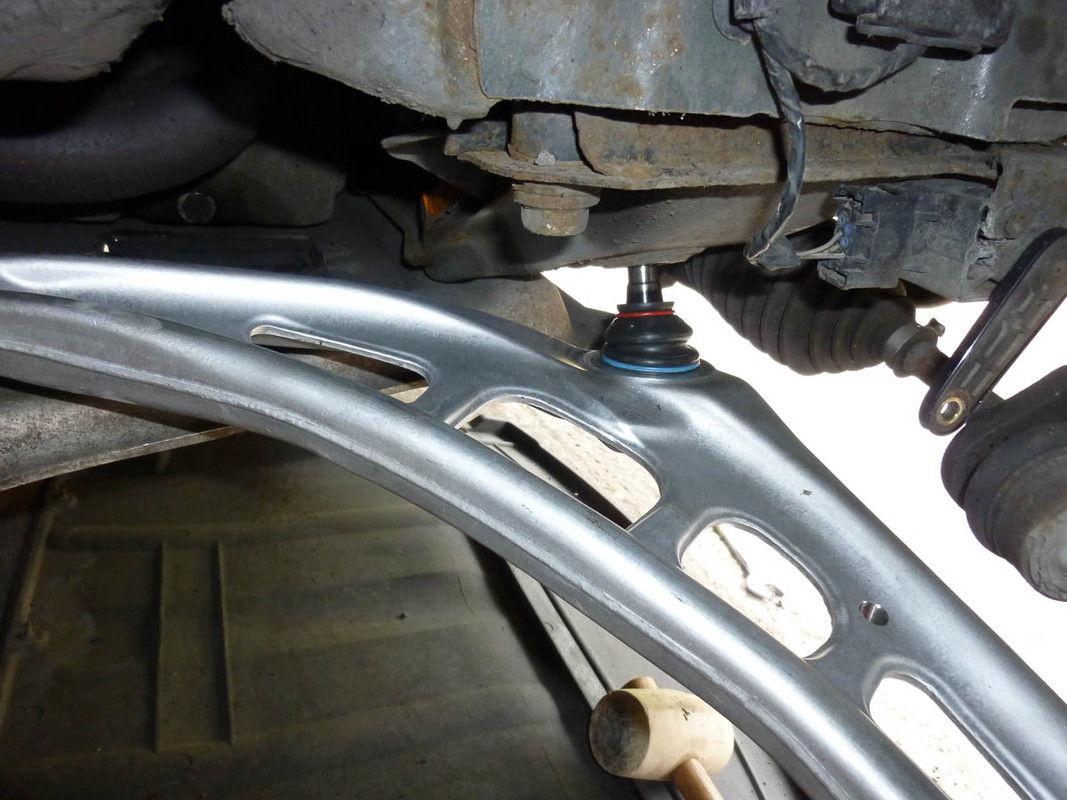
And all put back together, which took about 20 minutes, including cleaning up the top strut mount.
Refitting is the reverse of removal as the old Haynes manuals used to say but in this case it really was, so a scant 10 minutes or so and it was back together, just leaving everything to be torqued up.

For those who might be doing this soon I found torque specs off E46fanatics (I think) which were as follows:
Top three nuts - 25 ft lb for 21mm flange size
Lower pinch bolt - 60 ft lb
Top strut nut - 47 ft lb.
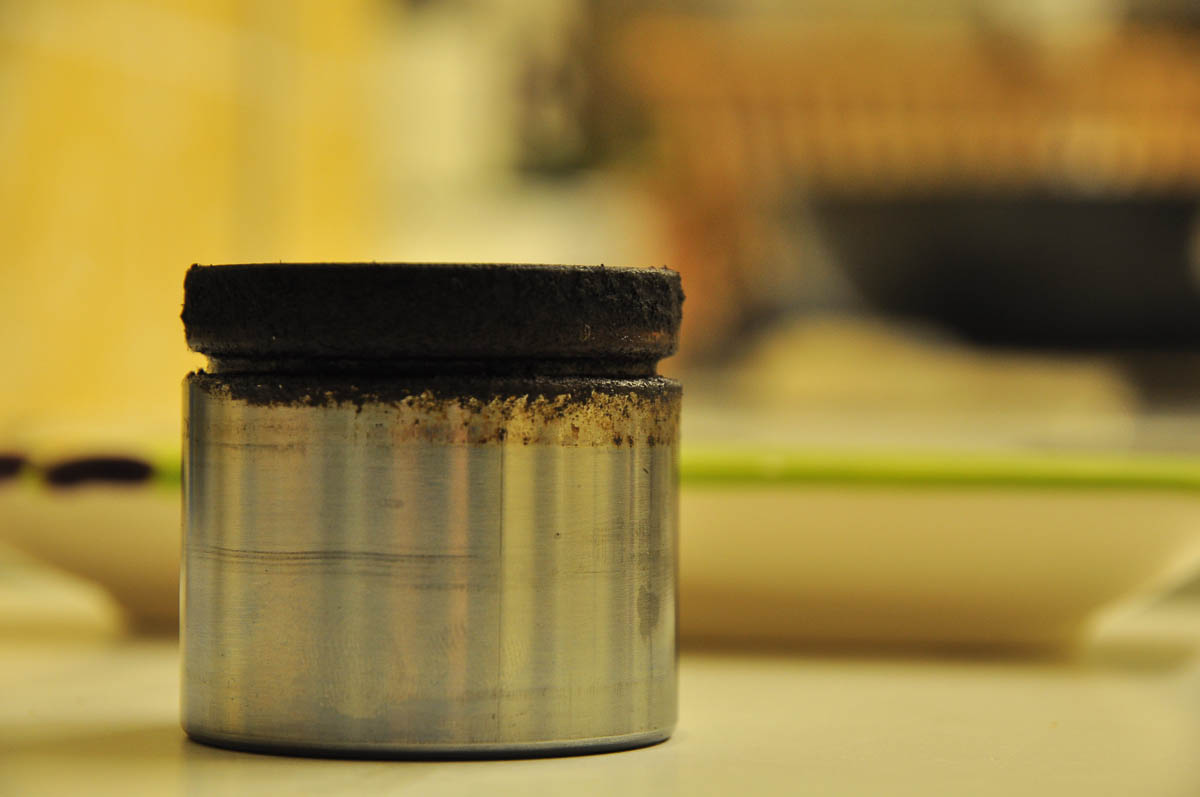
That last one proved tricky though since you need to hold the damper piston while you tighten the nut. It's this one:
Common practice is to use an impact wrench but a) I don't have one and b) it's thought to damage the seals so I had to bail out there and have ordered one of these which I hope will arrive before the weekend.

Annoyed that I couldn't go out for a drive with my now matched suspension I decided to finish two small jobs that I had been waiting on parts for.
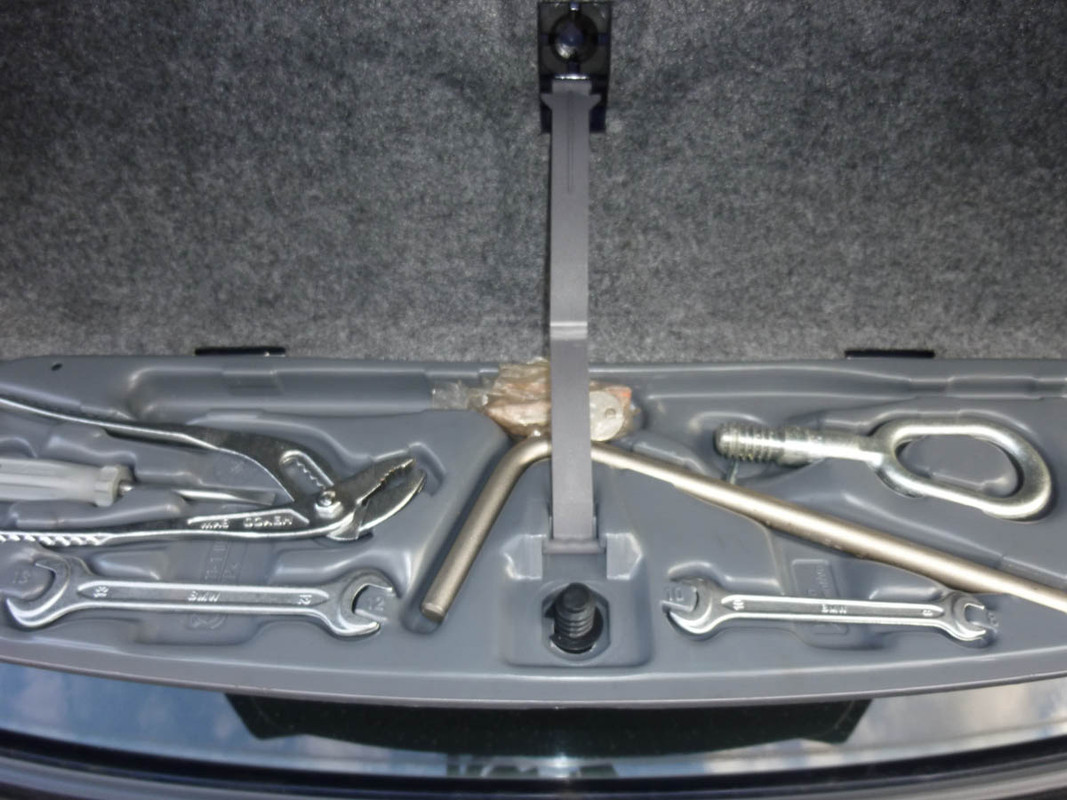
The original jack was missing a clip, not the end of the world I grant you

But I've bought and fitted one anyway:

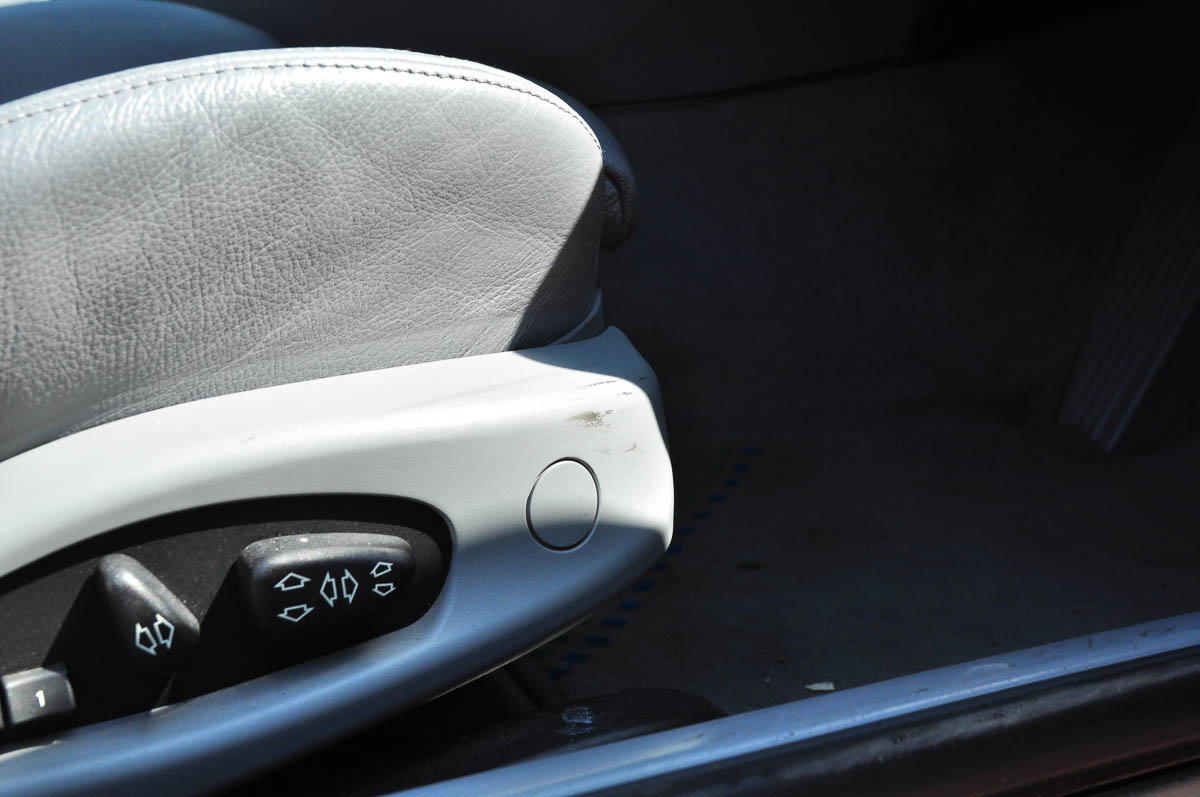
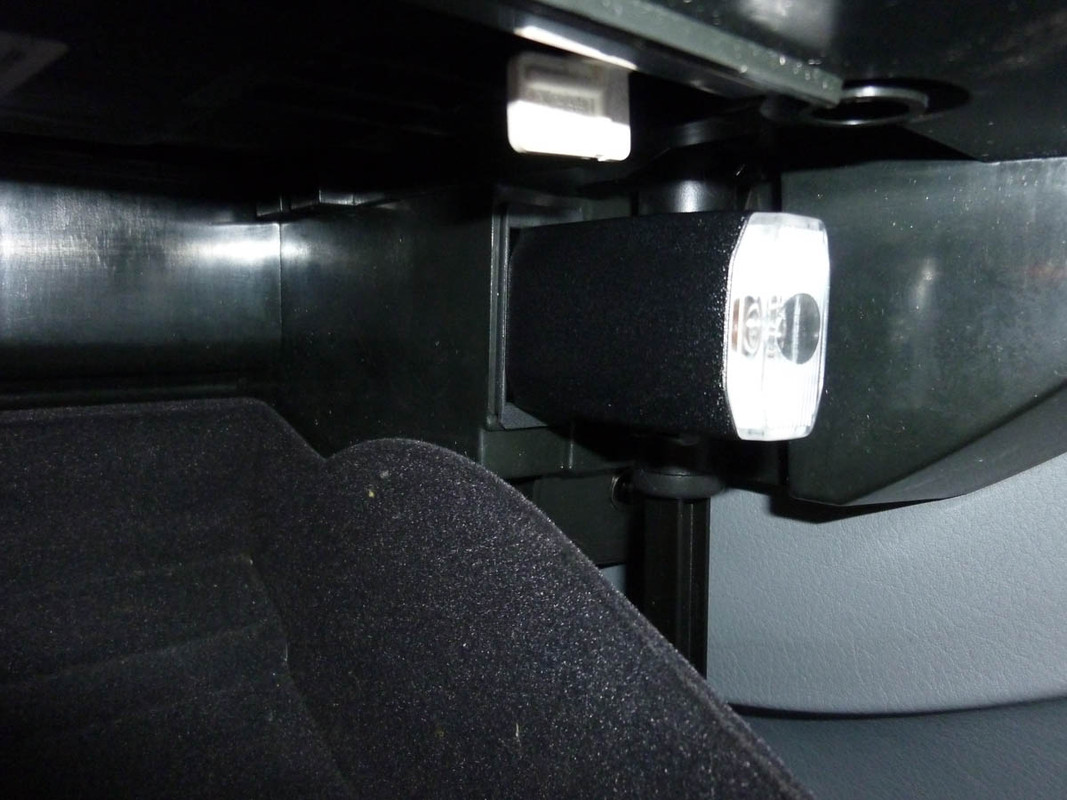
And the hook that enables you to easily lift the carpet had broken off
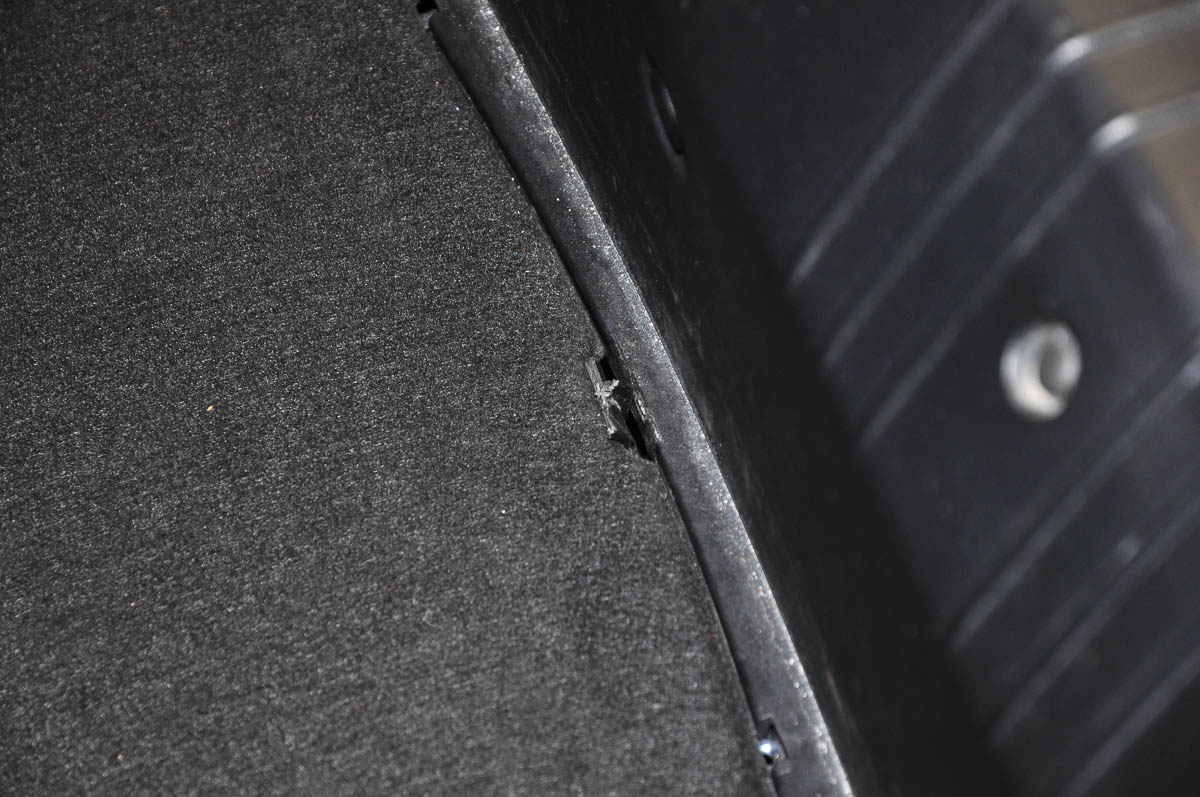
So I replaced that as well, which does make life a little easier and is the sort of attention to detail that no dealer would ever give you.

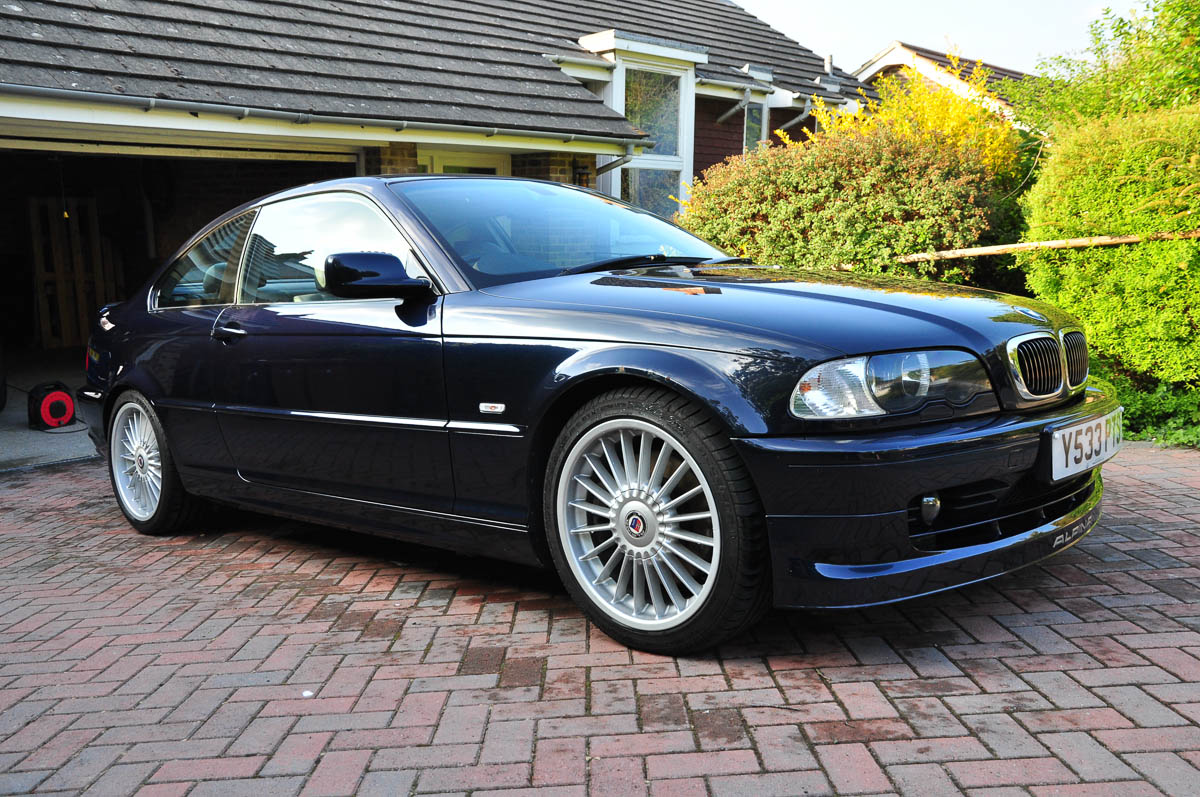
So hopefully, it'll be a quick torqueing up of that nut and I can get out for a drive, before I then have to get it back on stands to swap the arm over. Slow but steady progress though - it's all coming together.
Thanks for reading - hope you are enjoying the updates.

Don't tell me you've taken swabs off the seats and sent them for laboratory analysis
(like they did on TG)