B3 3.2 Touring No.36 Bodywork time, 13 style
-
shaziman
- ALPINA

- Posts: 1389
- Joined: Sun Sep 18, 2011 1:59 pm
- Location: Nottingham, occasionally S.Wales
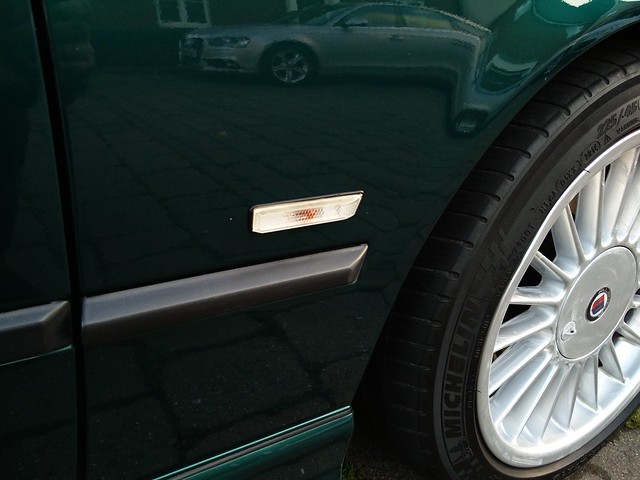
Factory was white, but the previous owner changed them to orange. I have the side repeaters, but waiting for the clears in the post.
1995 E36 B3.0 Convertible (rebodied)
1996 E36 B3.2 Touring No:20 - 1 of 5 made
1997 E36 B3.2 Touring No:36 - 1 of 5 made
1999 E36 323 Sport Touring
2011 E92 D3 Bi-turbo no.246 (santorini blue)
2019 Fiat Fullback
2020 Mini Countryman SE (PHEV)
Alpina, BMW and Detailing Enthusiast
1996 E36 B3.2 Touring No:20 - 1 of 5 made
1997 E36 B3.2 Touring No:36 - 1 of 5 made
1999 E36 323 Sport Touring
2011 E92 D3 Bi-turbo no.246 (santorini blue)
2019 Fiat Fullback
2020 Mini Countryman SE (PHEV)
Alpina, BMW and Detailing Enthusiast
-
shaziman
- ALPINA
- Posts: 1389
- Joined: Sun Sep 18, 2011 1:59 pm
- Location: Nottingham, occasionally S.Wales
Lol, I agree, but I'm getting used to them!
Nope, still has two keys! That's irritating, he didn't mention it, unless I've missed something, or it's been chucked in the box with all the old spares, i'm not sure it came with the car.
Manual experience is awesome, it's like the perfect car!
Nope, still has two keys! That's irritating, he didn't mention it, unless I've missed something, or it's been chucked in the box with all the old spares, i'm not sure it came with the car.
Manual experience is awesome, it's like the perfect car!
1995 E36 B3.0 Convertible (rebodied)
1996 E36 B3.2 Touring No:20 - 1 of 5 made
1997 E36 B3.2 Touring No:36 - 1 of 5 made
1999 E36 323 Sport Touring
2011 E92 D3 Bi-turbo no.246 (santorini blue)
2019 Fiat Fullback
2020 Mini Countryman SE (PHEV)
Alpina, BMW and Detailing Enthusiast
1996 E36 B3.2 Touring No:20 - 1 of 5 made
1997 E36 B3.2 Touring No:36 - 1 of 5 made
1999 E36 323 Sport Touring
2011 E92 D3 Bi-turbo no.246 (santorini blue)
2019 Fiat Fullback
2020 Mini Countryman SE (PHEV)
Alpina, BMW and Detailing Enthusiast
-
shaziman
- ALPINA
- Posts: 1389
- Joined: Sun Sep 18, 2011 1:59 pm
- Location: Nottingham, occasionally S.Wales
Will do!
Never! Lol! That will be the show car!
Never! Lol! That will be the show car!
1995 E36 B3.0 Convertible (rebodied)
1996 E36 B3.2 Touring No:20 - 1 of 5 made
1997 E36 B3.2 Touring No:36 - 1 of 5 made
1999 E36 323 Sport Touring
2011 E92 D3 Bi-turbo no.246 (santorini blue)
2019 Fiat Fullback
2020 Mini Countryman SE (PHEV)
Alpina, BMW and Detailing Enthusiast
1996 E36 B3.2 Touring No:20 - 1 of 5 made
1997 E36 B3.2 Touring No:36 - 1 of 5 made
1999 E36 323 Sport Touring
2011 E92 D3 Bi-turbo no.246 (santorini blue)
2019 Fiat Fullback
2020 Mini Countryman SE (PHEV)
Alpina, BMW and Detailing Enthusiast
looking at your sig shes a 96 built car also, sept/oct iirc very early facelift version. My old 328 touring as a july 96 build and one of the last pre facelift cars. Not sure on the change over date
Alpina archive is saying the other 2 RHD tourings were both alpina blue with grey leather?! i've never noticed/seen this before as no one has seen or heard about them to my knowledge. One is No.37 and the other 62 - must be new additions somehow. I'd of noticed no.37 on the list!
Alpina archive is saying the other 2 RHD tourings were both alpina blue with grey leather?! i've never noticed/seen this before as no one has seen or heard about them to my knowledge. One is No.37 and the other 62 - must be new additions somehow. I'd of noticed no.37 on the list!
-
shaziman
- ALPINA
- Posts: 1389
- Joined: Sun Sep 18, 2011 1:59 pm
- Location: Nottingham, occasionally S.Wales
True, but that was BMW's build date, then she went to Alpina and wasn't registered till early 1997. I can confirm the actual date when I get the log books through.
I go by registration date as until then, cars don't actually exist in any legal system with an identity.
I take it the new ignition barrel was ordered against the panel donor cars reg?
I go by registration date as until then, cars don't actually exist in any legal system with an identity.
I take it the new ignition barrel was ordered against the panel donor cars reg?
1995 E36 B3.0 Convertible (rebodied)
1996 E36 B3.2 Touring No:20 - 1 of 5 made
1997 E36 B3.2 Touring No:36 - 1 of 5 made
1999 E36 323 Sport Touring
2011 E92 D3 Bi-turbo no.246 (santorini blue)
2019 Fiat Fullback
2020 Mini Countryman SE (PHEV)
Alpina, BMW and Detailing Enthusiast
1996 E36 B3.2 Touring No:20 - 1 of 5 made
1997 E36 B3.2 Touring No:36 - 1 of 5 made
1999 E36 323 Sport Touring
2011 E92 D3 Bi-turbo no.246 (santorini blue)
2019 Fiat Fullback
2020 Mini Countryman SE (PHEV)
Alpina, BMW and Detailing Enthusiast
-
shaziman
- ALPINA
- Posts: 1389
- Joined: Sun Sep 18, 2011 1:59 pm
- Location: Nottingham, occasionally S.Wales
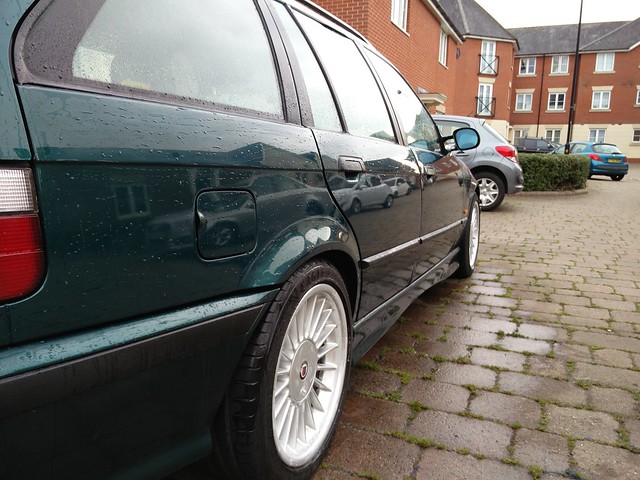
Woke up this morning, to a very disappointing discovery, the bodywork was a lot worse that i thought. As i ended up rinsing off in the dusk yesterday, i couldn't see a lot of the issues. The dirt was hiding a multitude of sins. So here is a photo list of what i found:
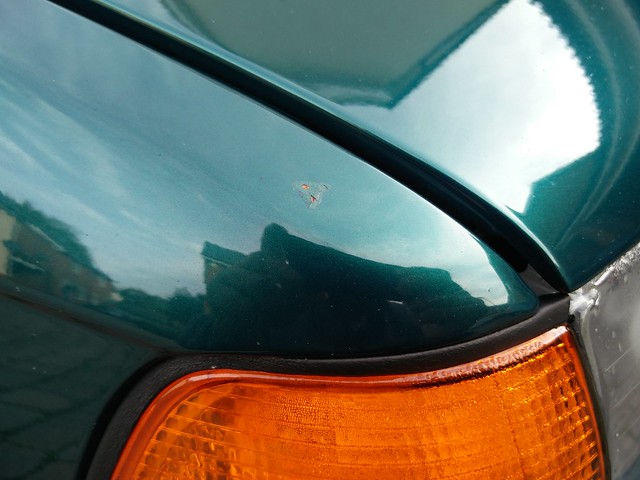

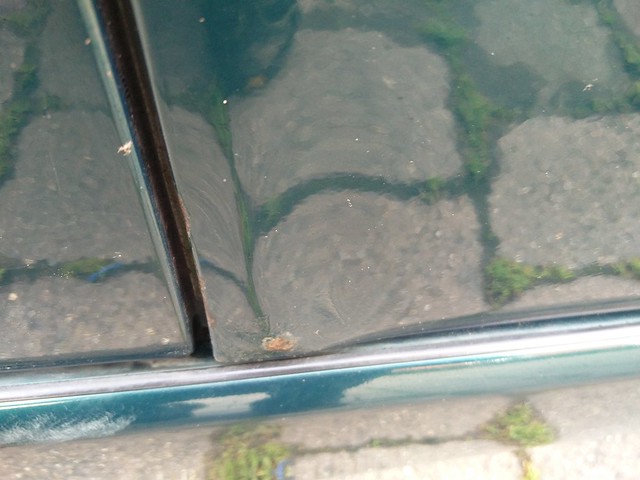
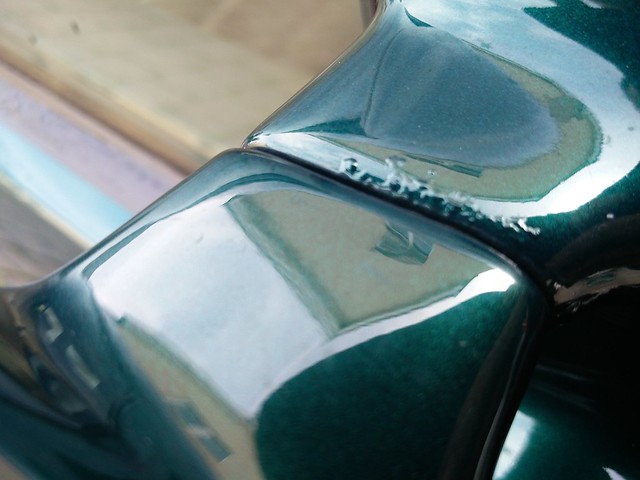
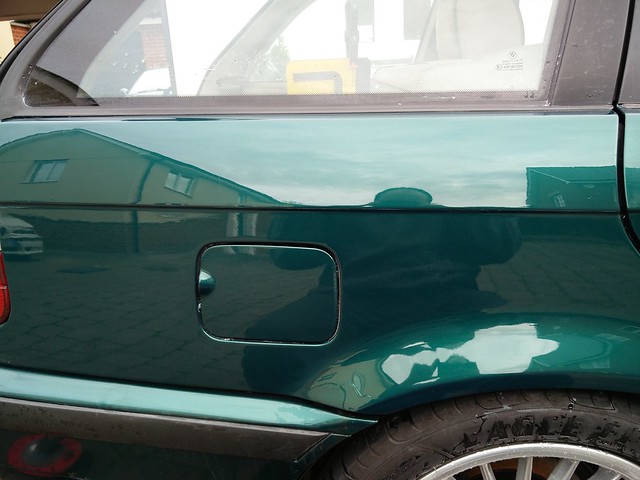
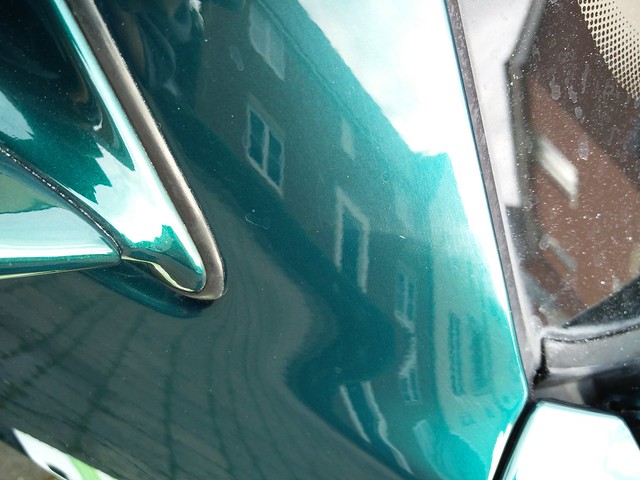
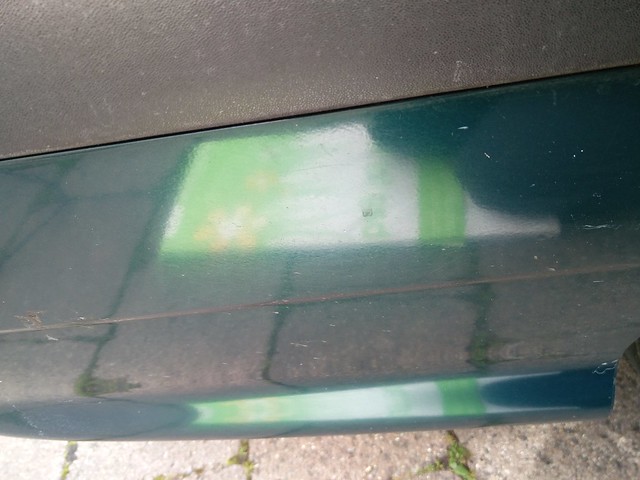
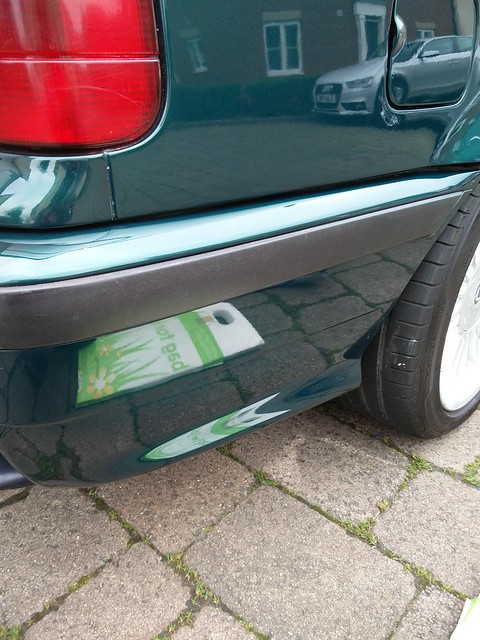
RHS Rear Quarter has a very strange grey pitted effect, like theres not enough paint it, but there is a lot of paint on it.
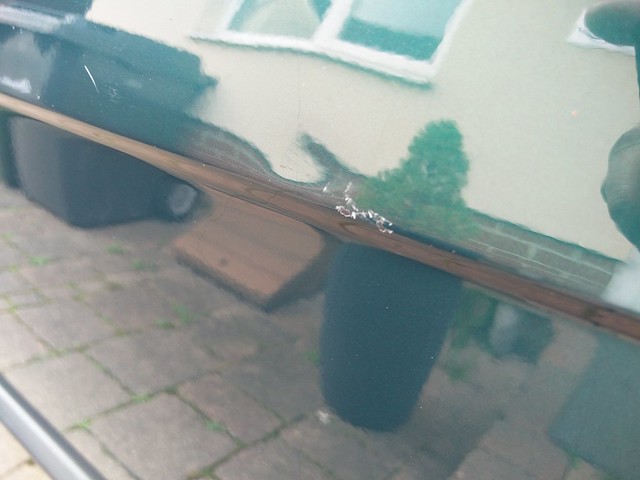
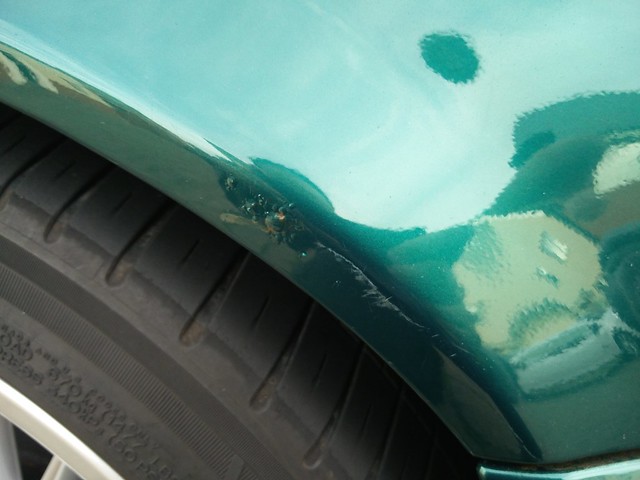
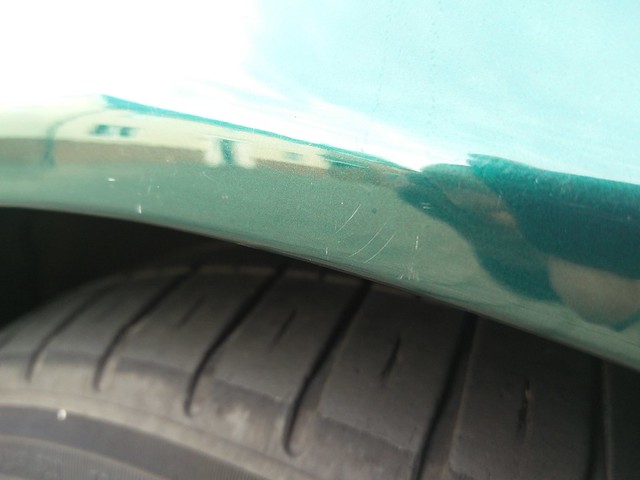
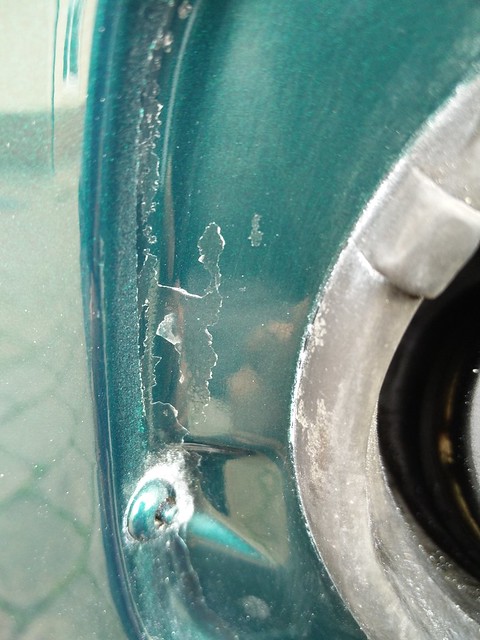
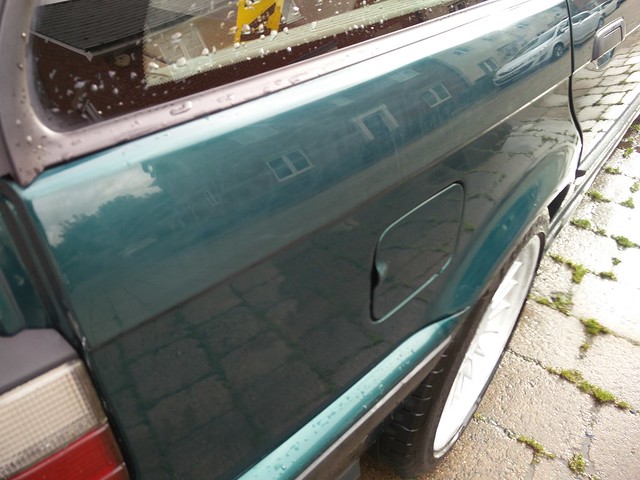
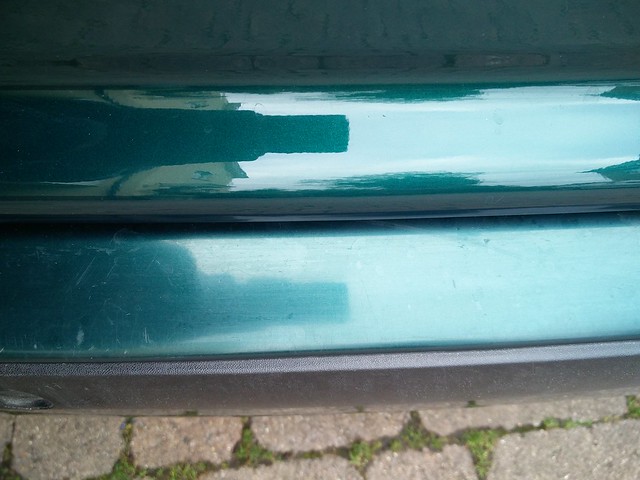
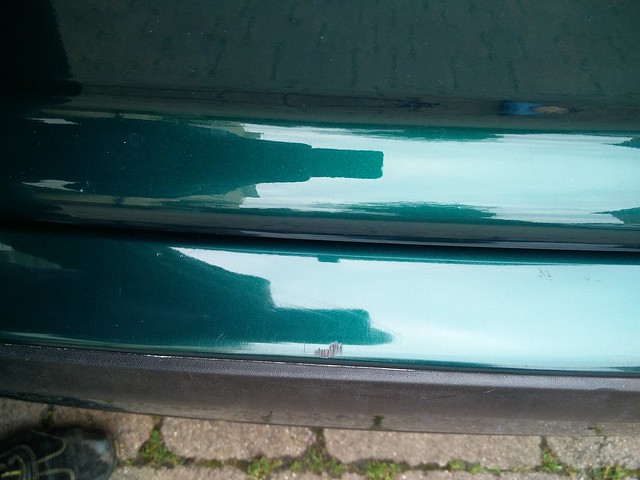
Bottom half of the rear quarter had been painted before, you can see the terrible masking on the styling line and inside the fuel filler cap:
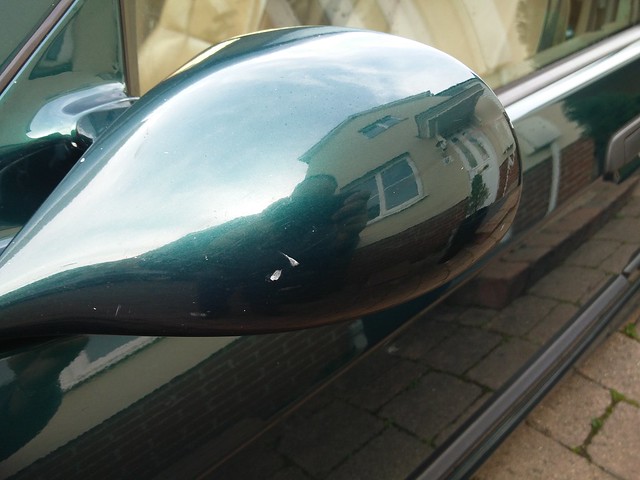
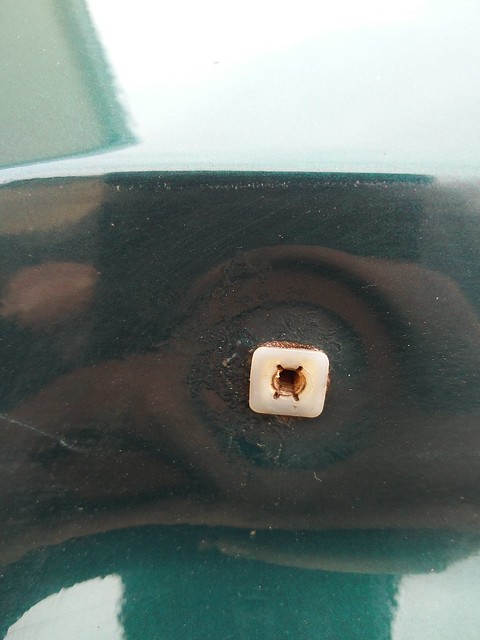
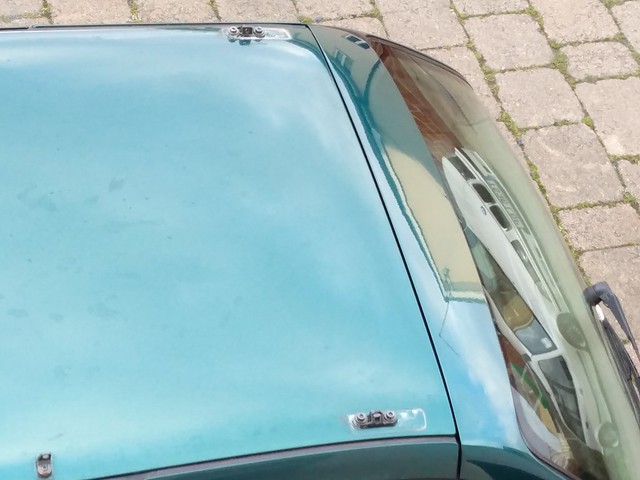
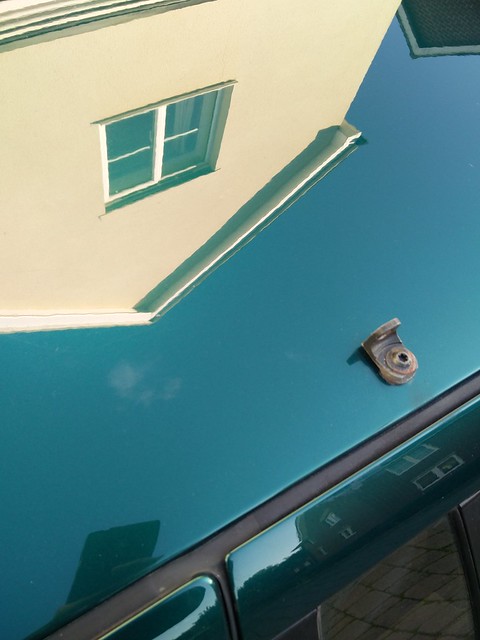
Corrosion on the M3 mirror base plate, Drivers side only:
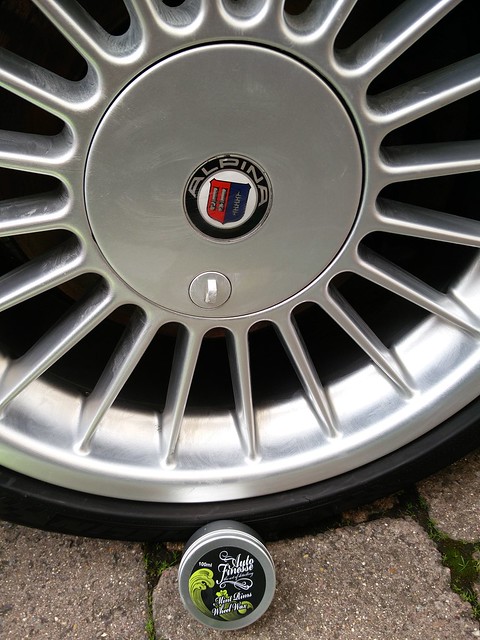
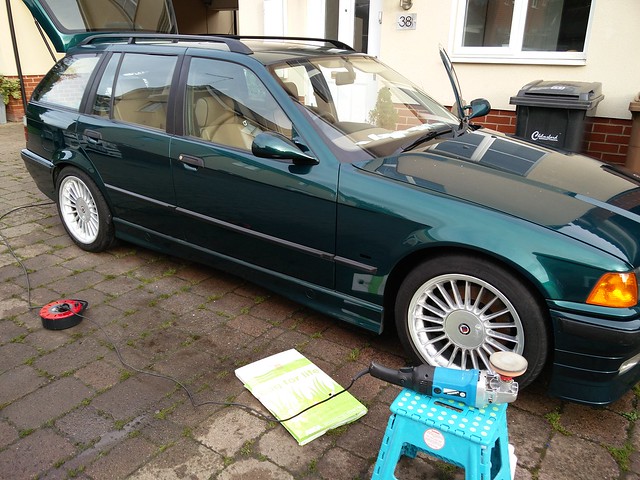
I was so frustrated by this, i needed thinking time, as i hadn't planned to see this in the morning. So i coated the wheels in AutoFinesse Mint Rims:
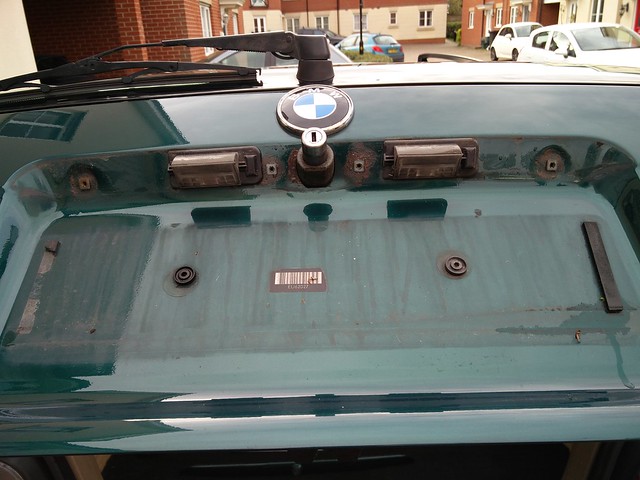
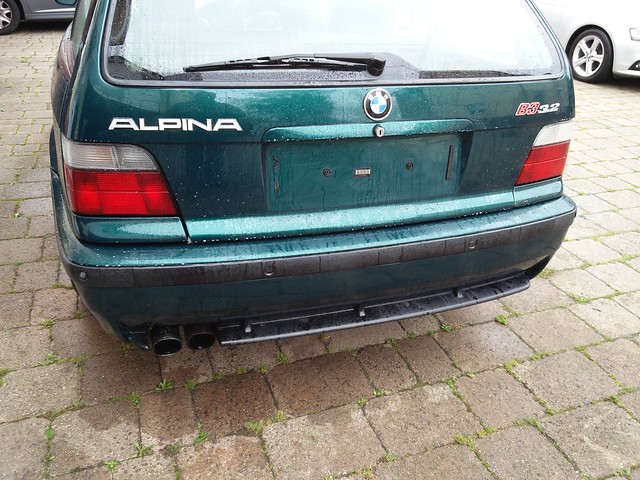
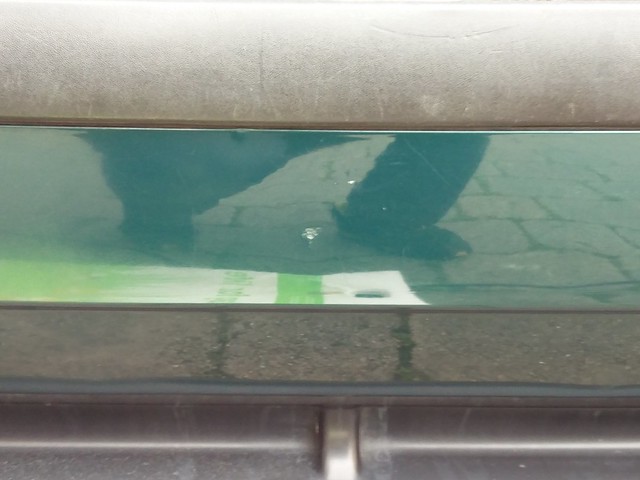
I opened the boot for something, and then saw that the boot trim piece had a lot of dirt in it, so i proceeded to sort that whilst i was thinking of what to do next:
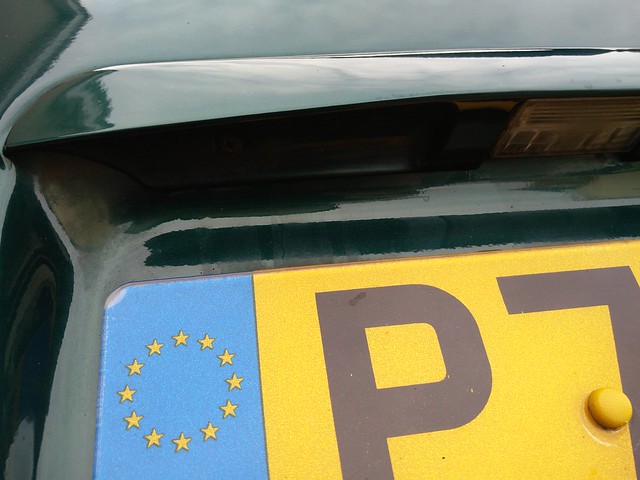
Behind the plate:
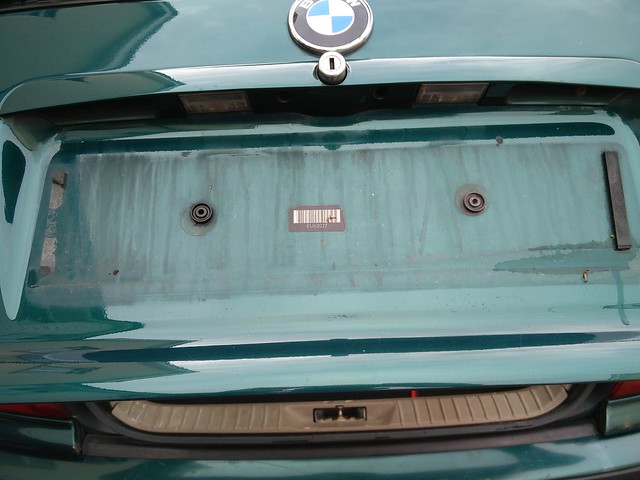
Trim removed:
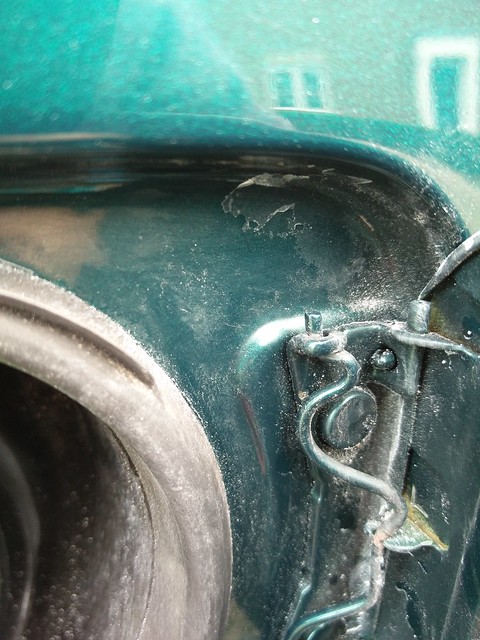
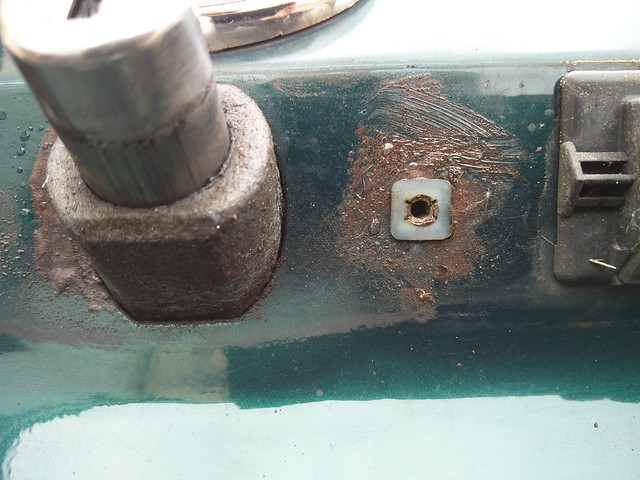
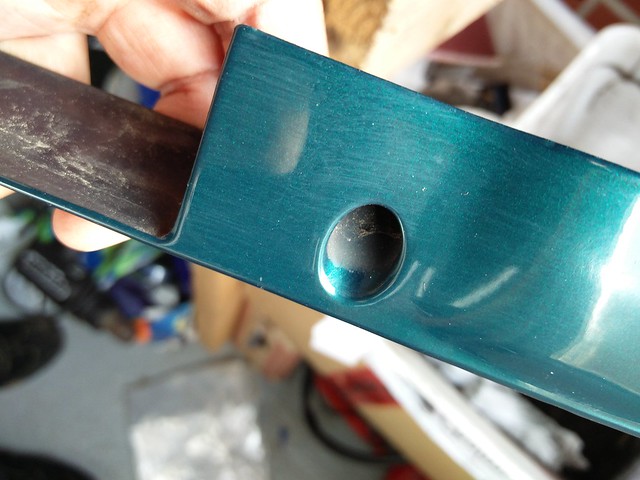
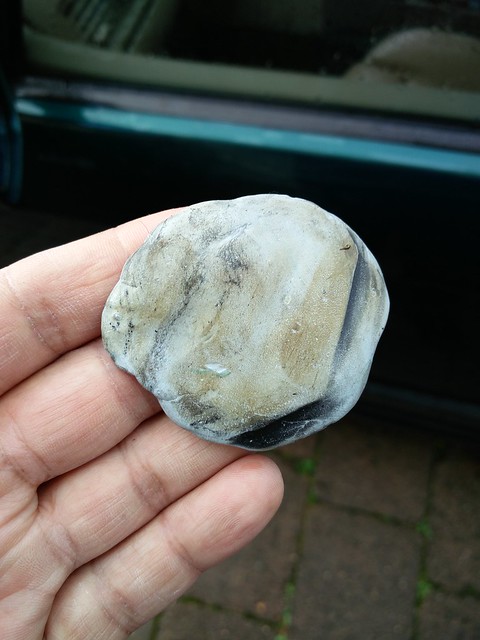
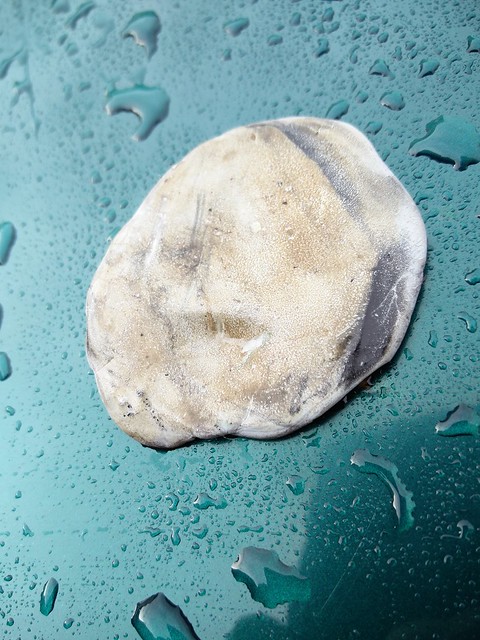
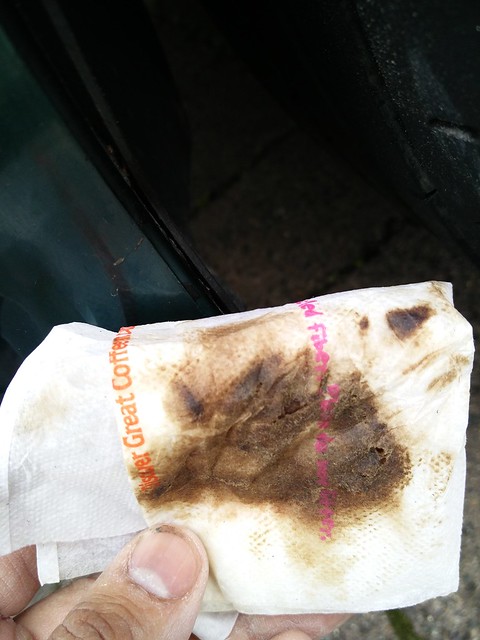
Then i saw tis and thought it was rust for a moment, then found that it looked more like copper grease, god knows why it was there
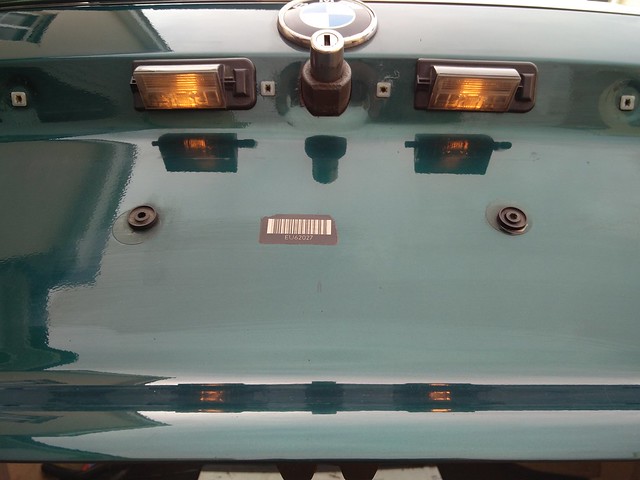
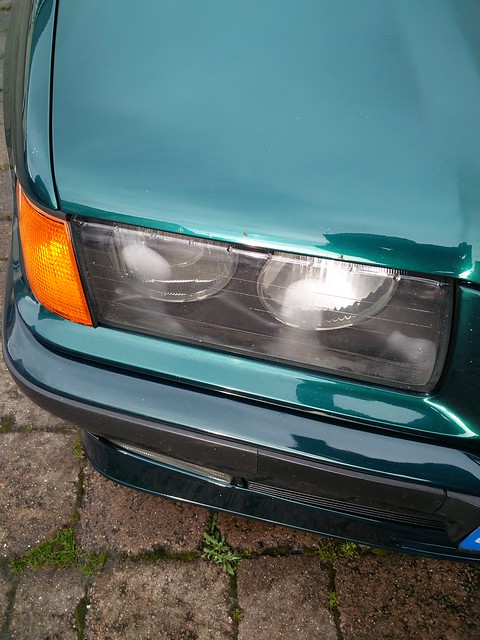
Light removed and cleaned behind:

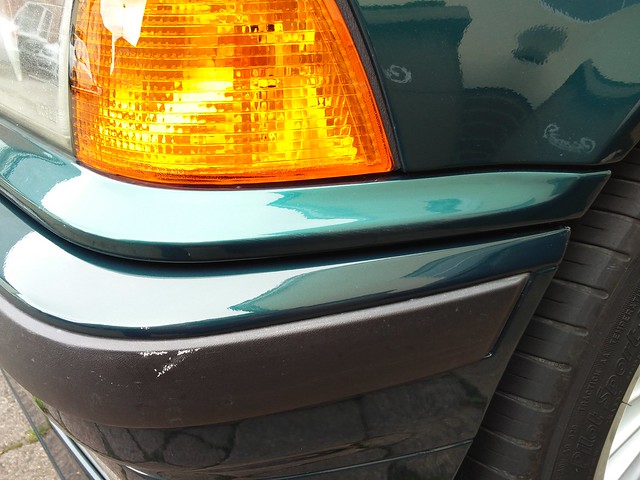
When i picked up the car, one bulb was out, so while i was here, i thought i'd check these lights for function. They look awful, but it will do for now. I will probably replaced for low power LED's just to improve the look. If i can only find high power ones like you see on chav cars, they look like mini headlamps, then i wont bother.
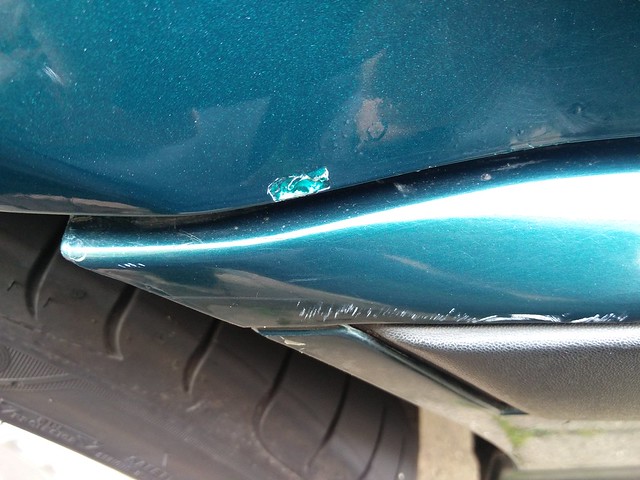
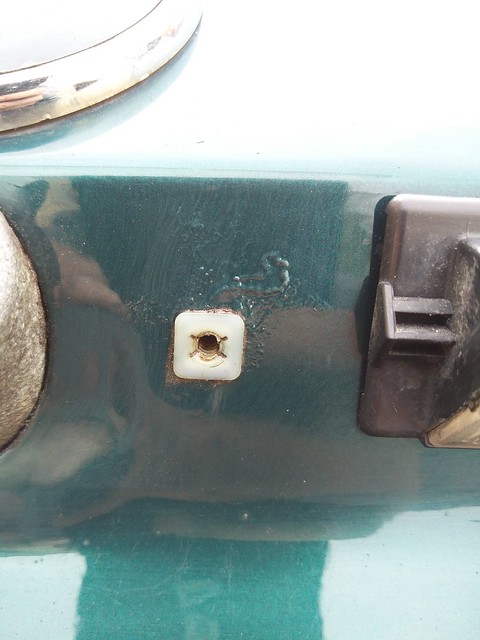
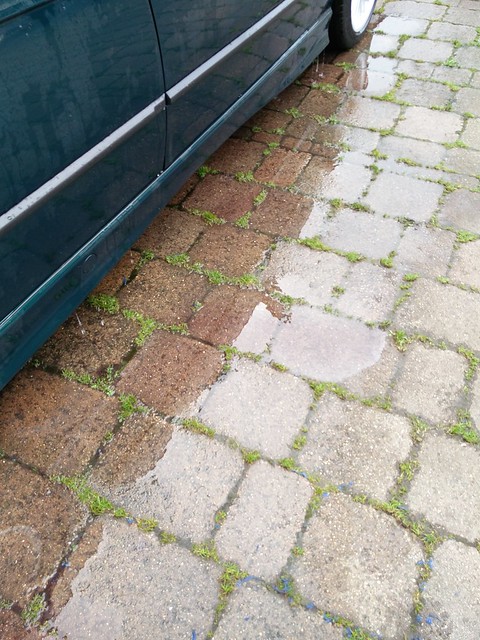
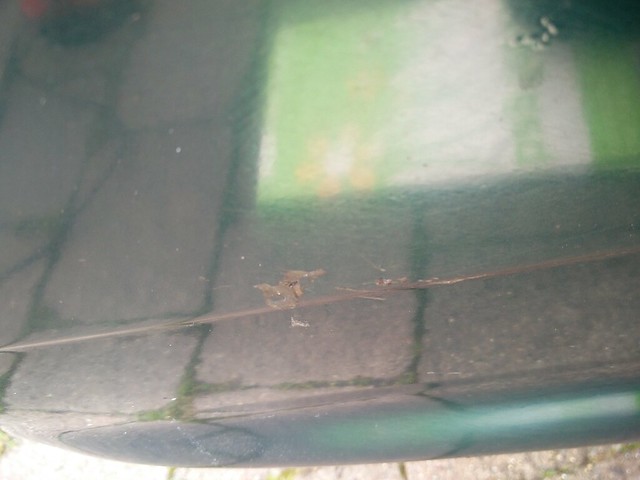
Minor tin worm, but this can be kept on top of:
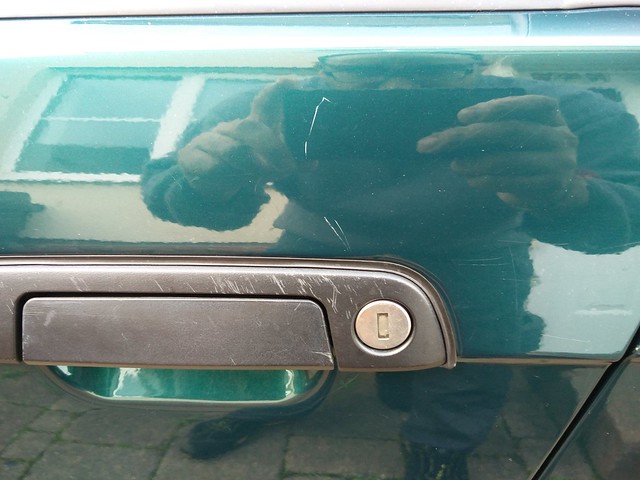
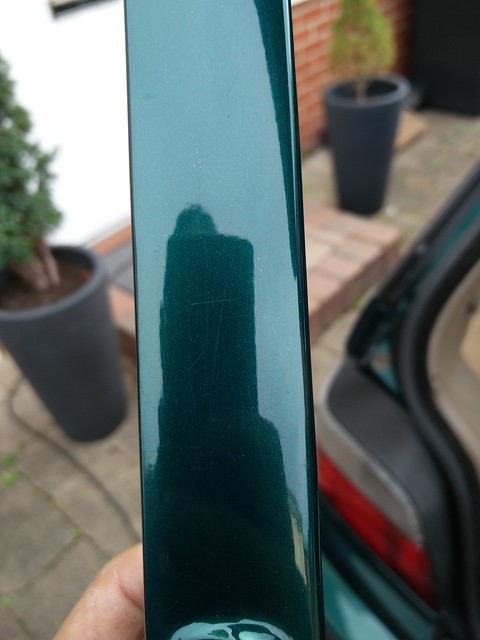
Trim was grotty, full of mud and scratched, so i cleaned it right up and compound polished it:
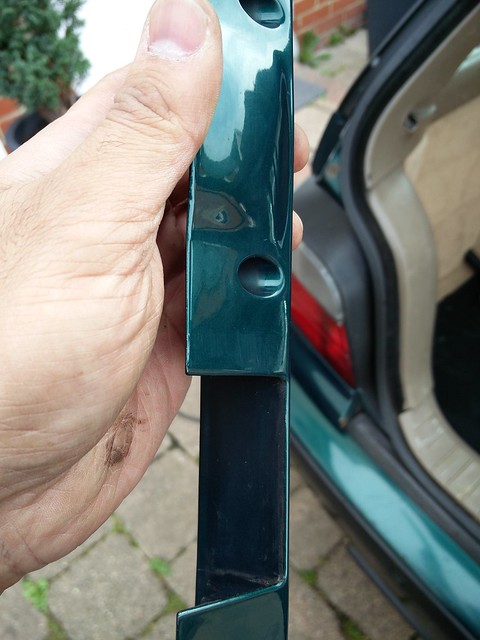
So as i had the G3 out, i thought i'd have a go at sorting some of the scratches:
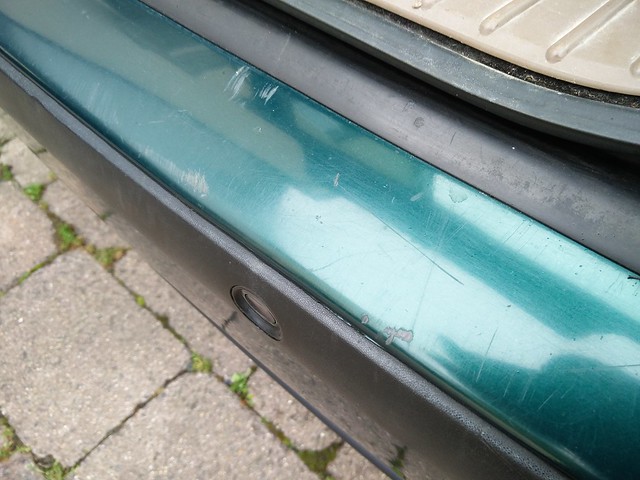
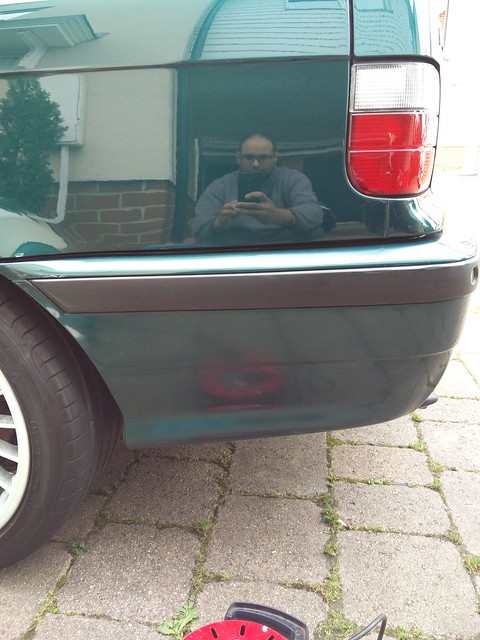
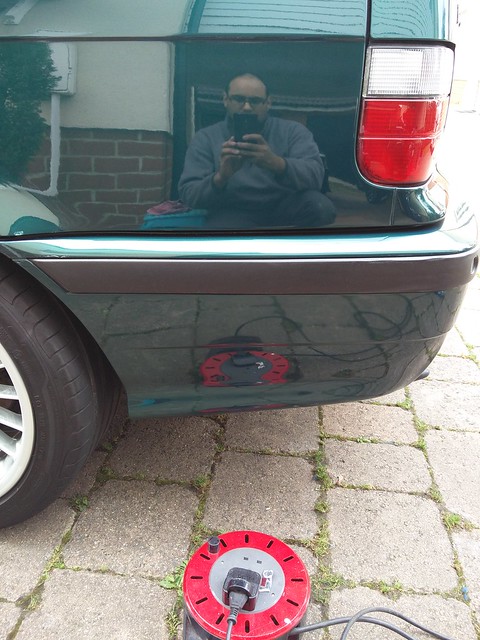
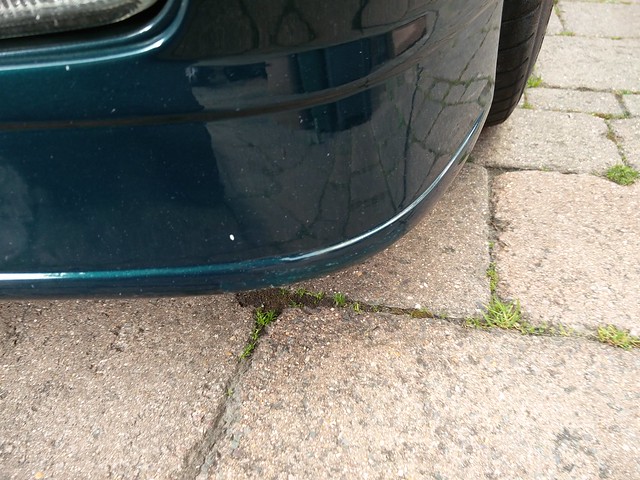
Rear bumper i really am not happy with, its scratched to death, so it will need bodyshop treatment eventually:
So i now had thought of an action plan, but its going to be long, so I clayed the whole car, it was still surprisingly dirty:
How the car looked after claying:
Hit the whole car with Iron Out and Tardis:
Even after claying, still a bit of iron that came off from the panels:
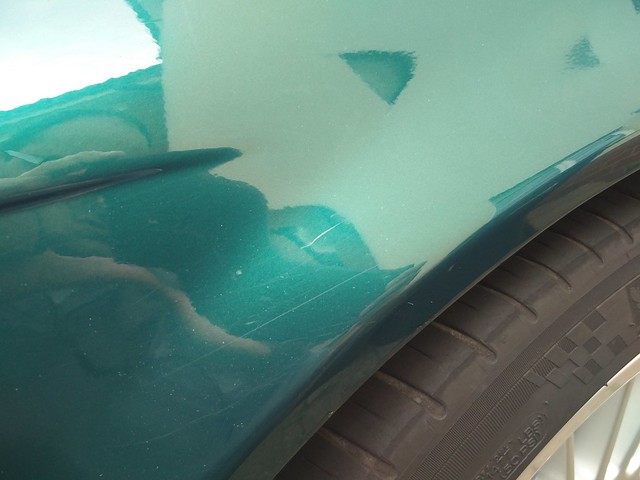
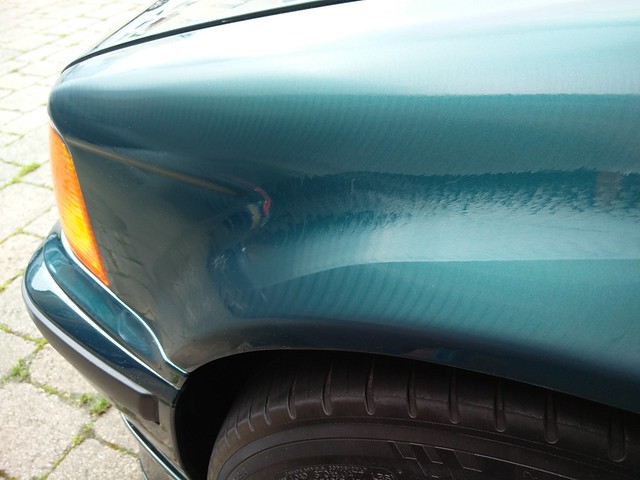
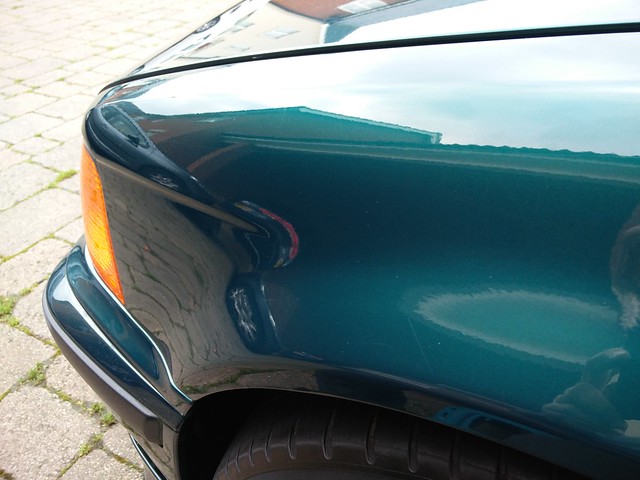
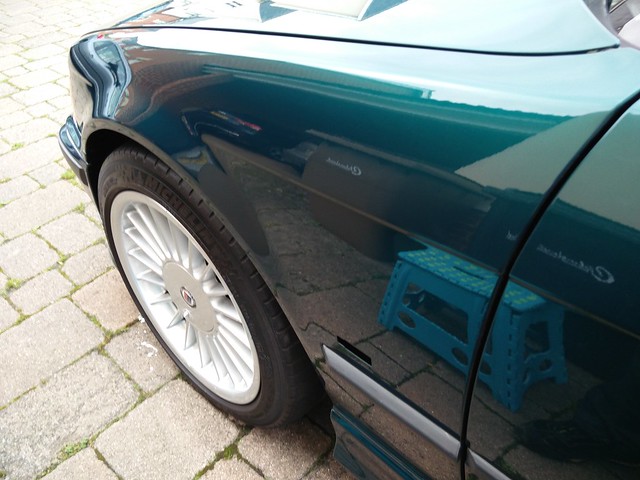
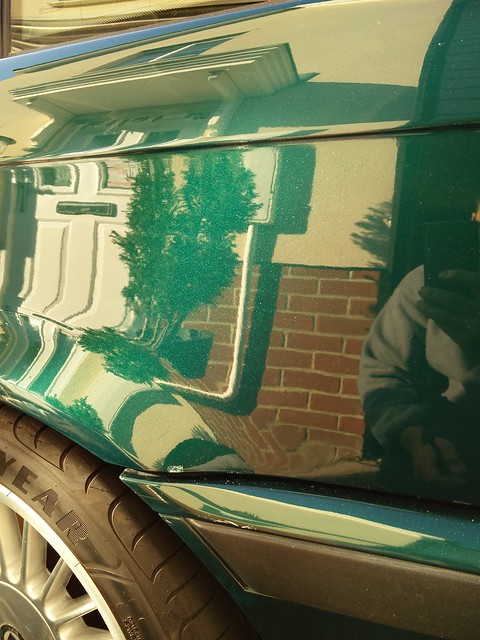
Now that RHS top half of the Rear Quarter looks absolutely shot! Lets see what a machine polish does to the panel:
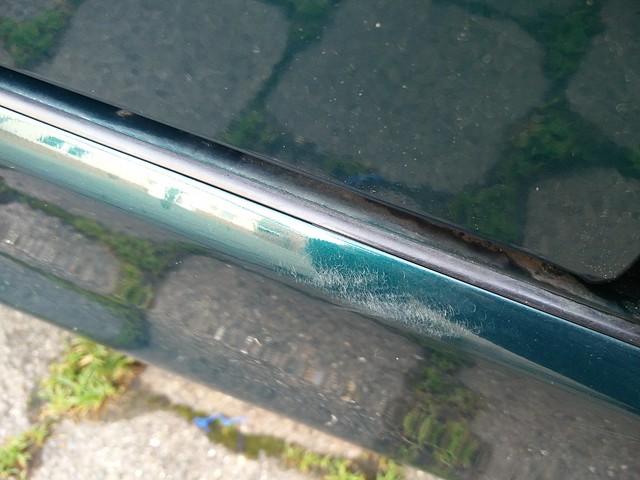
So i hot is hard with a rotary poilsher with 3M Fast Cut plus and then refined it with Ultrafina. Here's a sort of 50:50:
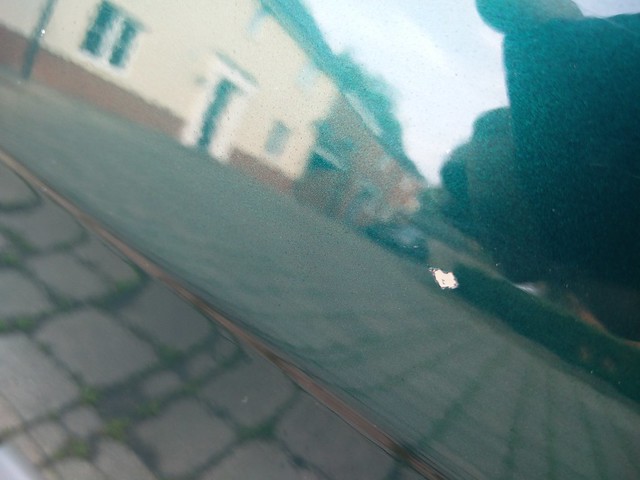
This is the primer effect coming through mentioned earlier. This is after a through machine polish:
How the whole panel looked after polishing:

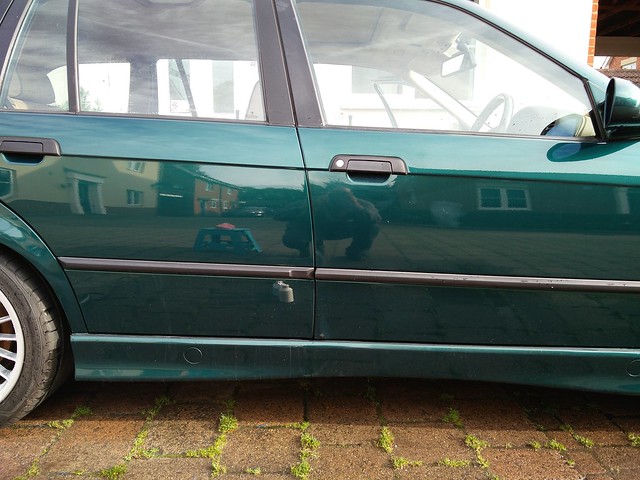
Rear door done, front door as before, can see the deeper colour:
A bit more progress:
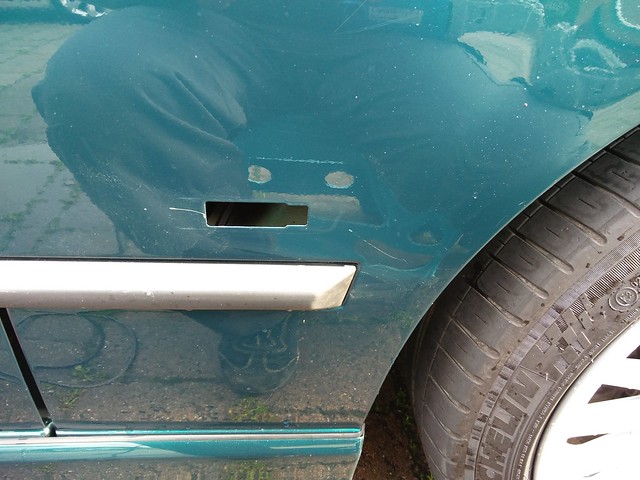
Took the side repeaters out, they had to come out anyway to go back to white. I attached a reusable cable tie to the bulb holder and then pushed it on tot he wing so i could polish the whole panel:
Sort of 50:50 again:
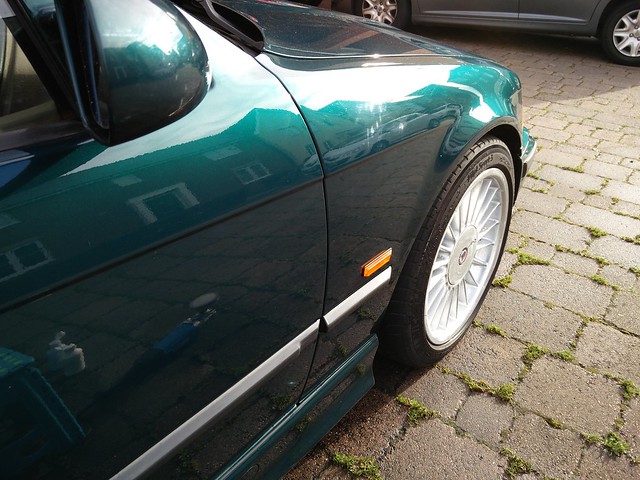
Side of the car complete:
Wing done, bonnet not touched:
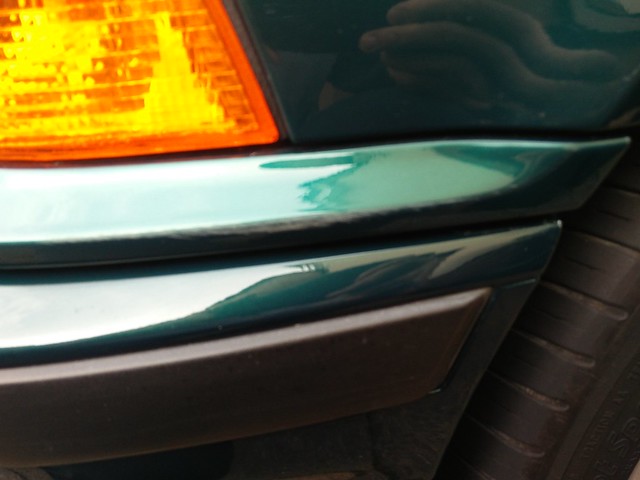
As Simon mentioned in one of his earlier posts, the colour match of the front bumper is poor as it was sprayed off the car, personally its closer to Fern Green than Boston Green. It will probably need redoing, but i'm not sure if i will do it soon, or wait till its stone chipped and then do it.
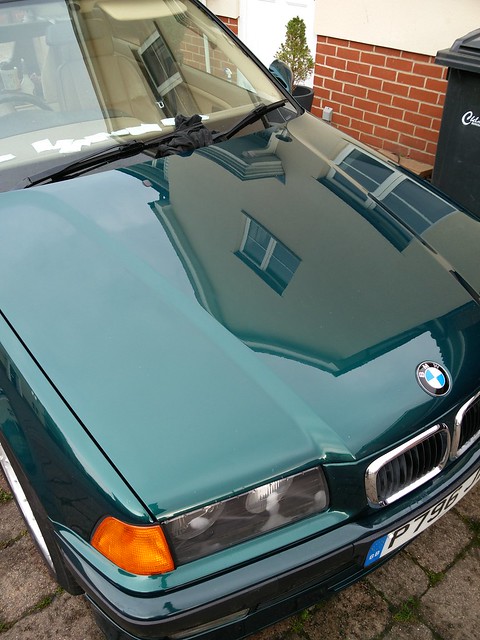
A nice in progress shot!
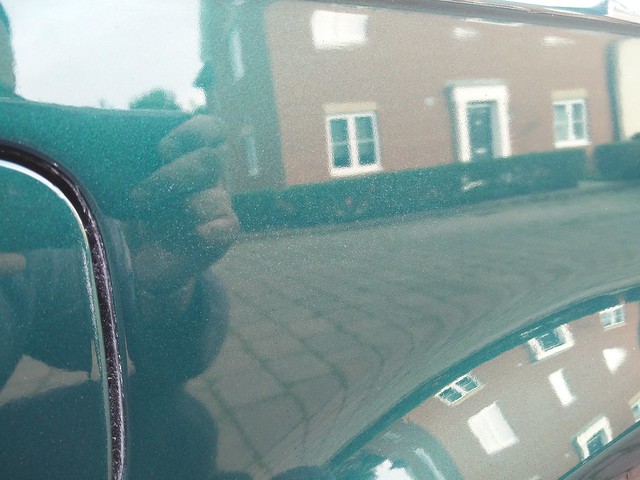
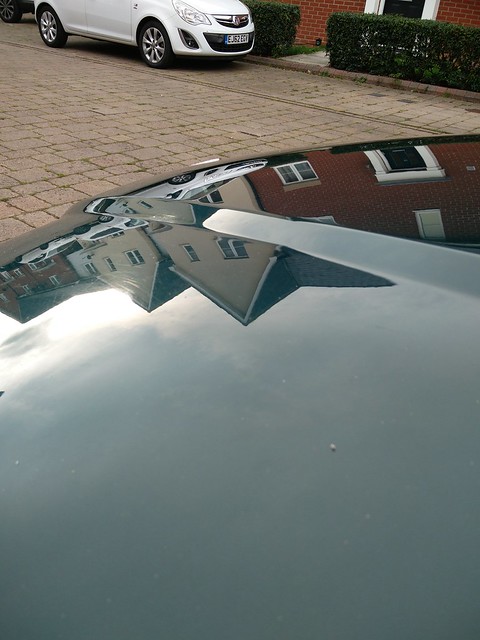
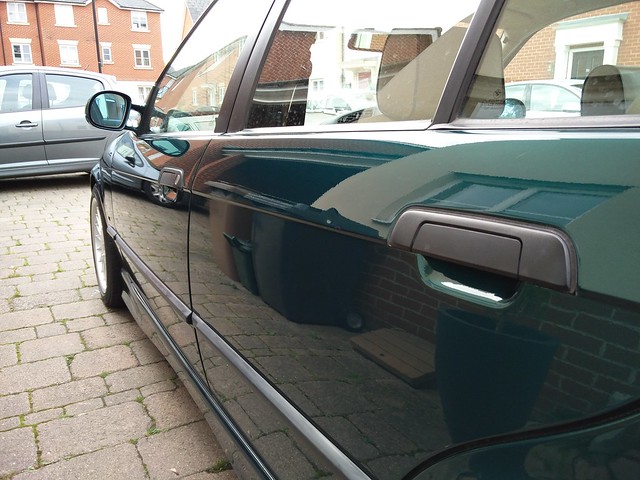
Nice reflection from the bonnet:
Tailgate:
I love this shot, If anyone can Photoshop this so the background disappears, i would much appreciate to have it as a desktop wallpaper!

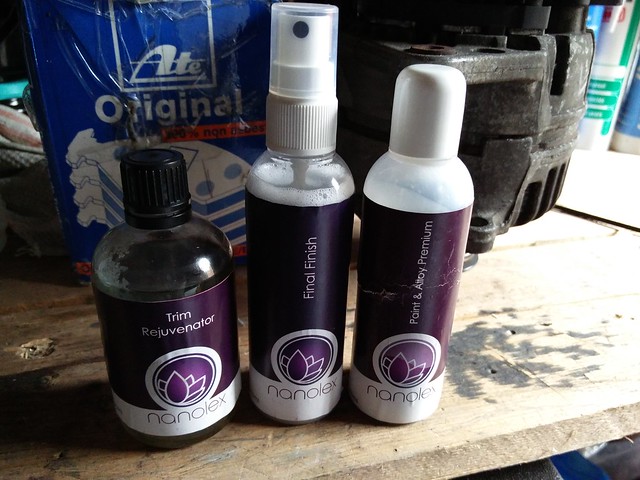
Alot of this will be used tomorrow once the machine polishing is complete:
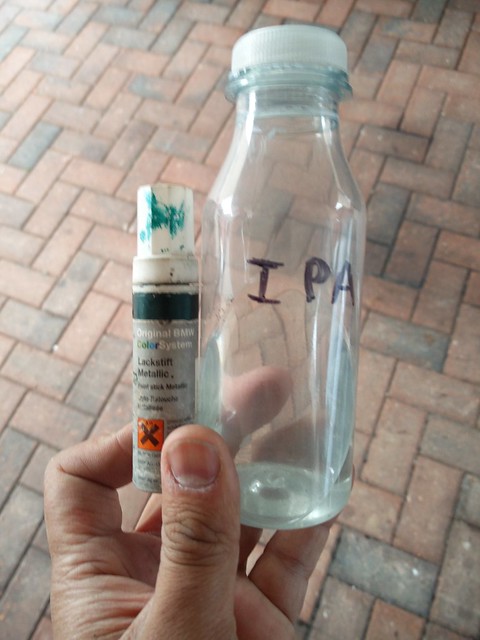
I couldn't find my mint rims this morning, so i was hunting and i found this! Not sure if it still works or not, but might give it a go. I didn't really rate any of it when i bought it. You can see i used alot of the paint and wheel protector:
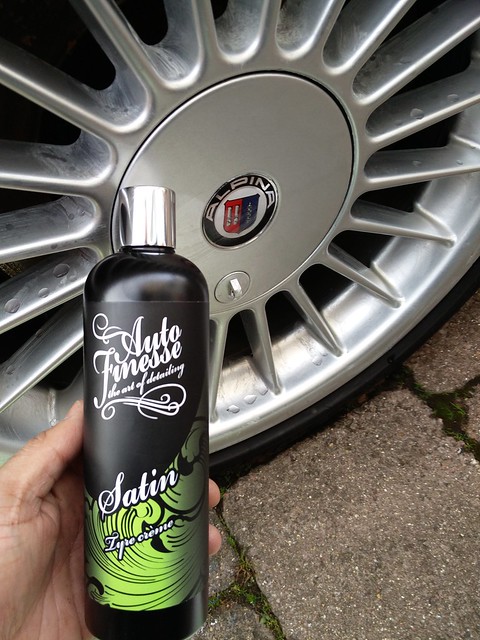
By this point, i was knackered, 6 hours of machine polishing with my polisher, its the Silverline version of the Makita polisher, basically its a 9" grinder with variable speed, and weighs the same as a 9" grinder! My whole upper body was aching, so i treated the tyres to some Satin dressing:
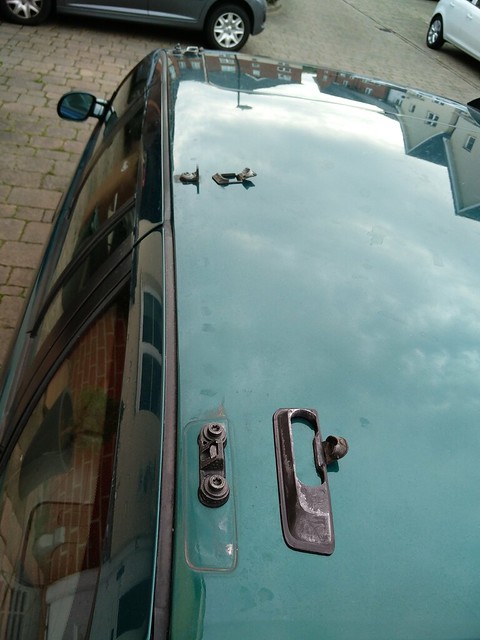
In preparation for the roof polish tomorrow, i removed the roof rails. Wasn't easy as they haven't ever been removed before!
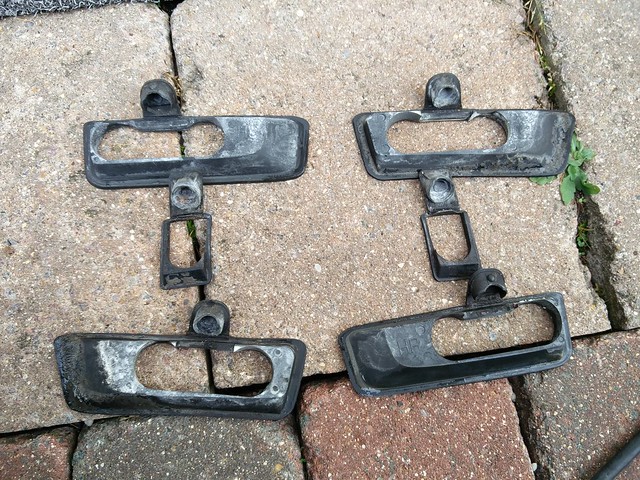
Gaskets removed to be washed indoors:
They are quite dirty:
Looks a bit like no.20!
Now that looks much better than this morning!
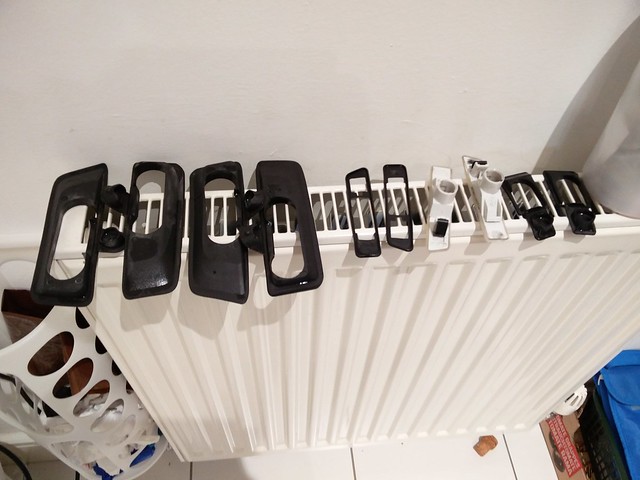
Gaskets and side repeaters washed and drying on the radiator ready for the morning:
RHS Rear Quarter has a very strange grey pitted effect, like theres not enough paint it, but there is a lot of paint on it.
Bottom half of the rear quarter had been painted before, you can see the terrible masking on the styling line and inside the fuel filler cap:
Corrosion on the M3 mirror base plate, Drivers side only:
I was so frustrated by this, i needed thinking time, as i hadn't planned to see this in the morning. So i coated the wheels in AutoFinesse Mint Rims:
I opened the boot for something, and then saw that the boot trim piece had a lot of dirt in it, so i proceeded to sort that whilst i was thinking of what to do next:
Behind the plate:
Trim removed:
Then i saw tis and thought it was rust for a moment, then found that it looked more like copper grease, god knows why it was there
Light removed and cleaned behind:
When i picked up the car, one bulb was out, so while i was here, i thought i'd check these lights for function. They look awful, but it will do for now. I will probably replaced for low power LED's just to improve the look. If i can only find high power ones like you see on chav cars, they look like mini headlamps, then i wont bother.
Minor tin worm, but this can be kept on top of:
Trim was grotty, full of mud and scratched, so i cleaned it right up and compound polished it:
So as i had the G3 out, i thought i'd have a go at sorting some of the scratches:
Rear bumper i really am not happy with, its scratched to death, so it will need bodyshop treatment eventually:
So i now had thought of an action plan, but its going to be long, so I clayed the whole car, it was still surprisingly dirty:
How the car looked after claying:
Hit the whole car with Iron Out and Tardis:
Even after claying, still a bit of iron that came off from the panels:
Now that RHS top half of the Rear Quarter looks absolutely shot! Lets see what a machine polish does to the panel:
So i hot is hard with a rotary poilsher with 3M Fast Cut plus and then refined it with Ultrafina. Here's a sort of 50:50:
This is the primer effect coming through mentioned earlier. This is after a through machine polish:
How the whole panel looked after polishing:
Rear door done, front door as before, can see the deeper colour:
A bit more progress:
Took the side repeaters out, they had to come out anyway to go back to white. I attached a reusable cable tie to the bulb holder and then pushed it on tot he wing so i could polish the whole panel:
Sort of 50:50 again:
Side of the car complete:
Wing done, bonnet not touched:
As Simon mentioned in one of his earlier posts, the colour match of the front bumper is poor as it was sprayed off the car, personally its closer to Fern Green than Boston Green. It will probably need redoing, but i'm not sure if i will do it soon, or wait till its stone chipped and then do it.
A nice in progress shot!
Nice reflection from the bonnet:
Tailgate:
I love this shot, If anyone can Photoshop this so the background disappears, i would much appreciate to have it as a desktop wallpaper!
Alot of this will be used tomorrow once the machine polishing is complete:
I couldn't find my mint rims this morning, so i was hunting and i found this! Not sure if it still works or not, but might give it a go. I didn't really rate any of it when i bought it. You can see i used alot of the paint and wheel protector:
By this point, i was knackered, 6 hours of machine polishing with my polisher, its the Silverline version of the Makita polisher, basically its a 9" grinder with variable speed, and weighs the same as a 9" grinder! My whole upper body was aching, so i treated the tyres to some Satin dressing:
In preparation for the roof polish tomorrow, i removed the roof rails. Wasn't easy as they haven't ever been removed before!
Gaskets removed to be washed indoors:
They are quite dirty:
Looks a bit like no.20!
Now that looks much better than this morning!
Gaskets and side repeaters washed and drying on the radiator ready for the morning:
1995 E36 B3.0 Convertible (rebodied)
1996 E36 B3.2 Touring No:20 - 1 of 5 made
1997 E36 B3.2 Touring No:36 - 1 of 5 made
1999 E36 323 Sport Touring
2011 E92 D3 Bi-turbo no.246 (santorini blue)
2019 Fiat Fullback
2020 Mini Countryman SE (PHEV)
Alpina, BMW and Detailing Enthusiast
1996 E36 B3.2 Touring No:20 - 1 of 5 made
1997 E36 B3.2 Touring No:36 - 1 of 5 made
1999 E36 323 Sport Touring
2011 E92 D3 Bi-turbo no.246 (santorini blue)
2019 Fiat Fullback
2020 Mini Countryman SE (PHEV)
Alpina, BMW and Detailing Enthusiast

That's such impressive work. And I know what you mean about tiring. It's a full body workout.
2000 E39 B10 3.3 Touring #10
1993 Eunos Roadster
1993 Saab Turbo 900 Ruby Edition
Gone but not forgotten: Ford Escort Mk 2 1600 Sport, Alfasud, Saab 900 GLS, Saab 900 Turbo (8v), MB W124 E320 Sportline Estate, Honda Accord 1.8S 6th Gen
1993 Eunos Roadster
1993 Saab Turbo 900 Ruby Edition
Gone but not forgotten: Ford Escort Mk 2 1600 Sport, Alfasud, Saab 900 GLS, Saab 900 Turbo (8v), MB W124 E320 Sportline Estate, Honda Accord 1.8S 6th Gen
-
shaziman
- ALPINA
- Posts: 1389
- Joined: Sun Sep 18, 2011 1:59 pm
- Location: Nottingham, occasionally S.Wales
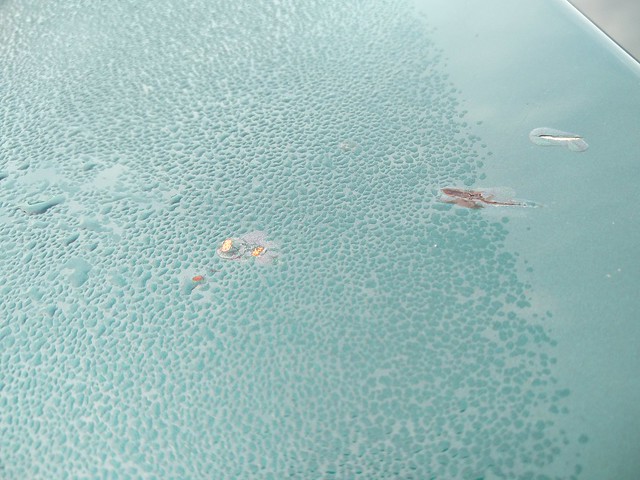
On to today's activities! Its been a long and hard weekend, I've got a stonking headache, may even be sun stroke in November (well almost!) who knows!
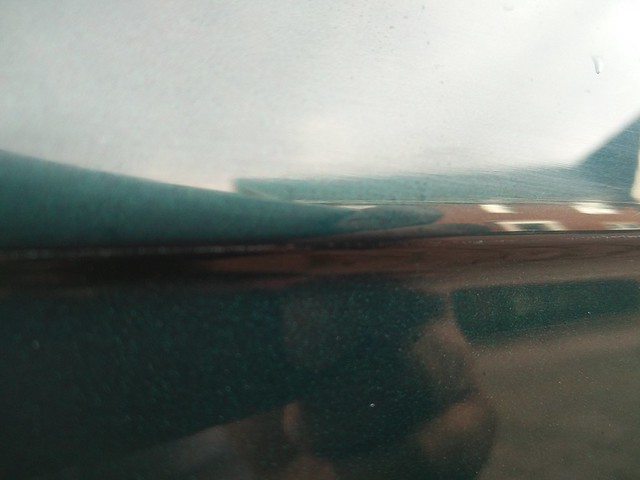
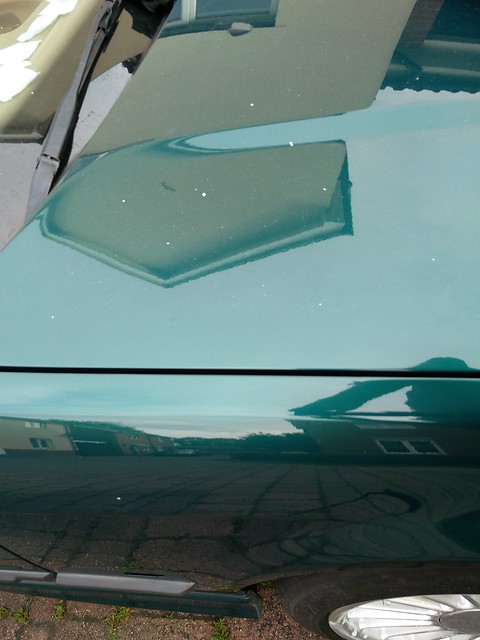
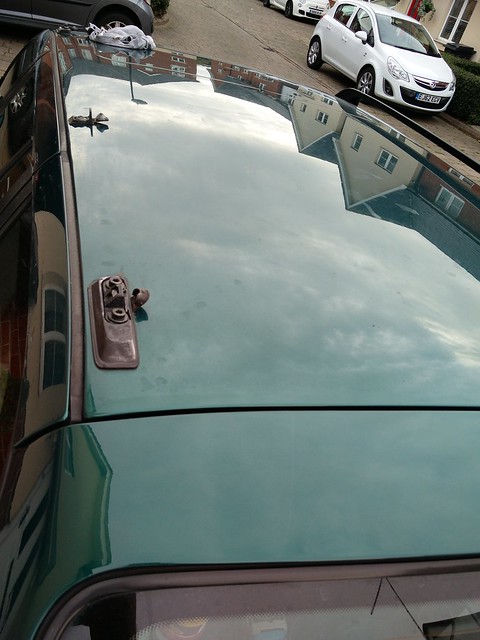
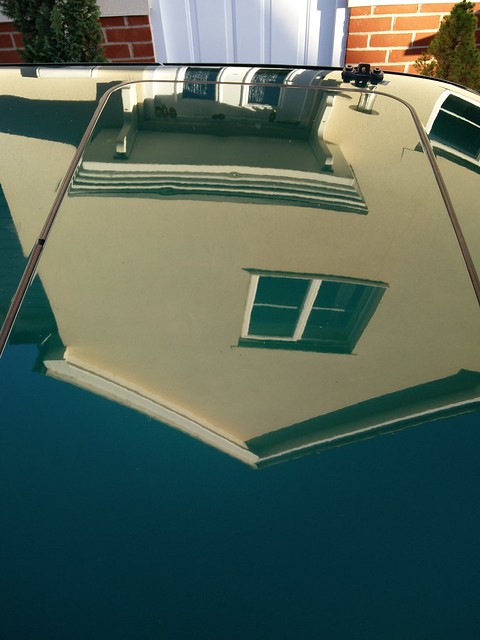
Anyway, I looked out of the upstairs window to see of the car was wet or not, and saw a fantastic 50:50 shot to spur me on for the days activities
Take a look at the tailgate vs the roof:
Continued with the polishing on the side that was left. Before, lots of milky marks:

During:
After:
Mirror before:
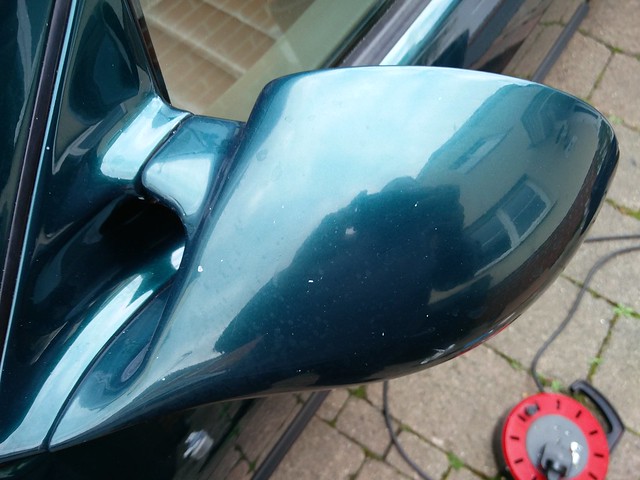
After:
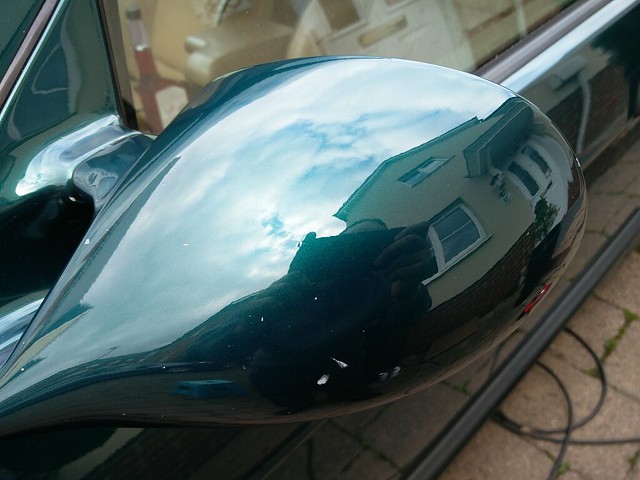
Nice reflection shot:
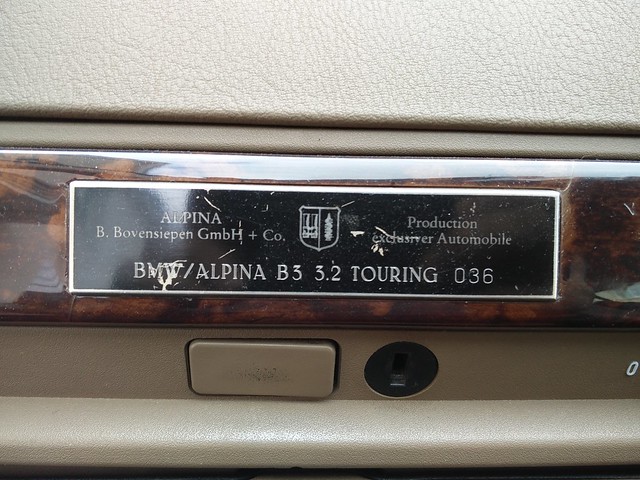
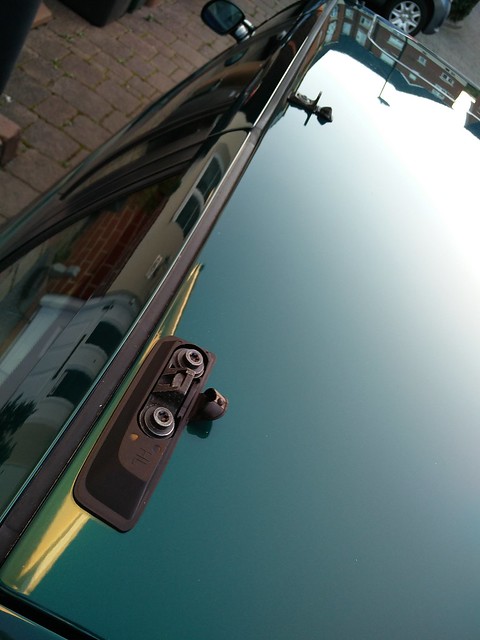
Picture of the plaque of No.36. Need this for the crib sheet i am doing, similar to the one i have for No.20.
Doors looking much better:
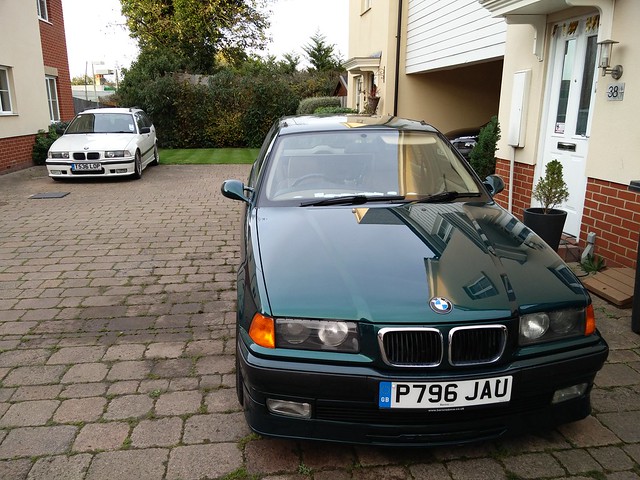
No.20 looking very sad that i was busy working on its younger sister!
Sport bumper is really in poor condition, paint wise. My first thoughts were respray required, so i thought i would tidy it up just so it blended in with the rest of the car. Here's the top of it:
Can see the rear quarter polished vs the bumper. Bumper is flatter than a pancake!
Much Better!
Top of the bumper polished, makes the damaged bits look a lot better. I started changing my plans about respraying it after this:
RHS of the bumper had loads of this mastic stuff attached to it, wouldn't peel of, so had to resort to Tardis.
Bumper showing lacquer peel:
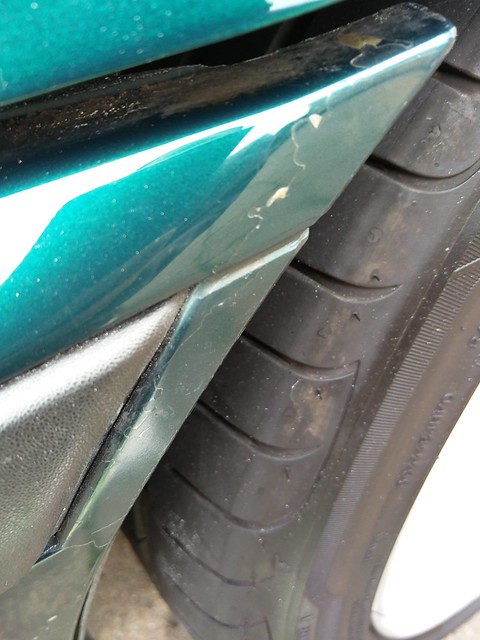
Tardis did a good job, almost melted straight off. It somehow got warm when reacting to Tardis. Never had that before:
I saw this and liked this shot!
RHS of bumper finished. This took ages:
Rear lower part of bumper, same sort of issues as the LHS. Loads of small chips and deep scratches like this:
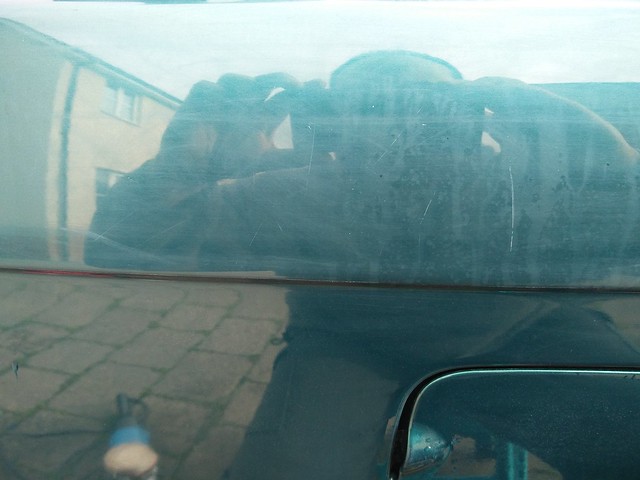
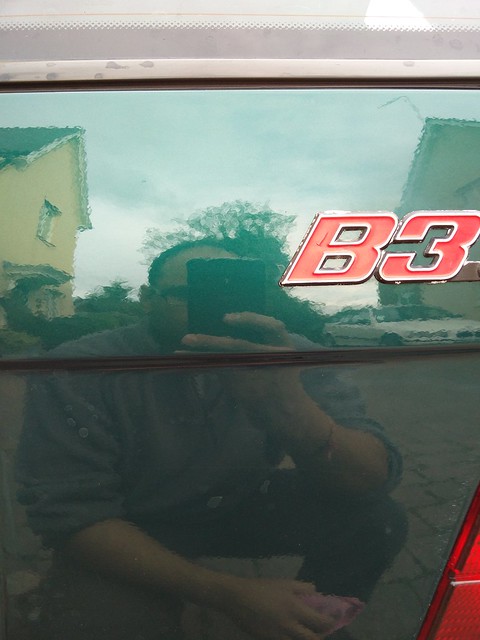
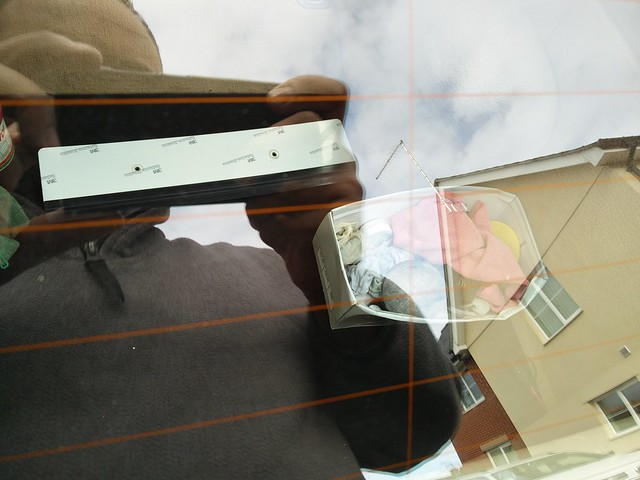
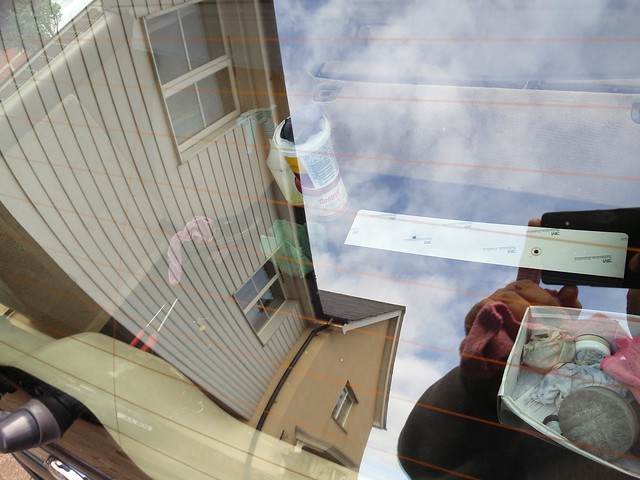
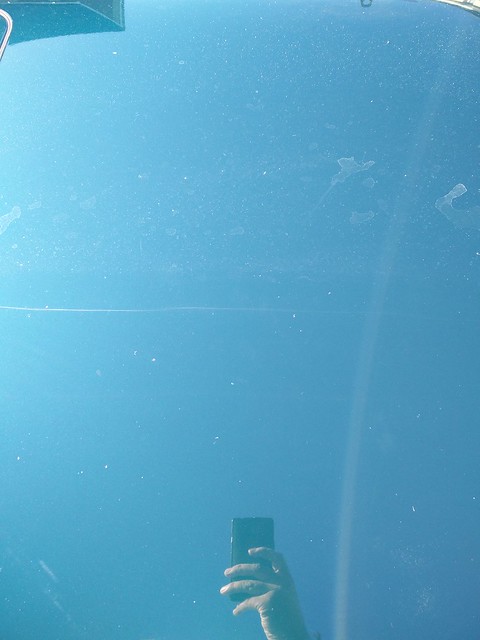
Wanted to do something i have never done before, the glass on the car was heavily contaminated. It needed cleaning, but my usual method of using a glass cutter, would have resulted in copious amounts of white power everywhere, and it sticks to everything. So had a quick google, and people were recommending using Auto Glym Fast Glass or Glass Polish, but i haven't got any and i'm not driving to Halfrauds to buy some at the prices they charge. Someone said they used Super Resin Polish. So i thought, i would give it a go with FCP and UF as per the bodywork and see how it goes. I bought some glass polish pads, so on they went:

Can just about make out, the RHS of the glass is being polished.
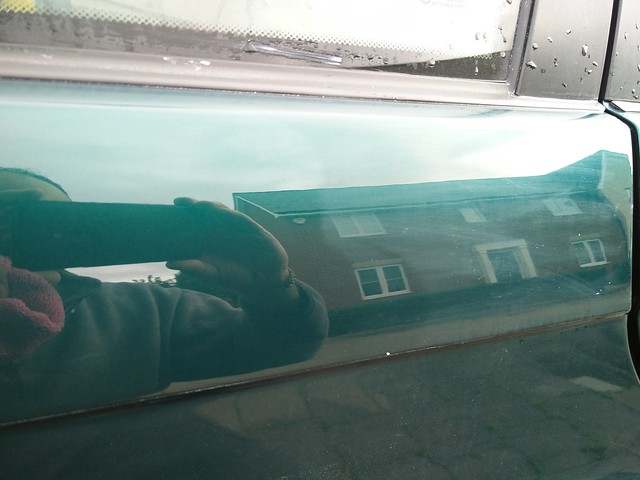
During:
Done, but not the inside, can't believe the difference it made. Definitely worth doing. The glass was soooooo clean!
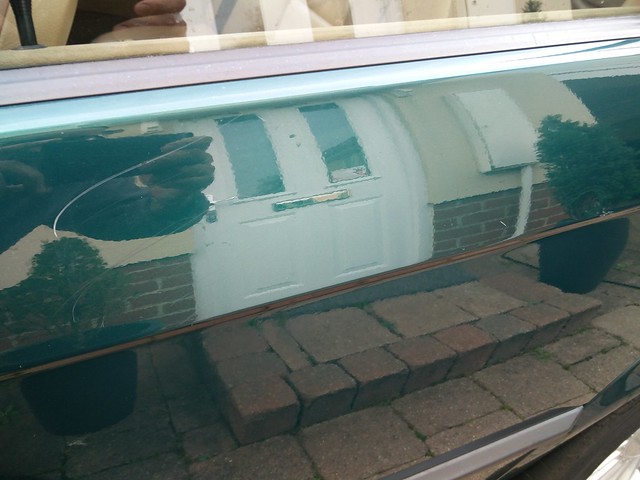
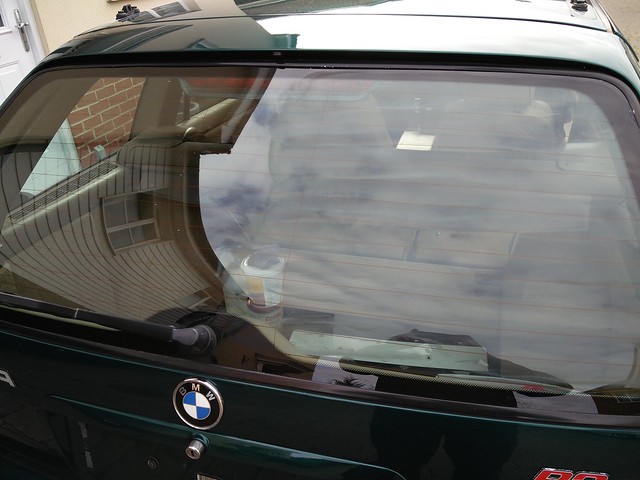
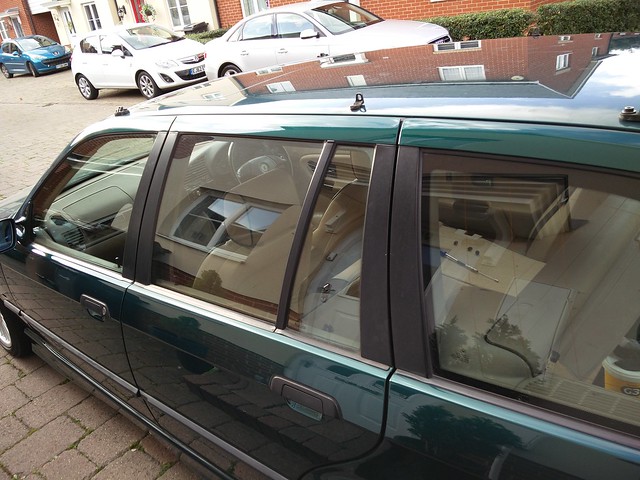
Front window polished, rear has not. Gives an idea of the difference the process makes:

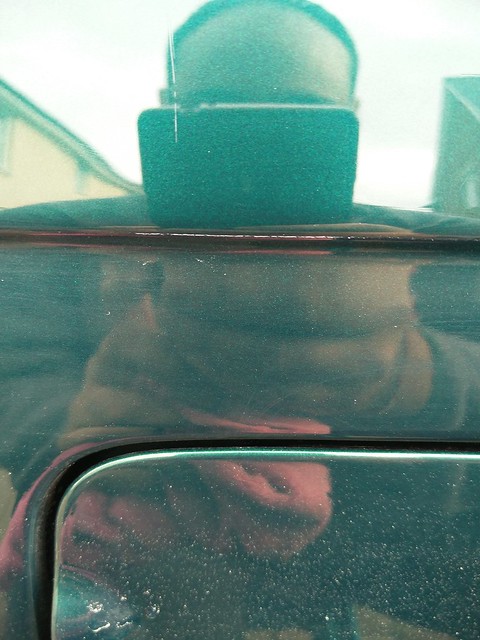
This side all done:
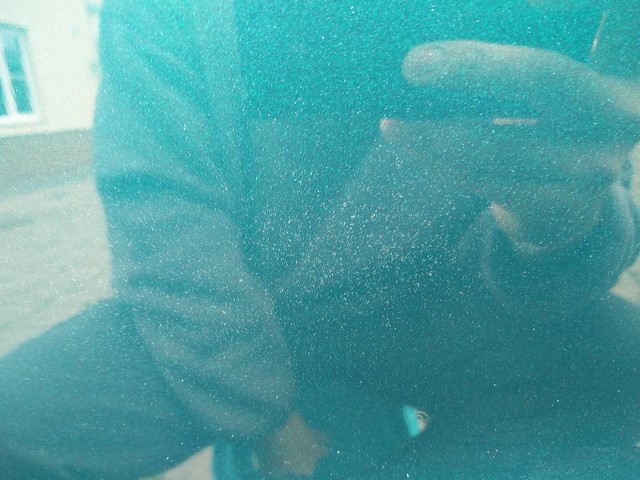
I did the rear quarter light in the door inside and out. There were some grotty stains inside the glass. Here is a photo through the quarter light, amazingly clear:
Went to take the glass polishing pad off the backing plate and look what happened! I need this pad to finish the roof! Looks like it wasn't glued well by 3M in the first place, barely any glue on it!
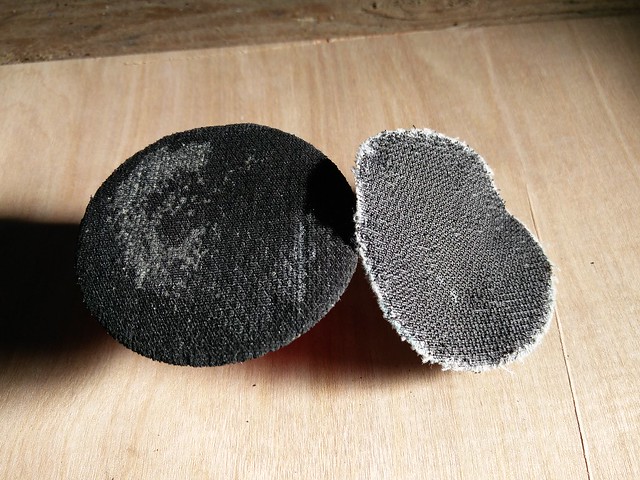
I glued the velcro fabric back to the backing plate using hot melt as a temporary action, just so i could get through the rest of the day, and left it with some weight on for 30 minutes or so to ensure it bonded properly.
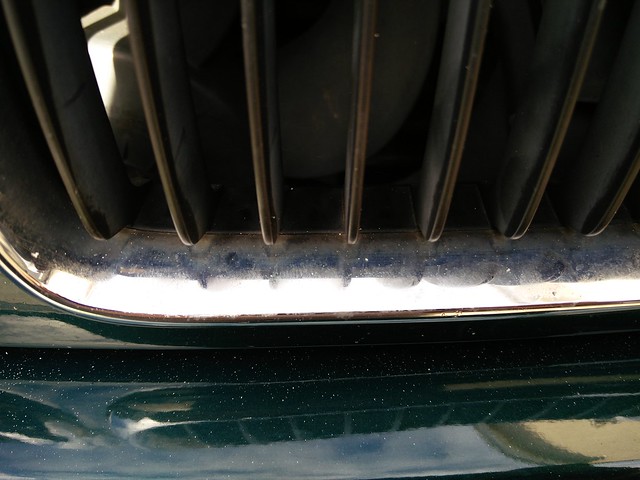
So whilst i was waiting, i polished up the grille:
Before:
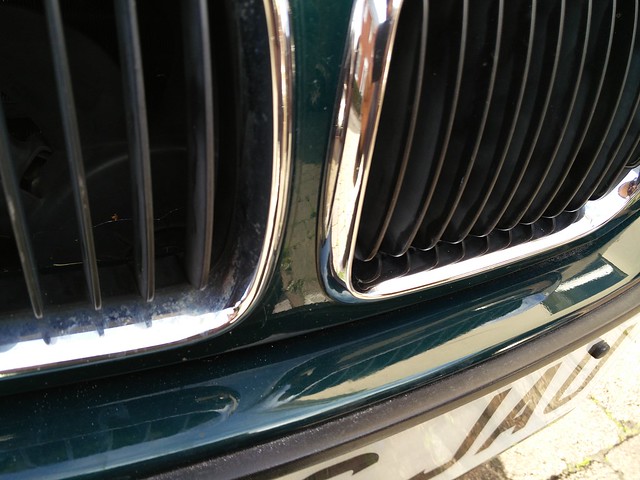
50:50
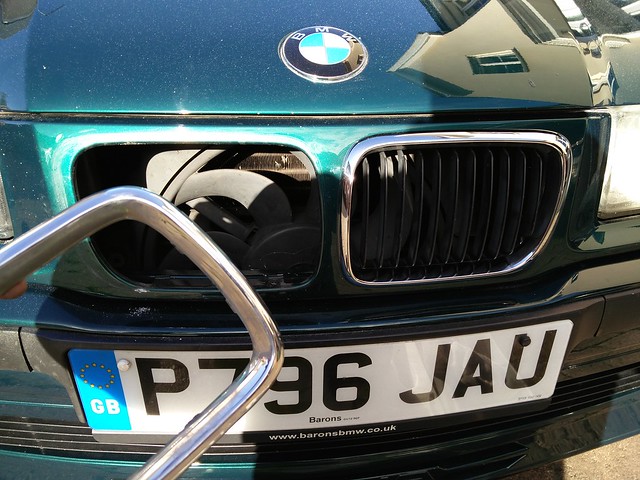
LHS grille was loose for some reason, so out it came for a good clean up!
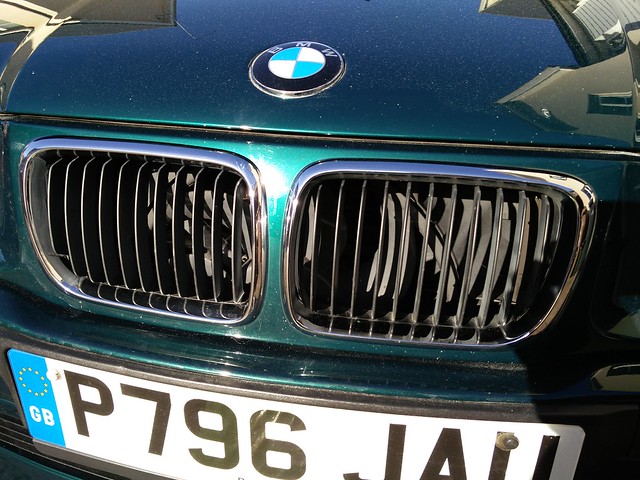
Done:
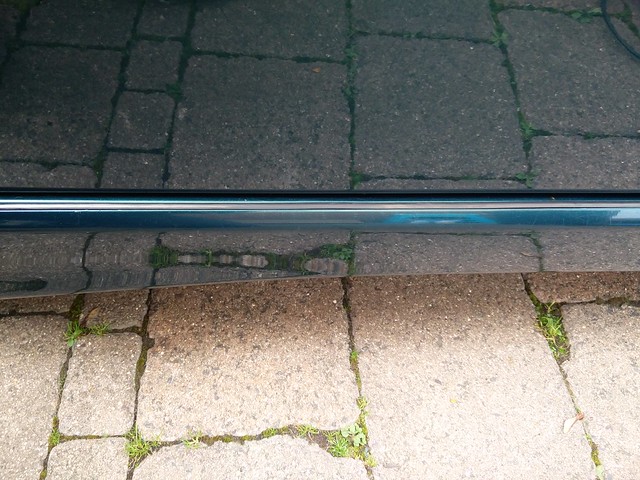
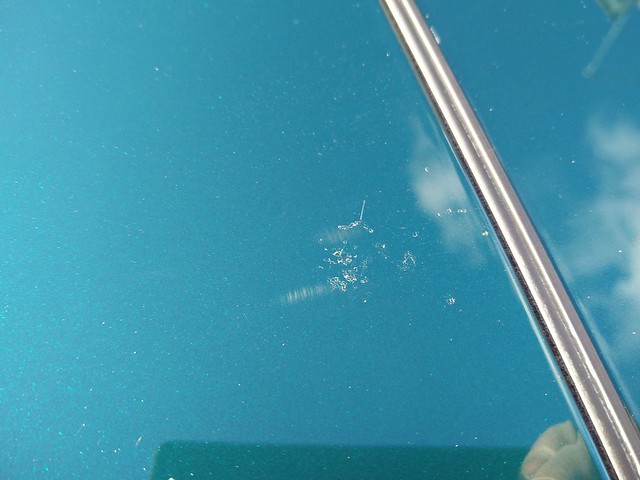
Whilst walking back from the garage, i saw a hell of a sparkle in the paintwork, had to take a picture, but i'm not sure that it came out as well as it looked:
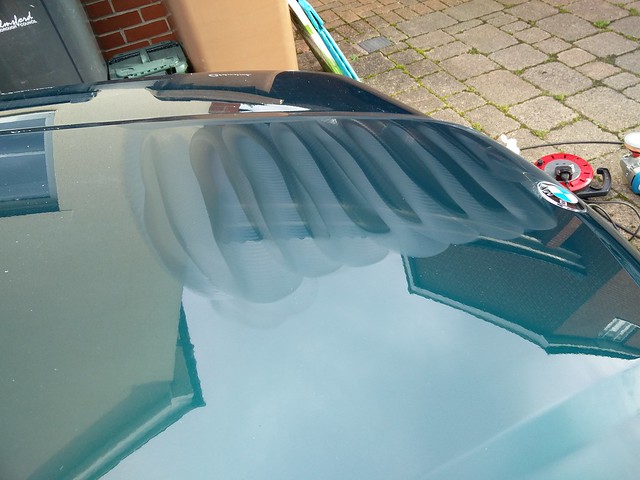
Kinda 50:50 of the roof being polished. Top is before:
Want to see the long term effect of leaving bird dropping on your paint. Totally etched in:
Sunroof done, has loads of 'acorn falling' type dents in it:
Roof after:
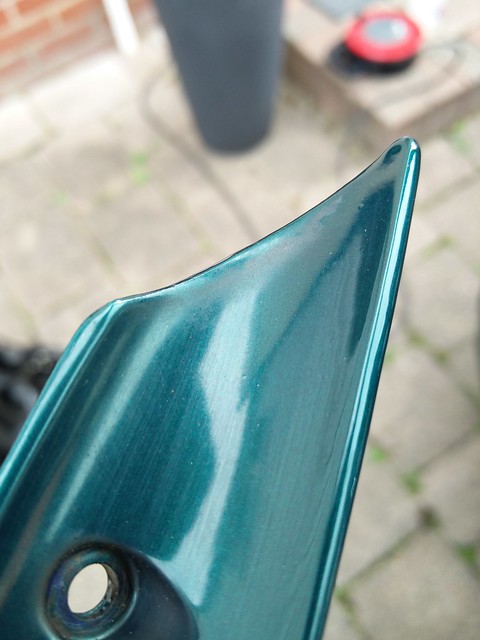
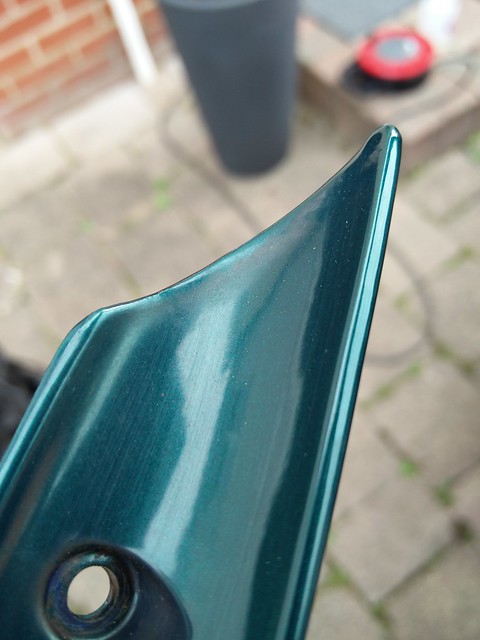
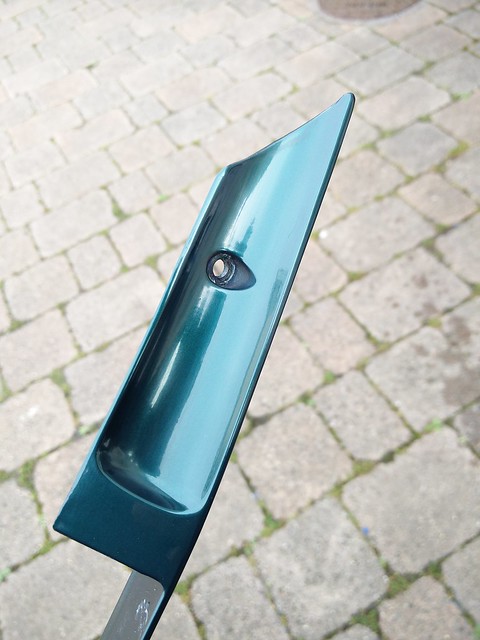
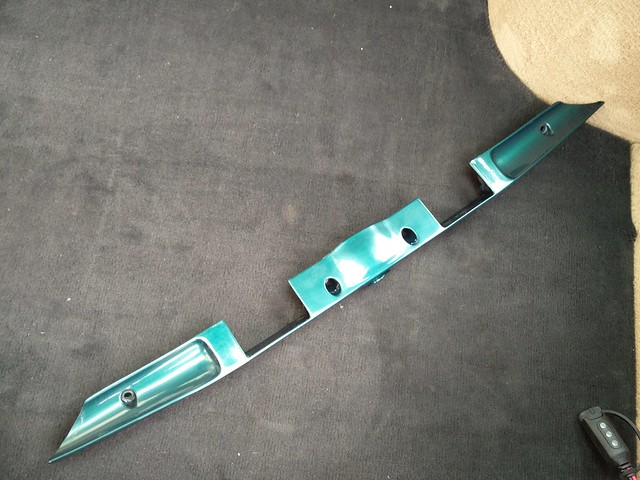
Touched up the spoiler that had an argument with a kerb at some point. Hard to believe that this happened so fast bearing in mind it was resprayed only a couple of months ago! Started and it started to spit, luckily it passed very quick.
Rear bumper touched up as well
Time to refit the roof rails, light was starting to go. Gaskets back in place. The Gummi Pfledge had absorbed and cured well:
Rails refitted:
Gaskets and clear repeaters refitted. Still waiting on the clear fronts, Lets hope the previous owner does actually do as he said and post them. So far he has ignored my communications...
Number plate refitted after a polish up:
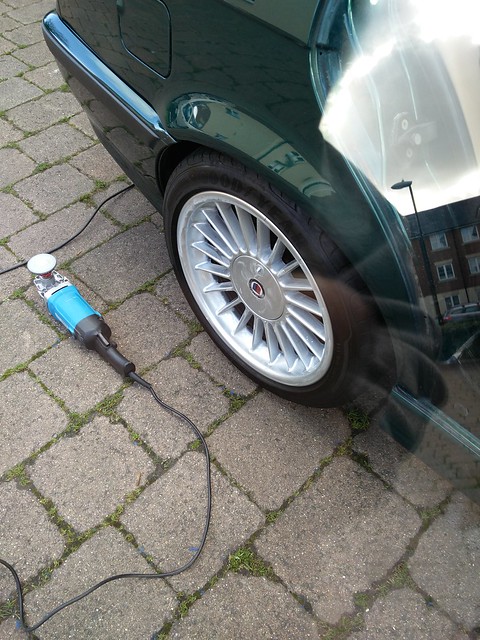
I had to roll the car back a bit as when polishing the rear door, my front door step was in the way. I left the car there whilst doing the rest of the work, so when i came to polishing off the Mint Rims wax i saw this:
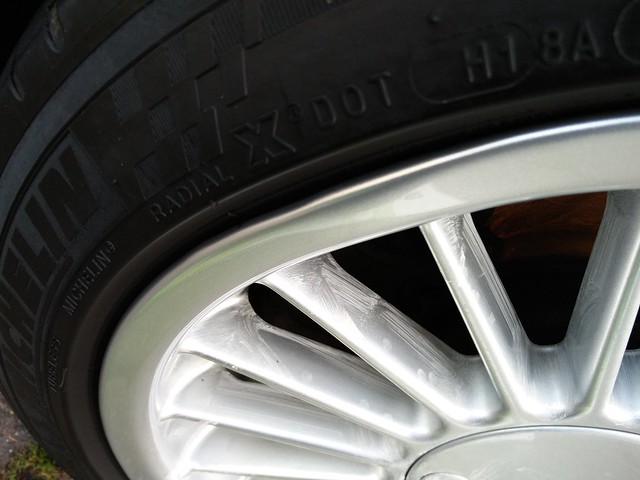
Looks like the rim was bent before refurb and wasn't picked up at Lepsons. They should have reported this back to Simon before refurbing them. There is no evidence of broken paint, or hairline cracks in the powdercoat, so it was definitely damaged before refurb. Oh well, no issues with balance as there is a large balance weight on the opposing side of the wheel, and no leakage of air. If/when i get these wheels refurbed, i can get this sorted.
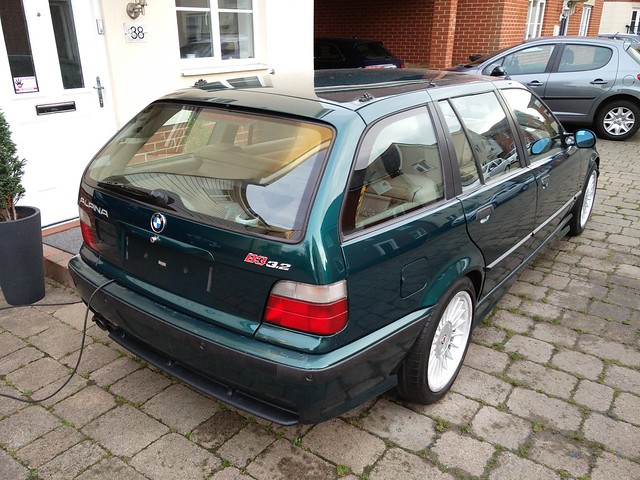
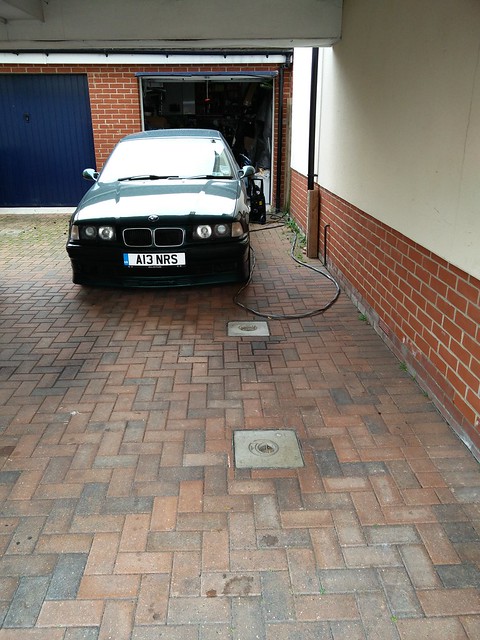
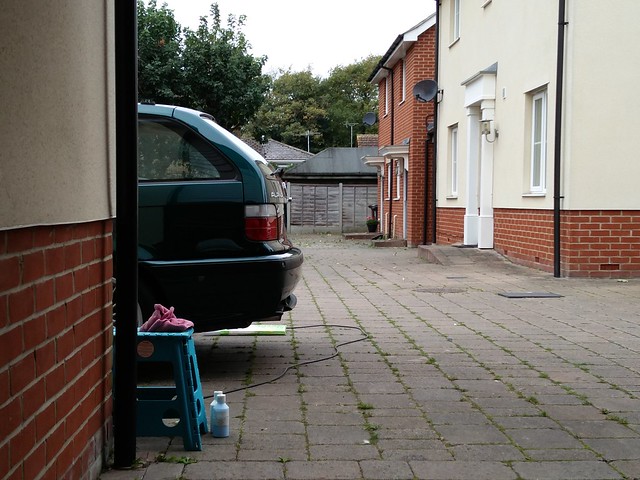
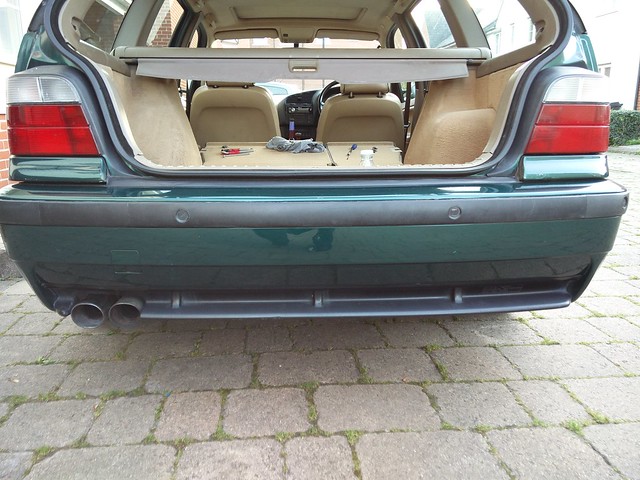
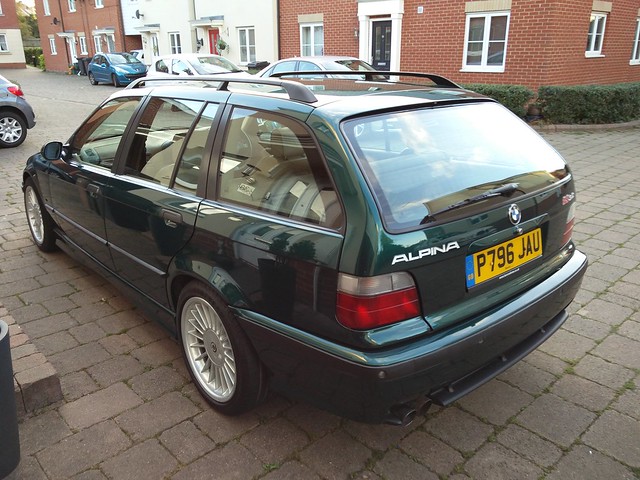
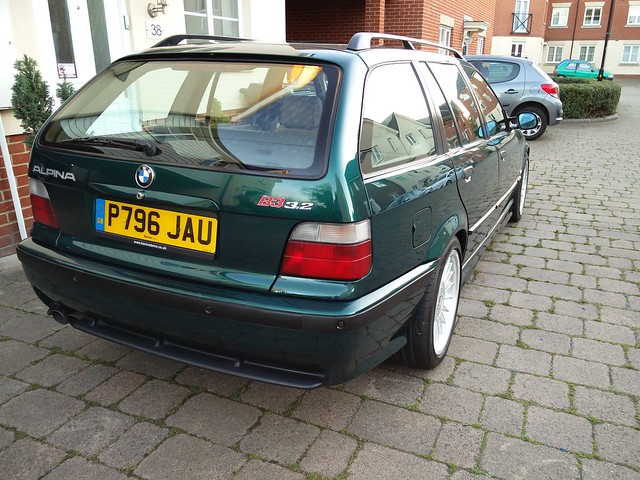
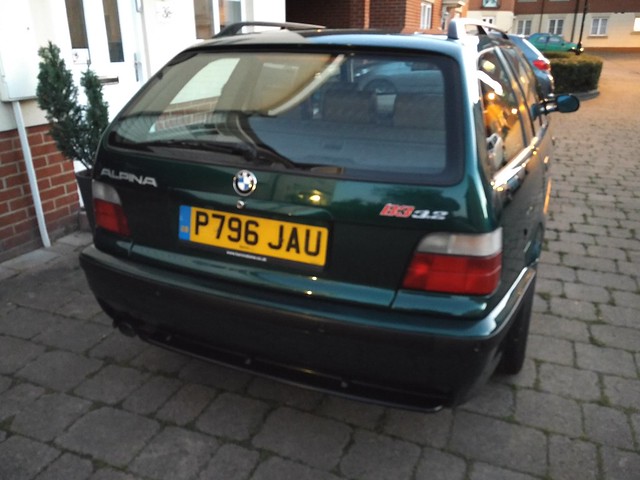
How the car looks after this weekends activities:
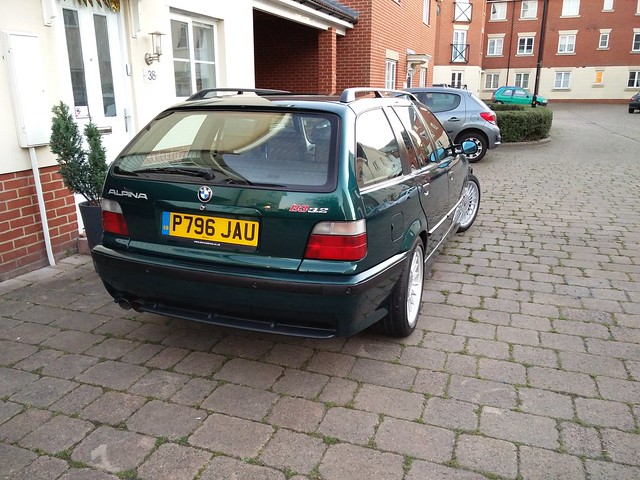
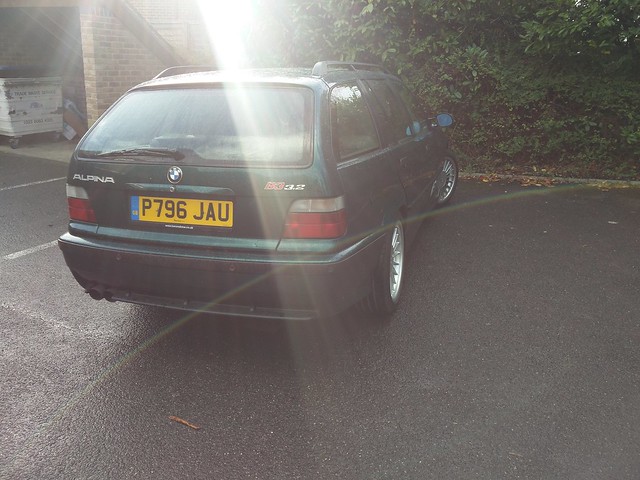
Reminder of how it looked when i picked it up:
One thing i did after packing everything away as i noticed that i hadn't treated the plastics with Aerospace 303. I wanted to Nanolex them, but they will need thorough cleaning first and there was no time for that. So 303 it was for now. Can see the sport bumper trim treated.
That's it for now folks!
Anyway, I looked out of the upstairs window to see of the car was wet or not, and saw a fantastic 50:50 shot to spur me on for the days activities
Take a look at the tailgate vs the roof:
Continued with the polishing on the side that was left. Before, lots of milky marks:
During:
After:
Mirror before:
After:
Nice reflection shot:
Picture of the plaque of No.36. Need this for the crib sheet i am doing, similar to the one i have for No.20.
Doors looking much better:
No.20 looking very sad that i was busy working on its younger sister!
Sport bumper is really in poor condition, paint wise. My first thoughts were respray required, so i thought i would tidy it up just so it blended in with the rest of the car. Here's the top of it:
Can see the rear quarter polished vs the bumper. Bumper is flatter than a pancake!
Much Better!
Top of the bumper polished, makes the damaged bits look a lot better. I started changing my plans about respraying it after this:
RHS of the bumper had loads of this mastic stuff attached to it, wouldn't peel of, so had to resort to Tardis.
Bumper showing lacquer peel:
Tardis did a good job, almost melted straight off. It somehow got warm when reacting to Tardis. Never had that before:
I saw this and liked this shot!
RHS of bumper finished. This took ages:
Rear lower part of bumper, same sort of issues as the LHS. Loads of small chips and deep scratches like this:
Wanted to do something i have never done before, the glass on the car was heavily contaminated. It needed cleaning, but my usual method of using a glass cutter, would have resulted in copious amounts of white power everywhere, and it sticks to everything. So had a quick google, and people were recommending using Auto Glym Fast Glass or Glass Polish, but i haven't got any and i'm not driving to Halfrauds to buy some at the prices they charge. Someone said they used Super Resin Polish. So i thought, i would give it a go with FCP and UF as per the bodywork and see how it goes. I bought some glass polish pads, so on they went:
Can just about make out, the RHS of the glass is being polished.
During:
Done, but not the inside, can't believe the difference it made. Definitely worth doing. The glass was soooooo clean!
Front window polished, rear has not. Gives an idea of the difference the process makes:
This side all done:
I did the rear quarter light in the door inside and out. There were some grotty stains inside the glass. Here is a photo through the quarter light, amazingly clear:
Went to take the glass polishing pad off the backing plate and look what happened! I need this pad to finish the roof! Looks like it wasn't glued well by 3M in the first place, barely any glue on it!
I glued the velcro fabric back to the backing plate using hot melt as a temporary action, just so i could get through the rest of the day, and left it with some weight on for 30 minutes or so to ensure it bonded properly.
So whilst i was waiting, i polished up the grille:
Before:
50:50
LHS grille was loose for some reason, so out it came for a good clean up!
Done:
Whilst walking back from the garage, i saw a hell of a sparkle in the paintwork, had to take a picture, but i'm not sure that it came out as well as it looked:
Kinda 50:50 of the roof being polished. Top is before:
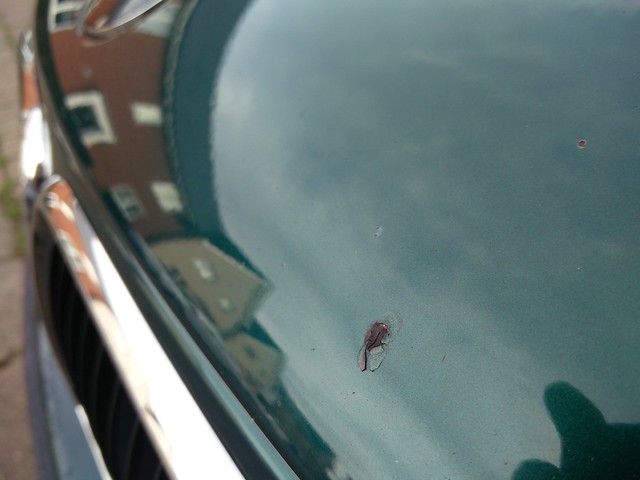
Want to see the long term effect of leaving bird dropping on your paint. Totally etched in:
Sunroof done, has loads of 'acorn falling' type dents in it:
Roof after:
Touched up the spoiler that had an argument with a kerb at some point. Hard to believe that this happened so fast bearing in mind it was resprayed only a couple of months ago! Started and it started to spit, luckily it passed very quick.
Rear bumper touched up as well
Time to refit the roof rails, light was starting to go. Gaskets back in place. The Gummi Pfledge had absorbed and cured well:
Rails refitted:
Gaskets and clear repeaters refitted. Still waiting on the clear fronts, Lets hope the previous owner does actually do as he said and post them. So far he has ignored my communications...
Number plate refitted after a polish up:
I had to roll the car back a bit as when polishing the rear door, my front door step was in the way. I left the car there whilst doing the rest of the work, so when i came to polishing off the Mint Rims wax i saw this:
Looks like the rim was bent before refurb and wasn't picked up at Lepsons. They should have reported this back to Simon before refurbing them. There is no evidence of broken paint, or hairline cracks in the powdercoat, so it was definitely damaged before refurb. Oh well, no issues with balance as there is a large balance weight on the opposing side of the wheel, and no leakage of air. If/when i get these wheels refurbed, i can get this sorted.
How the car looks after this weekends activities:
Reminder of how it looked when i picked it up:
One thing i did after packing everything away as i noticed that i hadn't treated the plastics with Aerospace 303. I wanted to Nanolex them, but they will need thorough cleaning first and there was no time for that. So 303 it was for now. Can see the sport bumper trim treated.
That's it for now folks!
1995 E36 B3.0 Convertible (rebodied)
1996 E36 B3.2 Touring No:20 - 1 of 5 made
1997 E36 B3.2 Touring No:36 - 1 of 5 made
1999 E36 323 Sport Touring
2011 E92 D3 Bi-turbo no.246 (santorini blue)
2019 Fiat Fullback
2020 Mini Countryman SE (PHEV)
Alpina, BMW and Detailing Enthusiast
1996 E36 B3.2 Touring No:20 - 1 of 5 made
1997 E36 B3.2 Touring No:36 - 1 of 5 made
1999 E36 323 Sport Touring
2011 E92 D3 Bi-turbo no.246 (santorini blue)
2019 Fiat Fullback
2020 Mini Countryman SE (PHEV)
Alpina, BMW and Detailing Enthusiast
-
shaziman
- ALPINA
- Posts: 1389
- Joined: Sun Sep 18, 2011 1:59 pm
- Location: Nottingham, occasionally S.Wales
The update was down to me, i've been chatting to Kees about the cars, he did the update as i asked loads of questions to him about the various spec's of the 5 built. I now have a lot of details. When i get time, i will do an information post thanks to all the info the Kees gave me.simon13 wrote:Alpina archive is saying the other 2 RHD tourings were both alpina blue with grey leather?! i've never noticed/seen this before as no one has seen or heard about them to my knowledge. One is No.37 and the other 62 - must be new additions somehow. I'd of noticed no.37 on the list!
But in summary, the other two haven't been MOT'd in years. Kees and myself are both under the impression that they are no-more, and as usual whom ever broke/scrapped/exported them didn't complete the UK paperwork, as per so many cars that disappear and aren't declared!
1995 E36 B3.0 Convertible (rebodied)
1996 E36 B3.2 Touring No:20 - 1 of 5 made
1997 E36 B3.2 Touring No:36 - 1 of 5 made
1999 E36 323 Sport Touring
2011 E92 D3 Bi-turbo no.246 (santorini blue)
2019 Fiat Fullback
2020 Mini Countryman SE (PHEV)
Alpina, BMW and Detailing Enthusiast
1996 E36 B3.2 Touring No:20 - 1 of 5 made
1997 E36 B3.2 Touring No:36 - 1 of 5 made
1999 E36 323 Sport Touring
2011 E92 D3 Bi-turbo no.246 (santorini blue)
2019 Fiat Fullback
2020 Mini Countryman SE (PHEV)
Alpina, BMW and Detailing Enthusiast